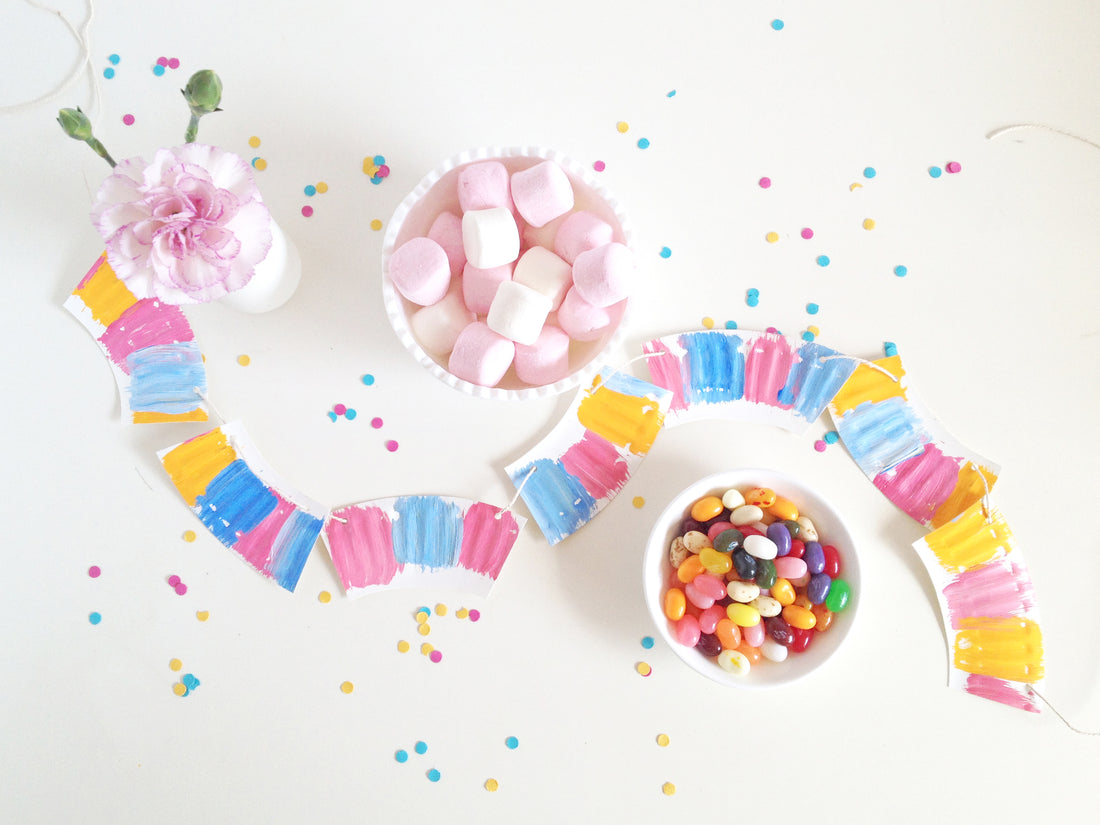
If you tuned in yesterday, you might have seen my resolution to be a little more creative with the materials I use in my DIYs. After all, as kids we used to imagine whole worlds out of a cardboard box and some toilet rolls, so why not inject a bit of that creativity to our adult lives as well? We can’t let the kids have all the fun! 🙂
After being inspired by a few awesome projects that use paper plates, I decided to try making some paper plate craft of my own, which turned out to be a wavy, painterly garland. This is a really easy DIY to make for a party, and one that you could definitely get the kids to help with, so grab a paintbrush and let’s get painting!
Materials
- Paper plates
- Paint brush
- Acrylic paint (various colours)
- Scissors
- Hole punch
- Twine

Step 1
Paint the edges of your paper plates. I used three different colours and a brush stroke pattern (of course, how could I not!) to colour in the edges, but you could use spots, stripes or whatever else takes your fancy.


Step 2
Once the paint is dry, cut out the centre of each plate.


Step 3
Then cut the rims of the plates into segments.

Step 4
Using a small hole punch, place holes in each segment to thread the twine through.

I alternated the holes so that some were at the wider part of the segment and some were at the narrower part. This meant that the shape of my garland would go in up and down in waves once strung together.

Step 5
Thread the twine through the holes you just made.

Once all the pieces are threaded together, your garland is done!


How’s that for an easy way to decorate? The great thing about this project is that if you’ve got kids, you can get them involved with painting the plates – they’ll have a great time watching their paintings become party decorations and your garlands will have that lovely, child-like look. Win-win!
xx Steph

