I’m just going to go right ahead and admit that I get a little bit stuck on trends. First it was the brush strokes (still going strong by the way), then the succulents (also still going strong, yay!) and now it seems I’ve got spots on the brain!
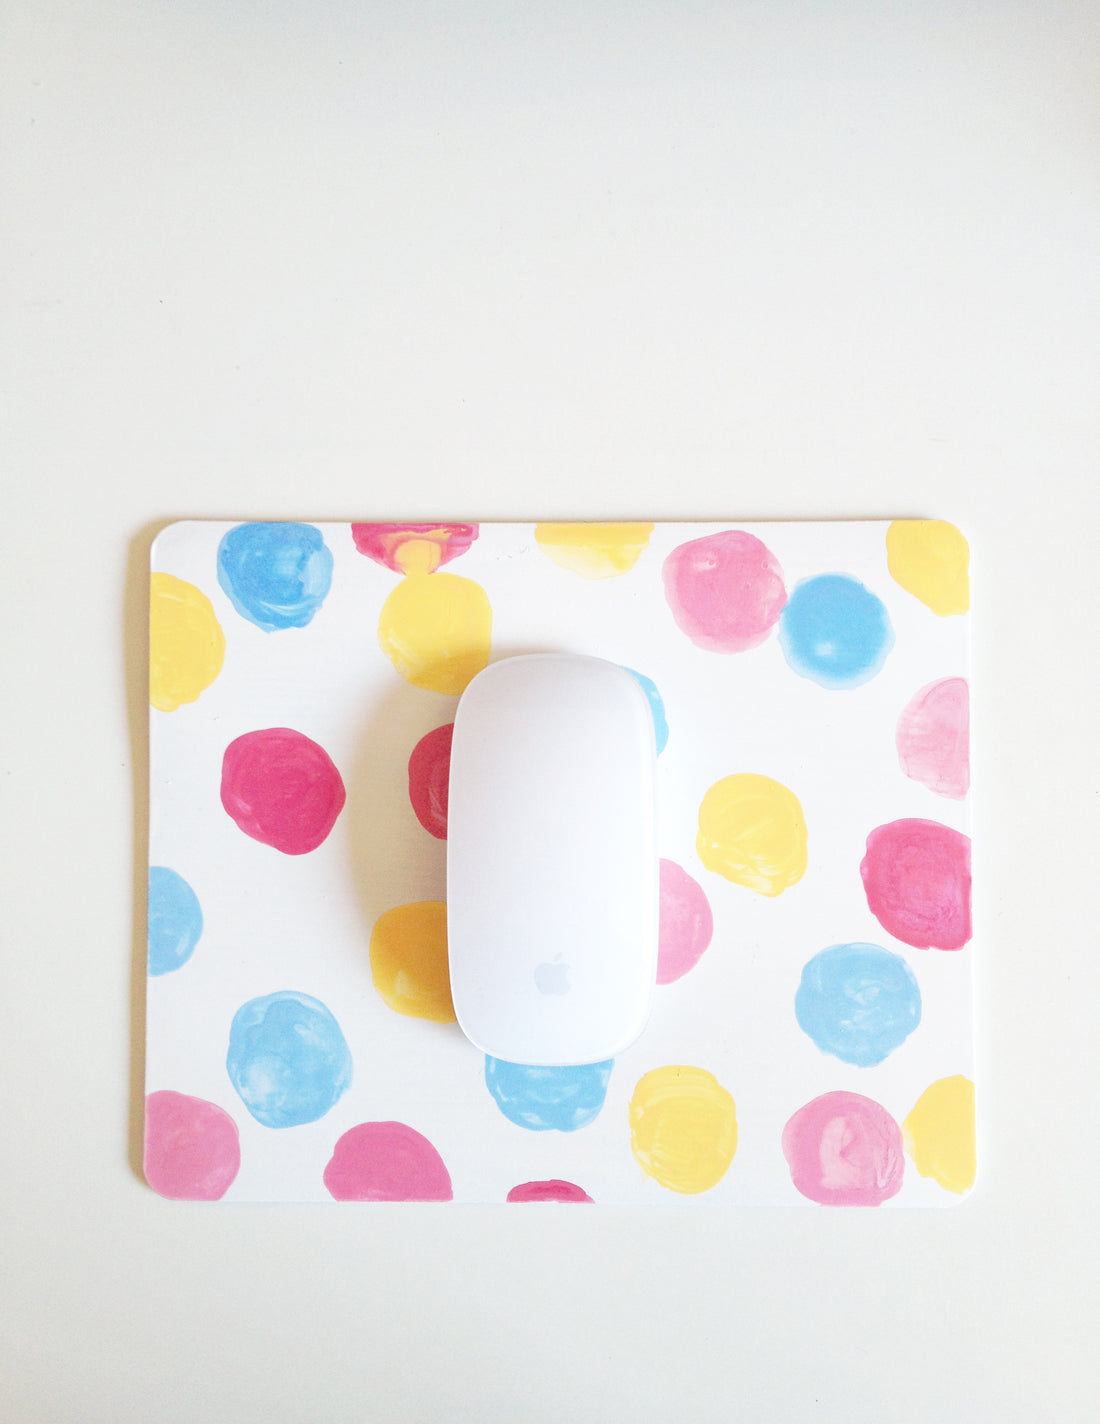
Confetti to be precise. After painting these pencils a couple of weeks ago, I can’t stop thinking about adding spots to all the things. And the first object I spied when I gazed around my study for things to makeover was my old, black and blue, horrid sales promo mouse pad.
Funny how you can have something ugly like that around for years, and not really see it. It’s sales promo-ness didn’t bother me at all until I started thinking about objects I could paint and then I just COULDN’T STOP looking at it. Thankfully, now it’s all colourful and easy on the eyes, and it matches my pencils (bonus!). Want to know how you can make your own? Well then, follow along below…
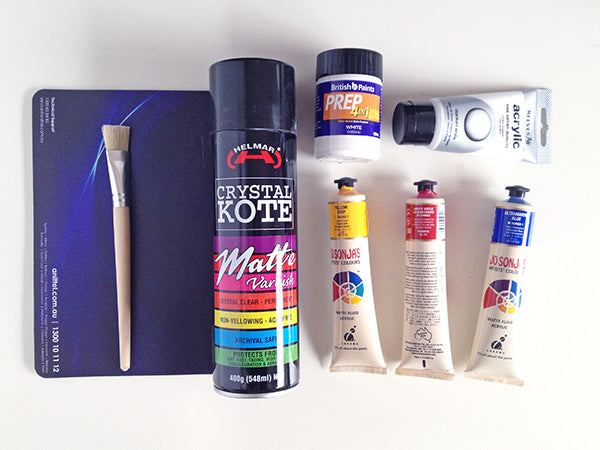
Materials
- Old mouse pad
- Primer
- White acrylic paint or spray paint
- Acrylic paint (various colours)
- Paintbrush
- Varnish
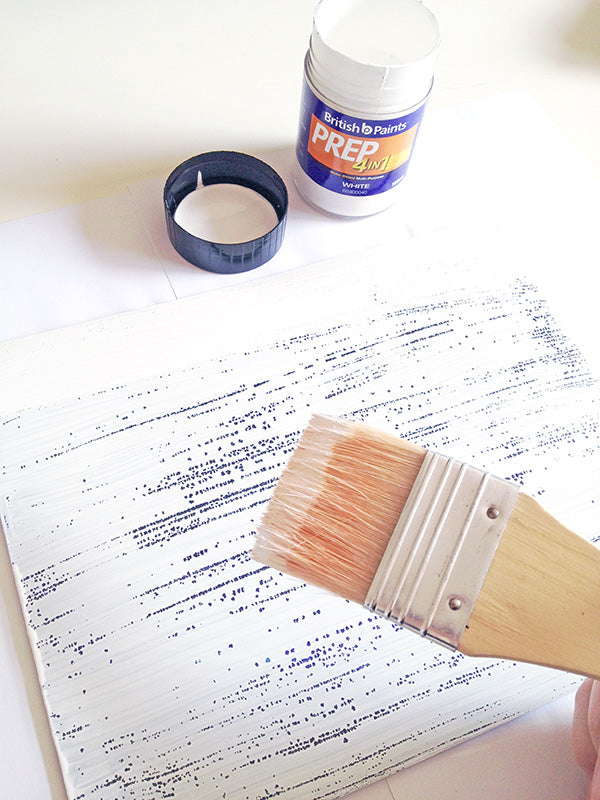
Step 1
Give your old mouse pad a good clean and then coat it with a layer of primer. The primer might not be necessary for all mouse pads but mine was the old plastic variety and I thought it best to use primer to make sure the paint would stick properly.
Step 2
Paint your mouse-pad white. I used spray paint as it gives a nice even coating, but I think acrylic paint would work okay as well.
Step 3
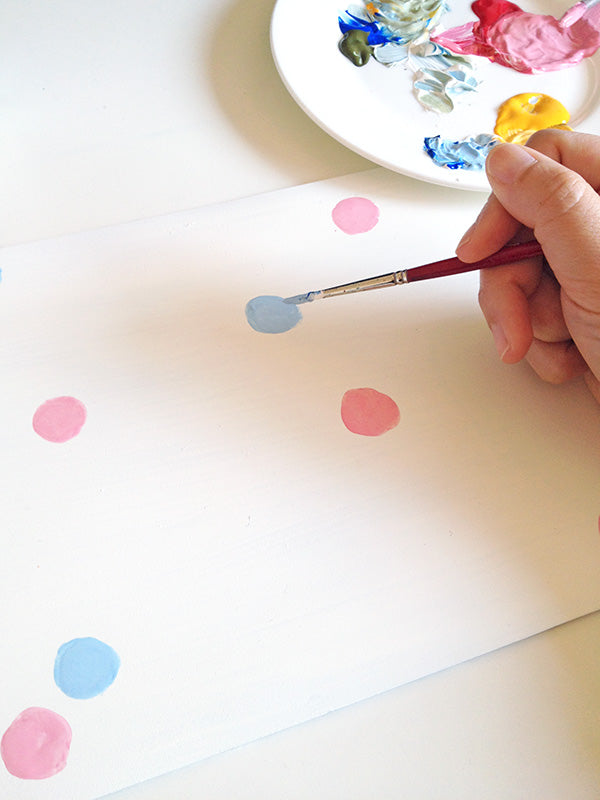
Add a bit of water to your coloured acrylic paints and paint on your circles. The key to doing this is to load your brush with watered-down paint and move it in a circular motion for each spot. Don’t worry too much if you can see a bit of the white paint through your spot – that see-through, slightly water-coloured look is what you’re going for.
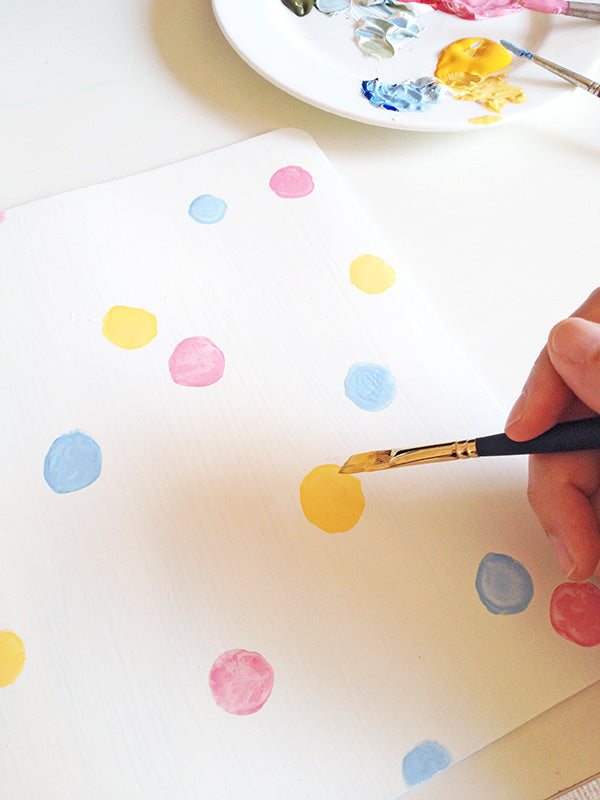
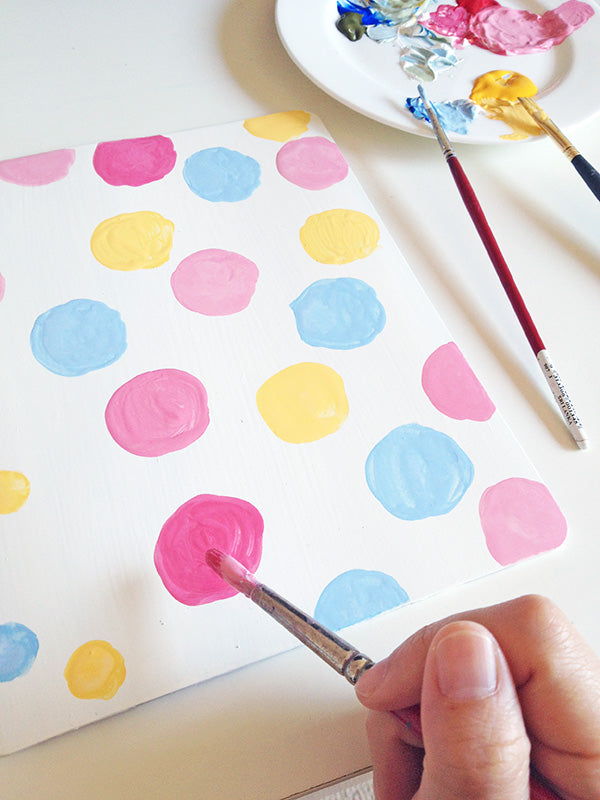
As you can see, I started out with my dots being small and then quickly decided that I much preferred the larger variety. Which was okay, because there was enough water in the spots I’d painted to still be able to move the paint around or add more as needed. In other words, this project is quite forgiving so don’t stress too much if your spots aren’t perfect the first time around 🙂
Step 4
Once your painted spots are dry, give your mouse pad a good coating of varnish to protect it from everyday wear.
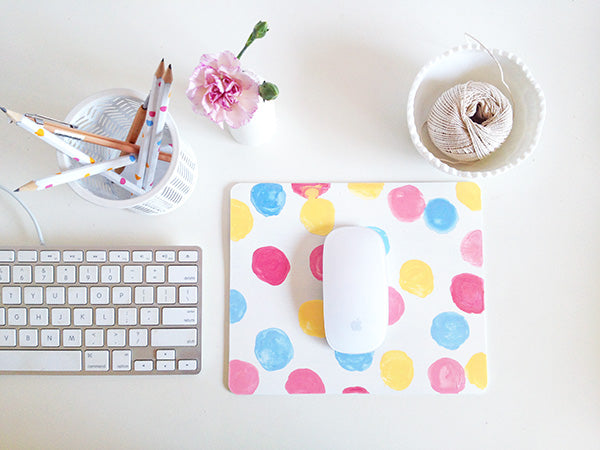
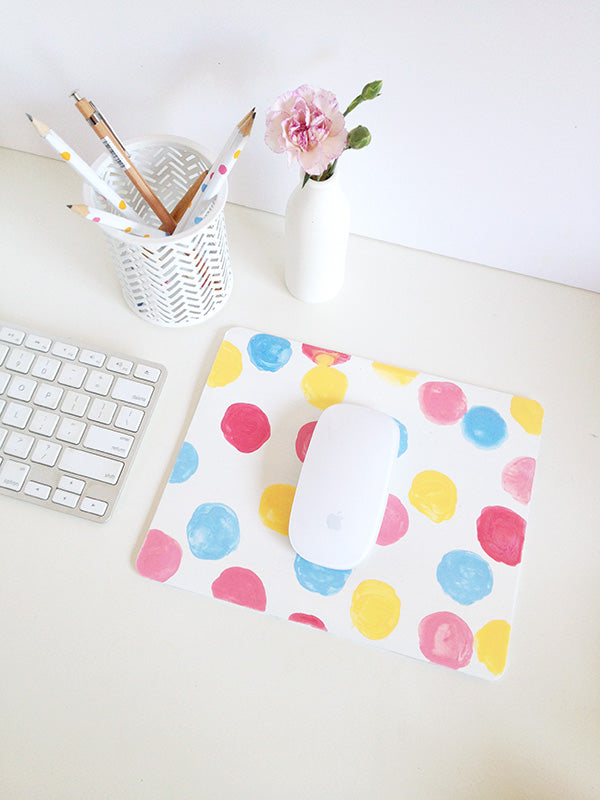
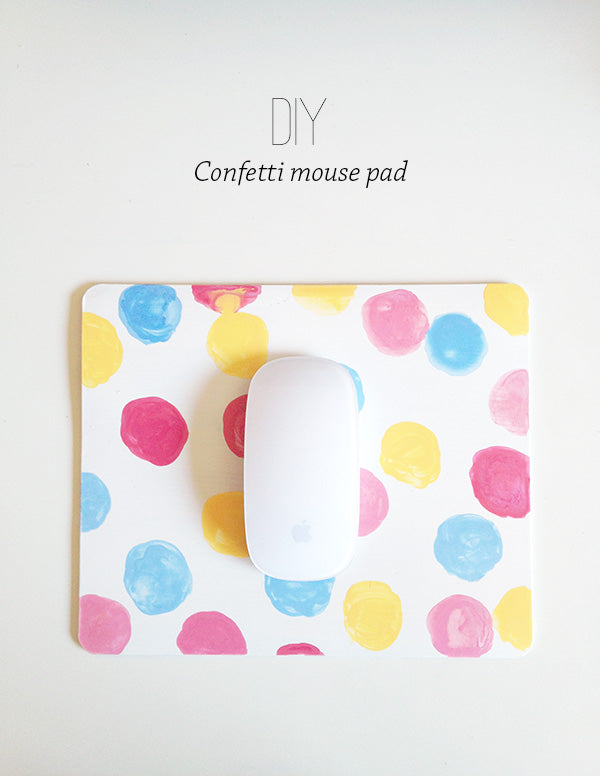
And that’s it my friends, mouse pad done! I can’t believe I hadn’t thought of this before now – it was such an easy way to spruce up my desk space. I’m already scanning the contents of my study for other things I can add confetti to… I’m sure it won’t long before I have another spotty project to share with you soon, so don’t nobody go nowhere!
xx Steph