
There are some things that can’t be beat for adding a little sunshine to my everyday and confetti is one of them. Those little bursts of colour herald such happy celebrations and in weeks like this when work has been getting me down, I know I sure could use more of that party vibe in my life!
So the other day when I found myself staring blankly at my screen in a dimly lit room, surrounded by blah pencils and boring pens, I decided that even if I’m not inspired by my work, I can definitely be inspired by my stationery! If you want to jazz up your pencils or if you just want to mess around with paint, then grab a paintbrush and let’s get started…
Materials
- Pencils
- White spray paint
- Painter’s tape
- Hole reinforcement labels
- Coloured acrylic paint
- Paintbrushes

Step 1
Tape off any parts of your pencil that you don’t want to spray paint white. On my pencils, this meant the tip, but if you have pencils with an eraser on the end you’ll probably want to tape that area off too.

Step 2
Spray paint your pencils white. I found the easiest way to do this was to stick the tips in a foam block (one that you don’t mind getting paint on) so that the pencils are standing upright. This way, you can spray paint the whole pencil at once and leave it upright to dry instead lying the pencils down on their sides (which would ruin the paint job!).
Once your pencils are completely dry, start sticking on your hole reinforcement stickers in random spots along the length of the pencil.


You can see in this pic that I wasn’t too fussed about the outsides of the hole stickers being stuck down properly. But it’s very important that the area around the centre of each hole sticker is stuck down well. If it’s not, the paint will leak underneath the sticker and your spots won’t be circular.
Step 3
Start painting your confetti spots. To make this as easy as possible, I had three different paintbrushes (one for each colour I used), so I could paint on different colours at the one time. The foam block again came in handy for standing the pencils upright to dry.
If you find after one coat that you still see the white of the pencil peeping through your spots, give them another coat of paint.


Step 4
Once your spots are completely dry, remove the hole stickers.


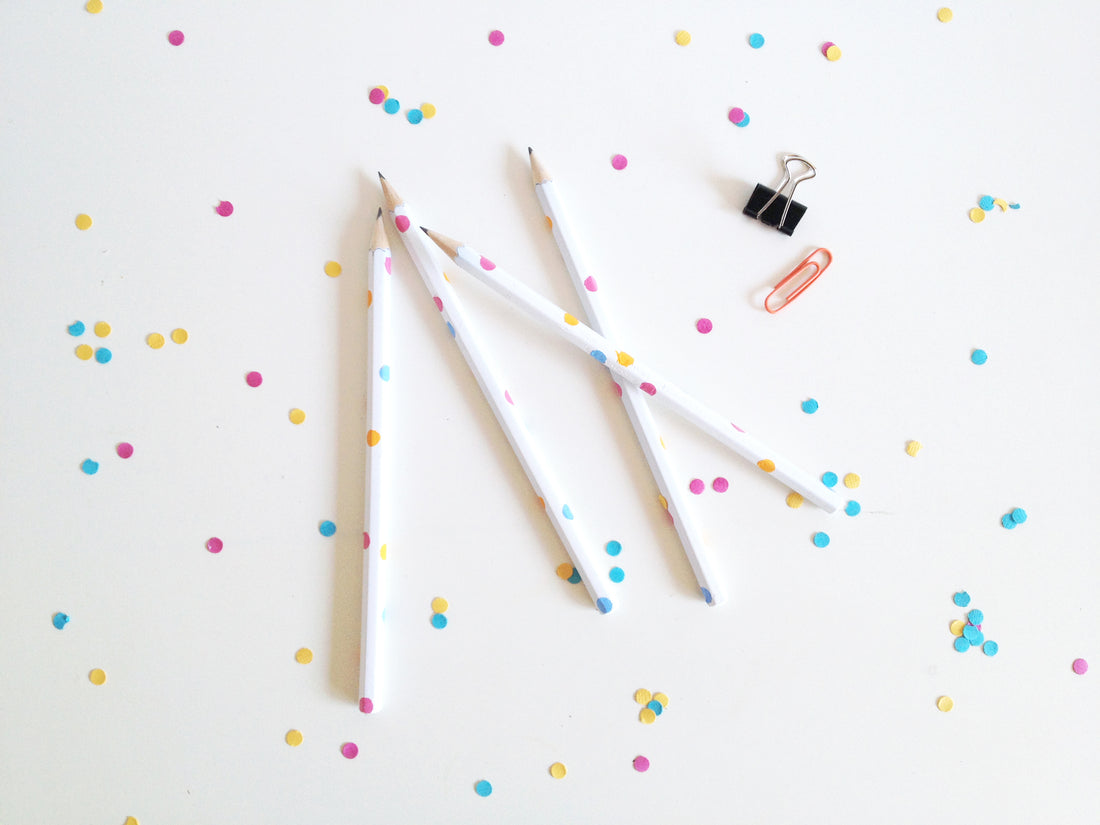
And there you go – instantly fun stationery! It seems silly, but it’s little things like this that help to make my day brighter, especially when you can look at your handiwork and say that you made those amazingly fun pencils yourself 🙂
xx Steph