
Last week I set out to make up some new vases, which if you tuned in last Friday you would know ended up failing rather spectacularly (story of my life lately!). After that miserable craft session I decided to approach things from another angle and use a completely different material in the hopes that it would help to break my terrible craft fail streak. And you know what? Sometimes it pays to be persistent – things went without a hitch this time around (much to my relief), and that means I finally have a new DIY to share with you. Yay!
If you’re wondering why I’m so obsessed with vases and flowers lately, it’s because I received so many beautiful blooms for my birthday a couple of weeks ago that I didn’t have enough places to house them all (yeah, I know, what a hard life I do lead 😉 ).

Whether or not you’re eye-rolling at my first world problem (I would be if I was you – it totally is a first world problem haha!), I really do need a few more vases in my life; not just for my birthday, but also for the cuttings I collect from my garden and surrounds (shh don’t tell the neighbours!). And now I have a nice pastel one to add to my collection which is just ace!
If you want in on the patterned vase action, see below for all the instructions and let’s get making. 🙂

Materials
- Wood pieces (I used pine)
- An old glass jar
- Ruler
- Pencil
- Hand saw
- Sandpaper
- Wood glue
- Primer
- Paintbrush
- Spray paint in 2 colours
- Baking paper
- Painter’s tape
- Scissors
- Varnish

Step 1
Measure out your wood pieces with a ruler and pencil.

To make the box you’ll need 4 rectangular pieces and 1 square piece. The rectangular pieces will be the sides of your box and the square piece will be the base.
- The 4 rectangular pieces: First decide how tall and wide you want the finished box to be, then use this as a basis for sizing up your rectangular pieces. I wanted my wood box to be able to fit a standard-sized pasta sauce jar, so I made each of my rectangular pieces 15cm tall by 9cm wide (5.9 x 3.54 inches).
- The square piece: The base of your box will need to measure the width of your box (in my case, 9cm) minus the thickness of the timber you’re using (my pine pieces were 0.8cm/0.3 inches thick). Using this formula, the sides of my base ended up measuring 8.2cm (or 3.23 inches).
Step 2
Cut out each of the pieces you measured in Step 1 with a hand saw.

Step 3
Once all your pieces have been cut, give them a quick sand to remove any rough edges.

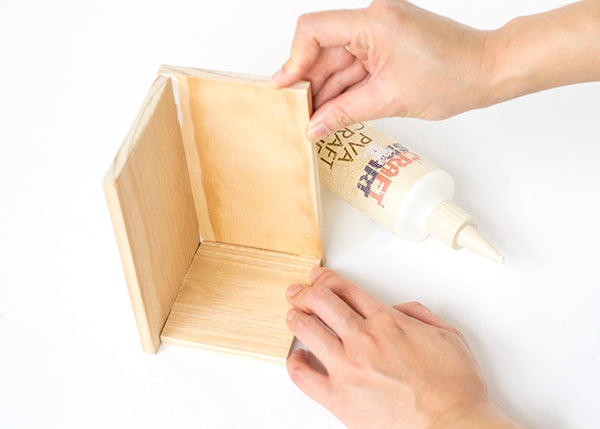
Step 4
Join one of your rectangular pieces to your square base with wood glue. Make sure the rectangular piece and square piece are flush along one edge.

Step 5
Continue sticking rectangular pieces to your square base with wood glue. Move in a clockwise fashion so that the second rectangle is stuck to the first rectangle as well as the base.
The third rectangle will then be stuck to the second rectangle, plus the base.

Finally, attach the fourth rectangle to the rest of the sides to complete the box.

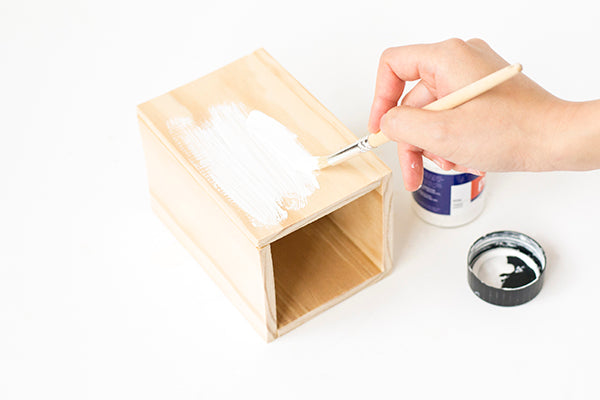
Step 6
Once the glue has dried, give the wood a coat of primer to prepare it for painting. Then paint your box in a base colour (I used white).
Step 7
While you’re waiting for the paint to dry, roll out a long sheet of baking paper and lay strips of painter’s tape across it.

Step 8
Once you’ve laid a few strips down, start cutting them to size to fit your wood box. These pieces of tape will help you create the stripes on your vase.
You’ll need to cut thin pieces that are long enough to run all the way from the top to the bottom of your box (these will be the vertical stripes), plus some shorter pieces for the angled horizontal stripes.

Side note: If you’re curious about the baking paper, I used this to make it easier to cut the painter’s tape into segments. Otherwise the tape will just stick to your scissors, causing oodles of frustration! You could, of course, just use really thin painter’s tape so all you have to do is trim it to the correct length, but I prefer this method because the stripes end up looking a lot more organic.
Step 9
Start sticking the painter’s tape to your wood box. Begin with a long piece, placing it straight down the middle of the box.

Step 10
Attach short pieces of tape at an angle between the long, vertical strip of tape and the edge of your box. Once you’ve filled in half of one side of your box, add tape to the other side so that the angled pieces form a ‘V’.
Then apply the same tape pattern to the other three sides of your box.

Step 11
Once the whole box has been covered in stripes, make sure all the tape is well stuck down and then spray your box with a second paint colour (this time I used light blue).

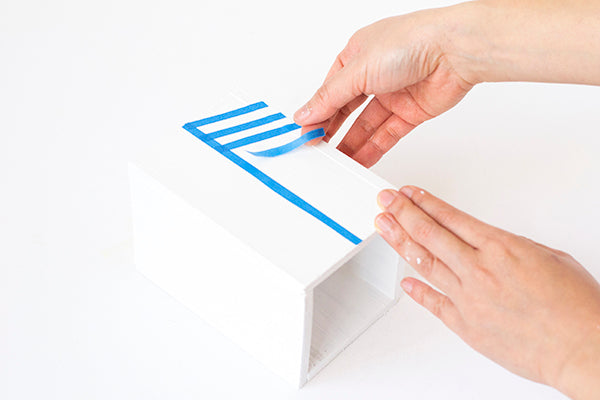
Step 12
Wait until the paint has dried, then remove the painter’s tape to reveal your lovely stripes underneath.

Step 13
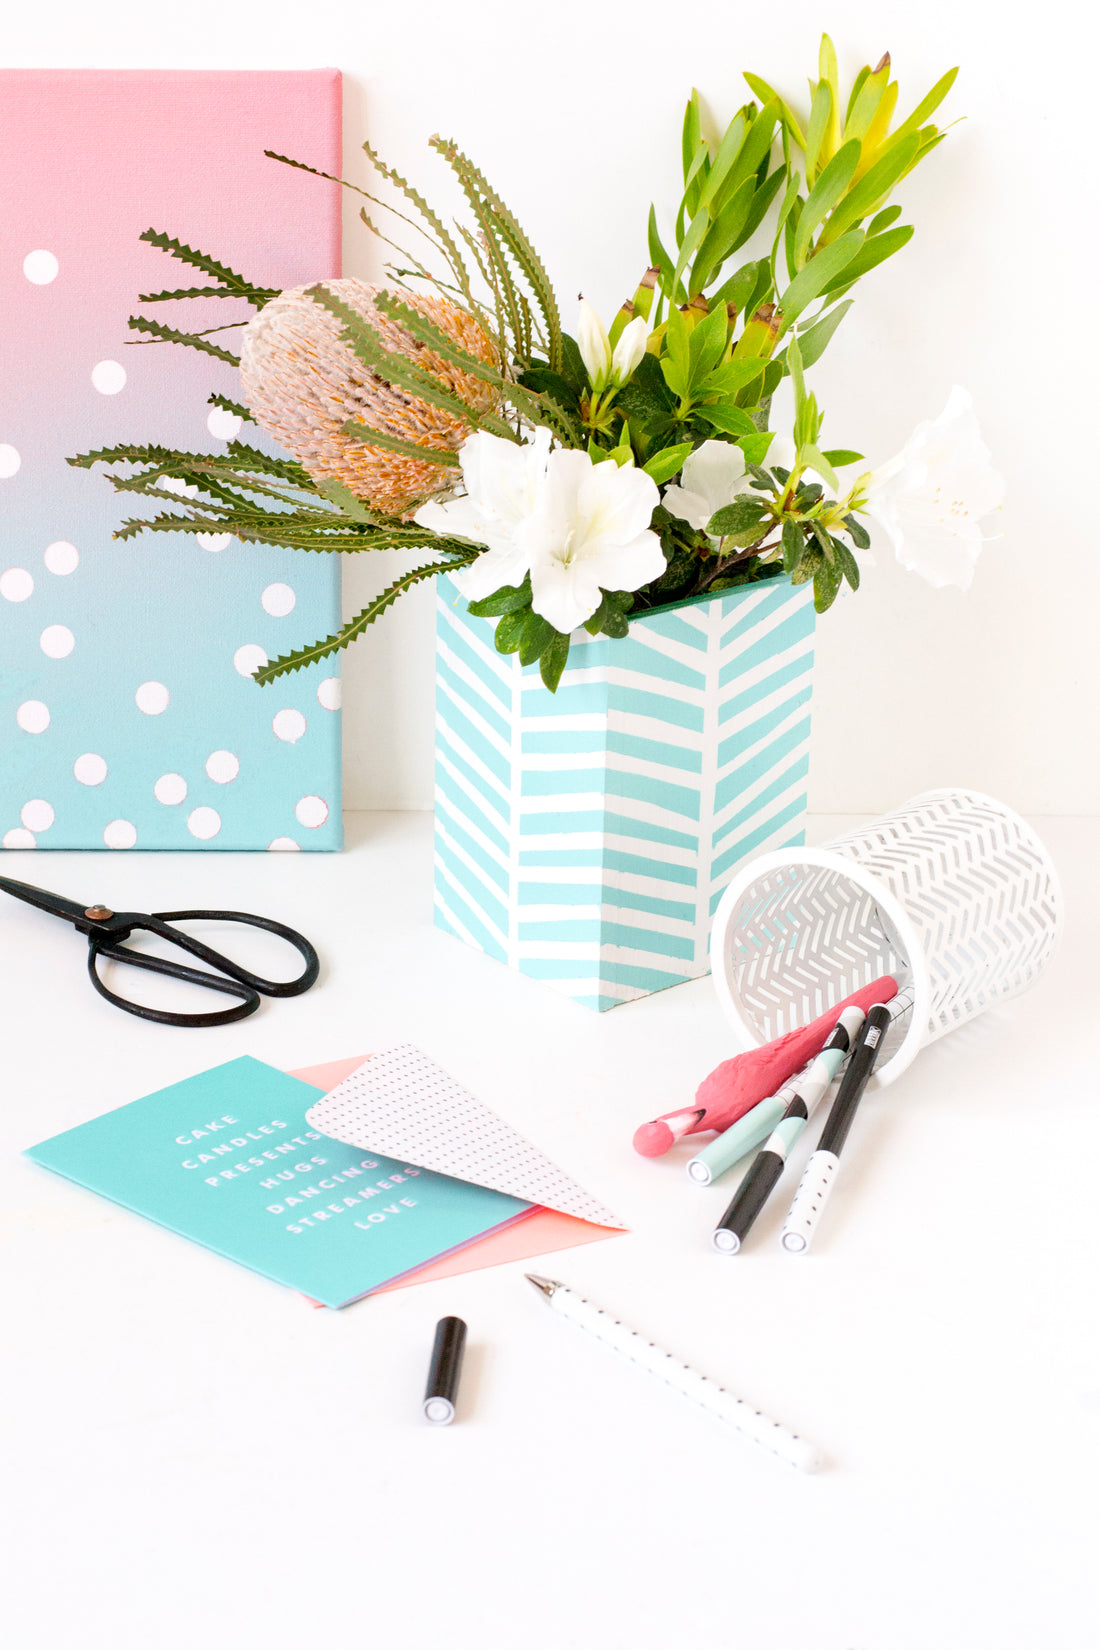
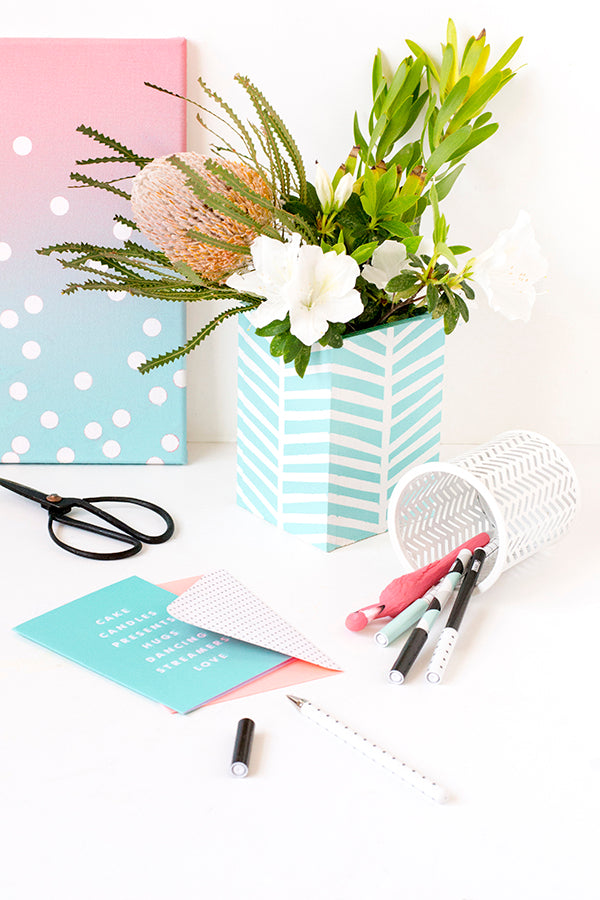
Lastly, give your wood box vase a good coat of varnish before popping an old jar filled with water inside to house your flowers.

I think the part I love most about this vase is that you can completely customise to suit your taste and interior decorating style. My current pastel-loving self went with shades of powder blue and white, but you could use different colours or leave parts of the box unpainted (the stripes for example) to let that pretty wood grain shine through.


Also, don’t be afraid to experiment with the stripe pattern (which I think I might do for the next vase I make). For example, putting the tape in a cross pattern or grid would add a whole new look to the vase which would be totally ACE.
xx Steph