I seem to have a tote bag for every occasion. One for work, a few for groceries, one of the beach, the list goes on and on. All of them are functional, but none are particularly pretty, so I thought I’d try my hand at decorating one using iron-on transfer paper – another brilliant tool I can’t believe I’ve never used before!
Materials
- Iron-on transfer paper (I got mine from Officeworks)
- Blank tote bag
- Triangle printable (see the end of this post to download)
- Scissors
- Iron

Step 1
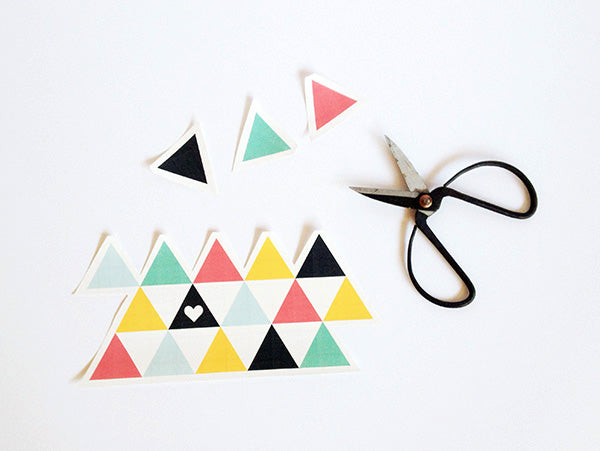
You’ve probably guessed by now that this is going to be one super simple DIY right? First up, head on down to the end of the post, download the triangle printable and print it out in colour onto an A4 sheet of transfer paper.

Step 2
Cut around the print leaving a bit of a border (around 5mm). Separate the top 3 triangles and cut around each of these separately.

Step 3
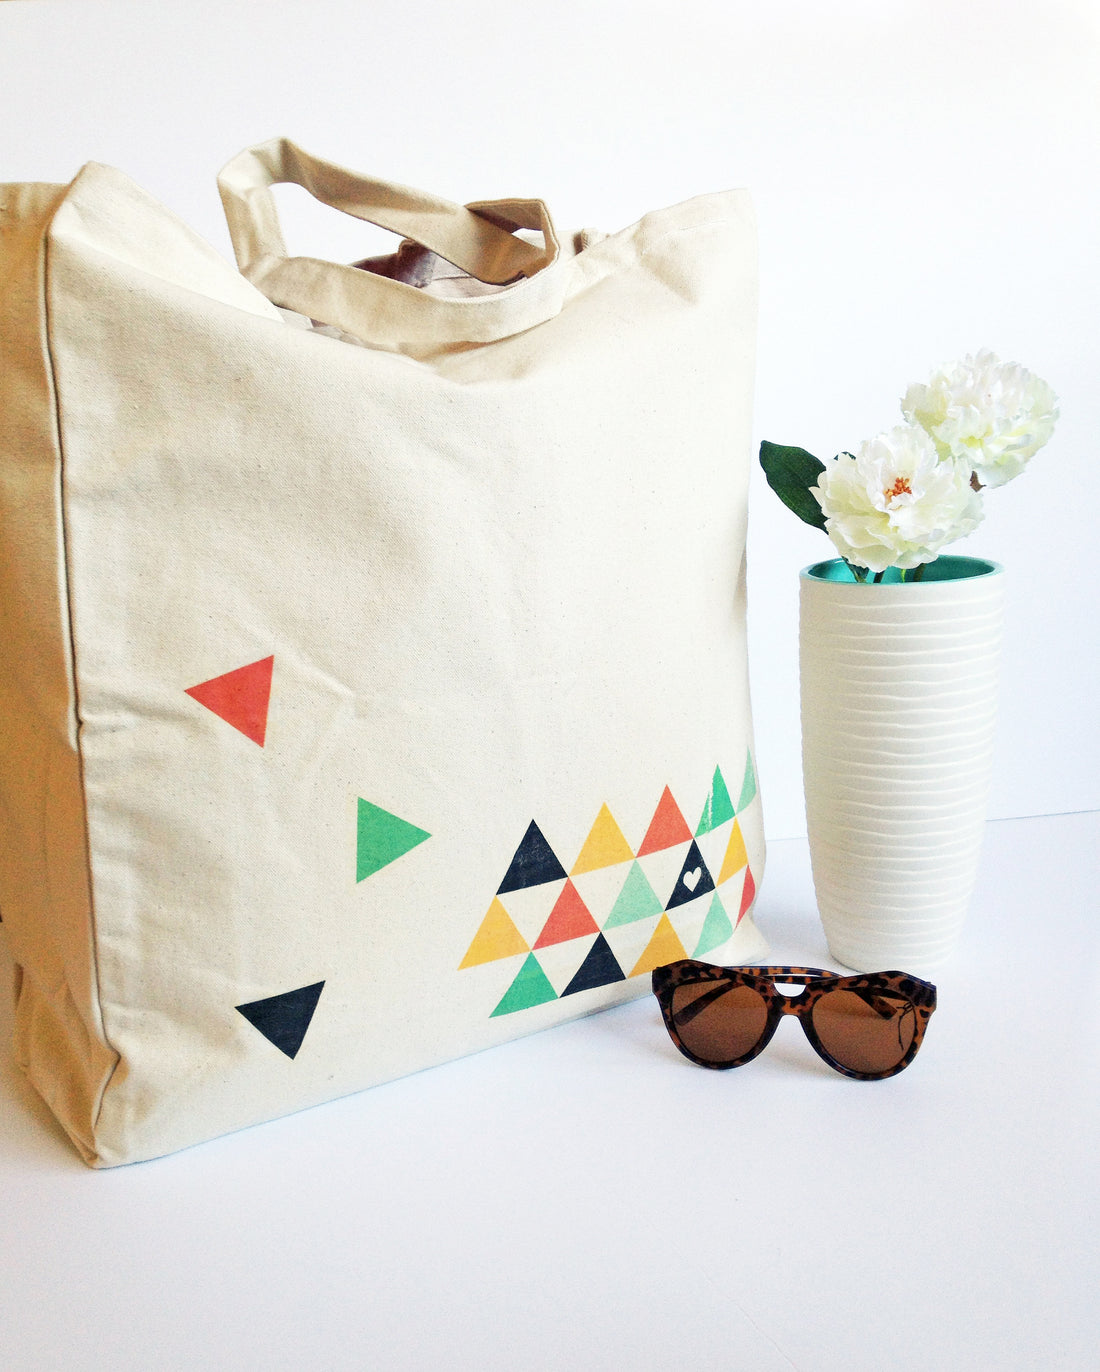
Place the main part of the triangle print face-down onto your tote bag, lining up the side of the print with the right-hand side of your bag. Then place the 3 remaining triangles randomly around the main print. Following the manufacturer’s instructions, iron it all into place.

Step 4
Wait for the print to cool then peel off the backing. The waiting bit is important! If you’ve got keen eyes you may have noticed that some of my print is a bit ‘rustic’ for want of a better word. That’s where I rushed to peel off the backing without waiting for the bag to properly cool. Yep, I’m my own worst enemy sometimes.


Not bad hey? Definitely nicer than the tote bags I currently have and so easy that I’m fairly certain I’ll be making more of these bad boys in the future. Totes amaze.
xx Steph


