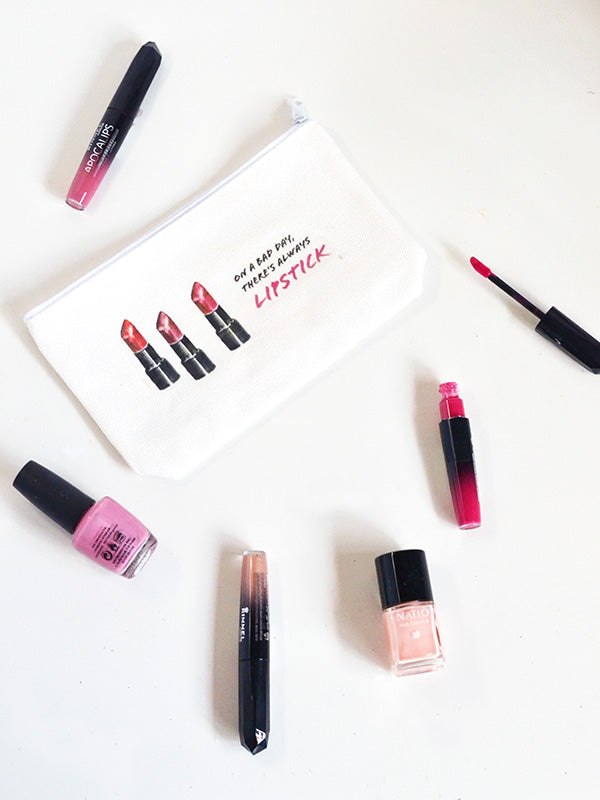
Those who know me well know I’m not very big on make-up. Most of the time I count myself lucky if I can figure out how to apply the stuff, let alone dealing with multiple shades of eyeliner, bronzer or blush. Having said that though, now that I’ve lived through a good chunk of adulthood, I seem to have amassed a small amount of make-up that deserves a better home than the somewhat ratty box that lives on my bedroom floor.
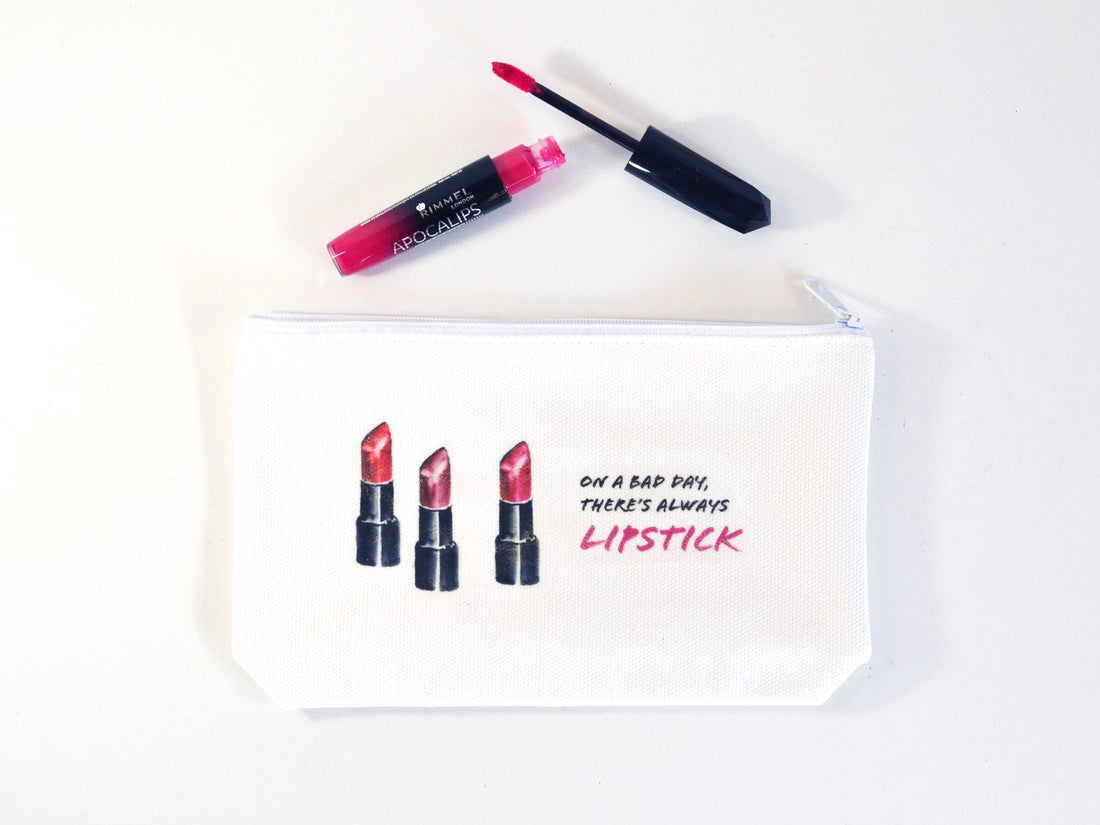
And of all the different types of make-up out there, lipstick is my favourite to use, so I thought it would be fitting to deck out my new make-up pouch with a lippy print. This little project is as easy as they come, so grab some transfer paper and a pair of scissors and let’s get making!
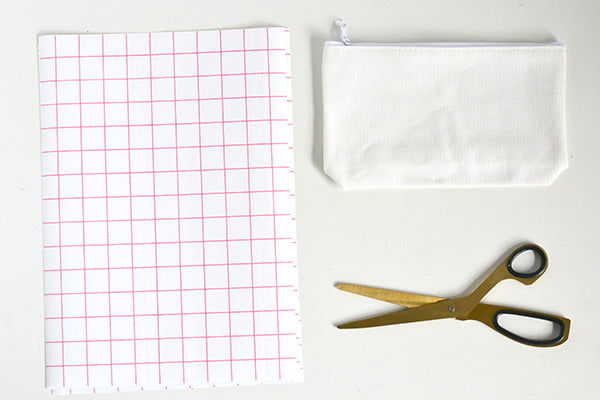
Materials
- White canvas make-up bag (I used a small pencil bag that I got from Etsy)
- Iron-on transfer paper
- Scissors
- Iron
Step 1
Head to the end of this post, download the lipstick printable and print it out onto a sheet of iron-on transfer paper. I designed the print to work with a small bag (mine measured 21cm x 12.5cm / 8.3 x 4.9 inches), but if you’re working with a bigger bag, simply enlarge the size when printing.
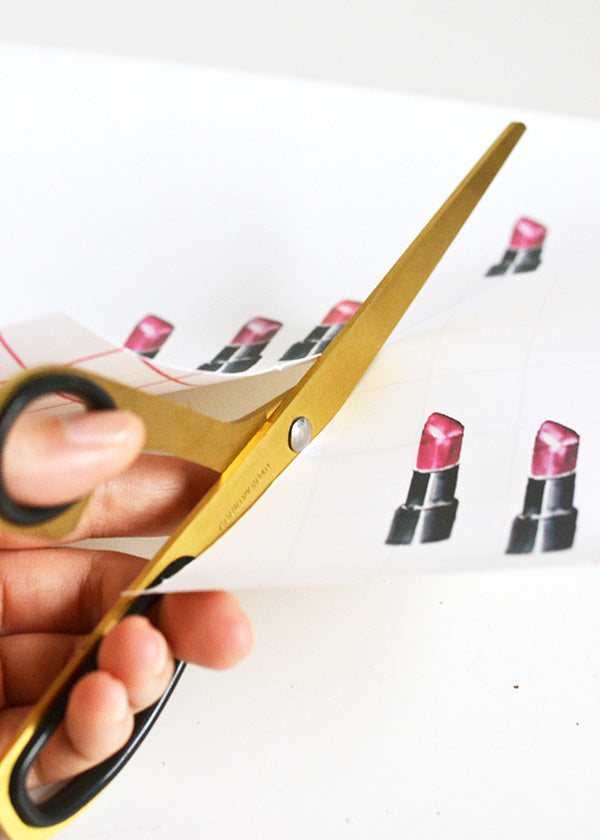
Cut around the images in the print, leaving a 5mm border around each image.
(NB: You’ll notice the writing in the printed file is back-to-front. That’s intentional – when you iron on your print, it’ll be the right way around)

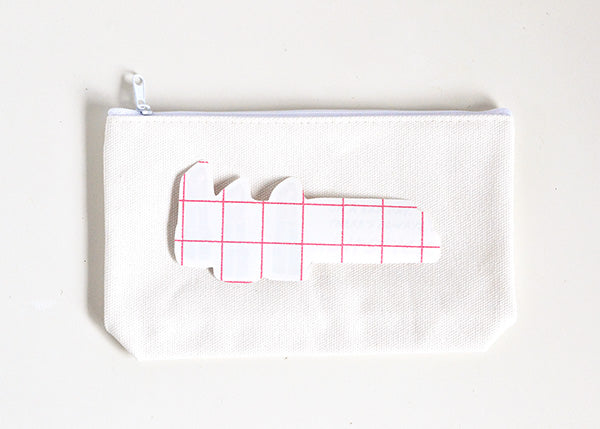
Step 2
Lay your cut-out image face down onto your make-up bag. For this pouch, I decided to use just the main image in the middle of the printable. But there are plenty of extra lippie tubes that you can cut out and iron on as well if that takes your fancy. 🙂
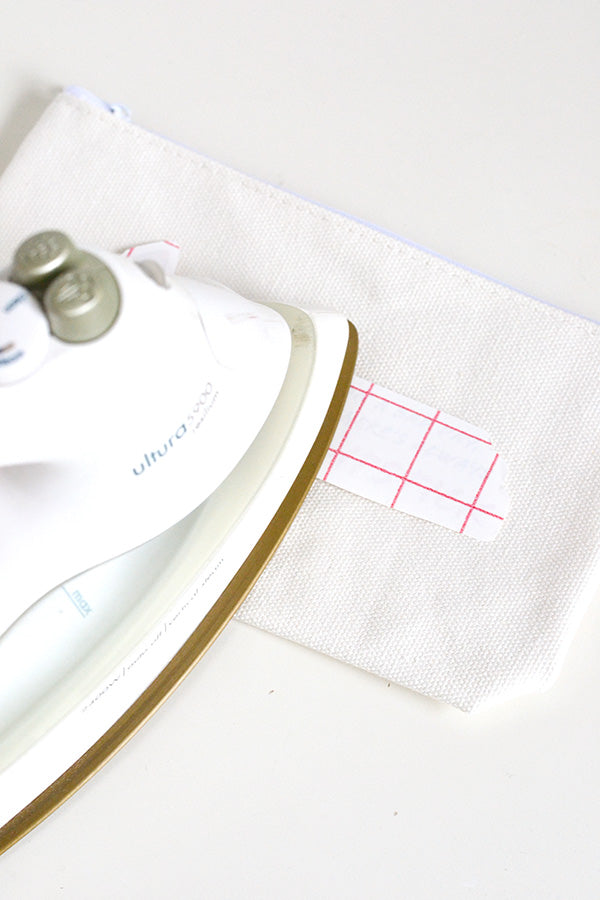
Step 3
Iron your print onto your bag and then leave it to cool completely (this part is important – the last time I used transfer paper I was impatient and ended up ruining my print when I tried to peel the backing paper off too early – oops!).
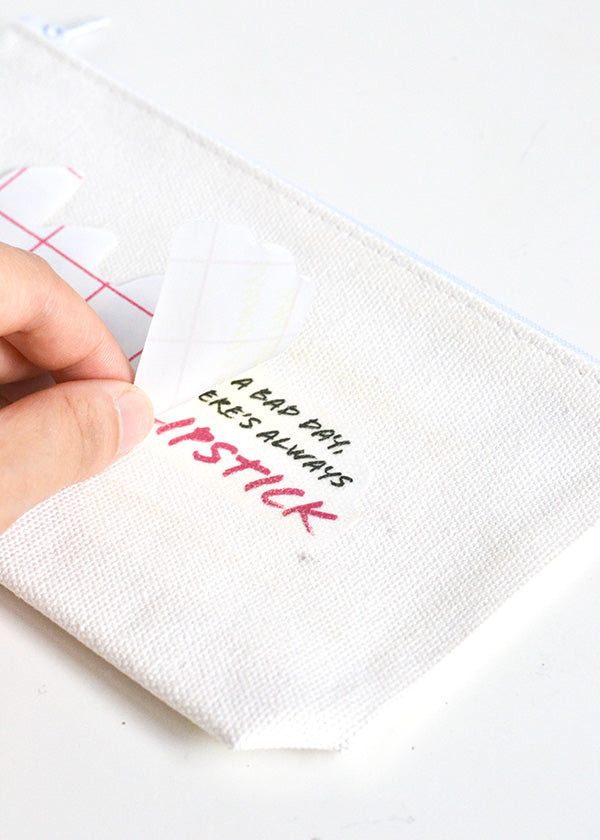
Step 4
Once the bag has cooled, carefully remove the backing paper from your print.
And that’s it! Not bad for a 10 minute DIY hey? And definitely better than the wreck of an old box that my make-up used to be kept in.

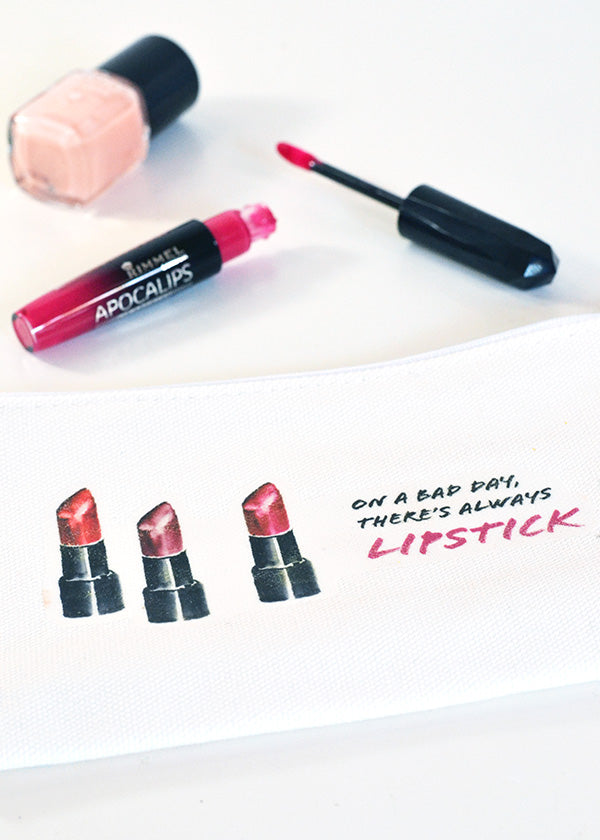
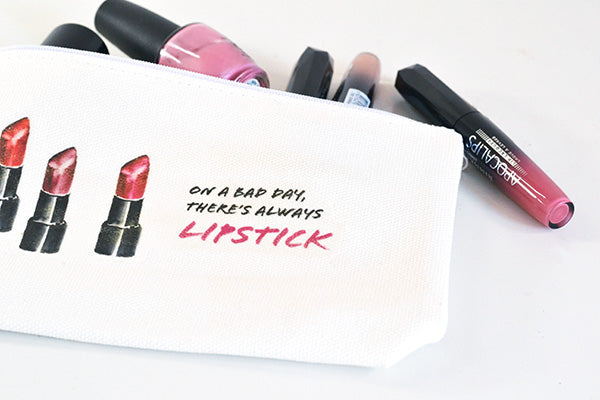
Oh, and with all those extra lipstick tubes in the print, why not have fun experimenting with layouts? You could try placing lipsticks randomly all over the front of the bag, or in a row across the middle for a completely different look!

xx Steph