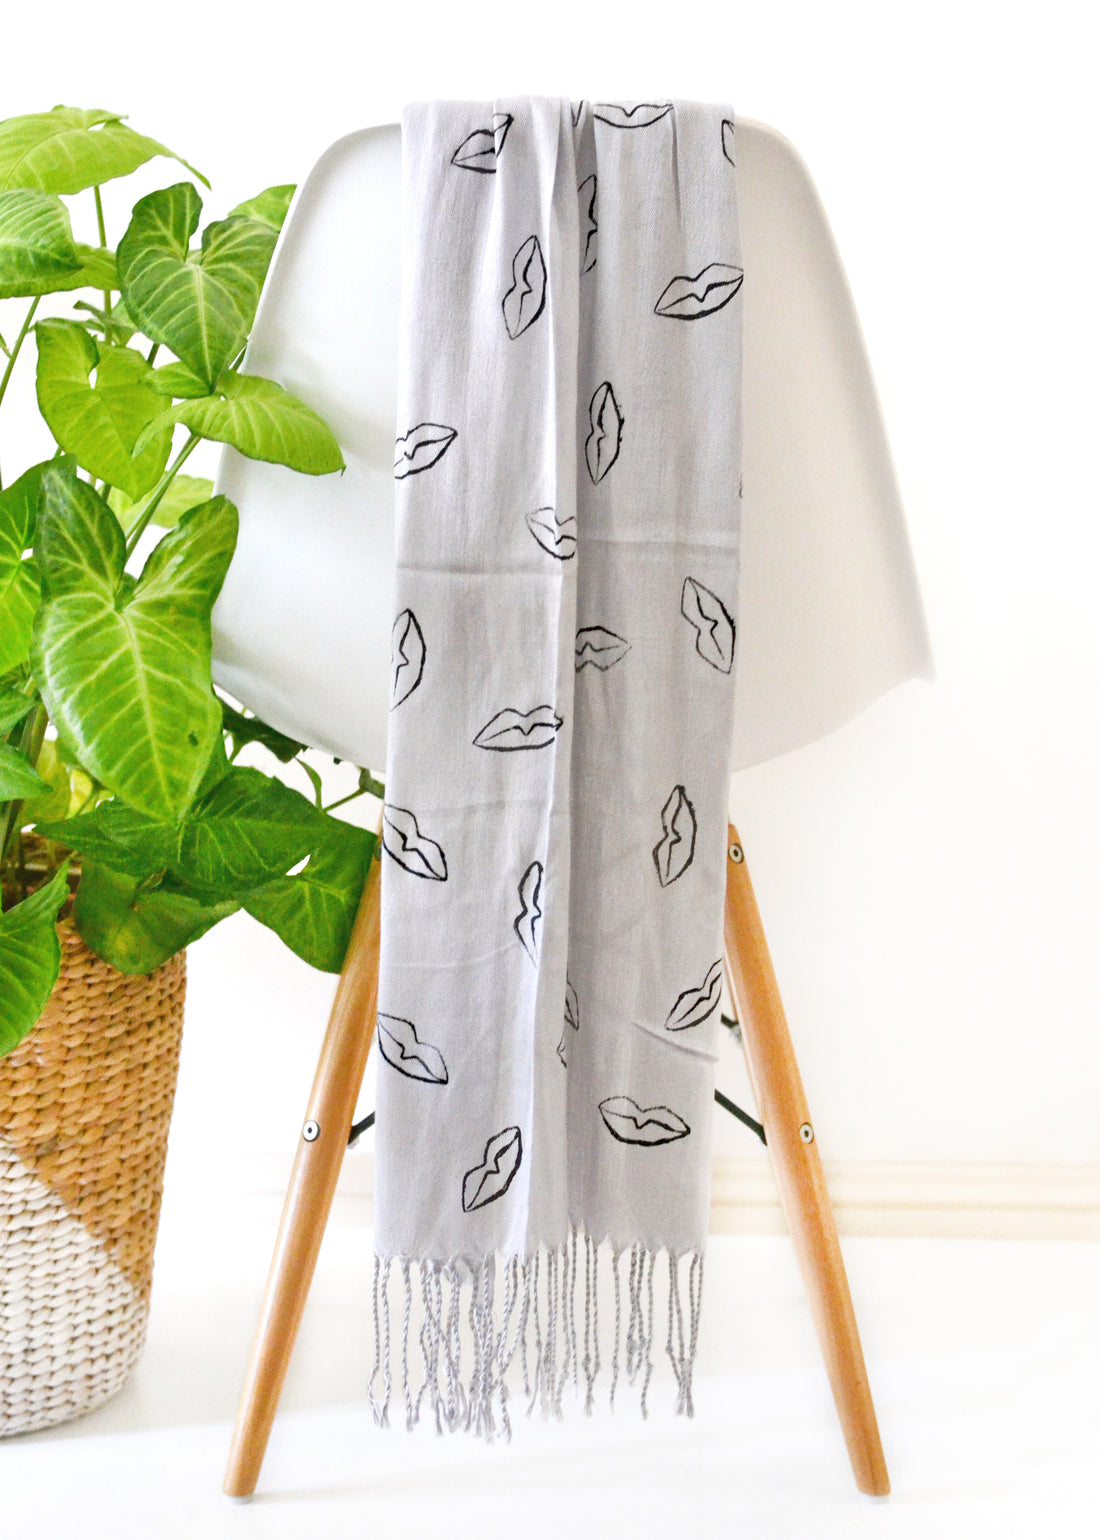
Would you look at that, it’s another body part! Surprised? Yeah, I didn’t think so. 🙂
Ever since I finished making my eye print pillow, I’ve been toying around the idea of making a lip print shirt using the same technique. I mean, who doesn’t need a good set of lips in their wardrobe? But it’s been so cold lately that I just couldn’t get myself into a shirt-printing mood… making it would be fine, but I’d have to pose in it for photos in 10 degree weather, which I imagine would result in a nasty cold and a good case of the grumps.
So the idea got shelved for awhile until it occurred to me that it’d be much better to turn this into a proper winter project and make a scarf instead. Duh.

And I’m totally stoked with how it turned out! Very much tooting my own horn here, but for someone who rarely buys herself clothes and has always wanted a grey and black scarf, having this addition to my wardrobe is ace.
Want to make your own? Then get yourself a toilet paper roll and follow along below!
Materials
- A scarf
- A toilet paper roll
- Black fabric paint
- Scissors
- Glue/tape

Step 1
Squash your toilet roll flat and then cut it in half.

Step 2
On one half of the toilet roll, pinch the top so that it forms a lip shape.


Step 3
Cut a piece from the other half of the toilet roll and then insert it into the lip shape you created in Step 2. This piece will be the line that divides the top and bottom lips on your lip stamp.


Make sure the inserted piece is flush with the rest of the lip shape and then fix it in place using glue or tape so that it doesn’t move while you’re stamping.
Side note: Before gluing my inserted piece, I added a little dip in the middle to make it look even more like a lip.

Step 4
Give your scarf a good wash and iron to prep it for painting. Then lay it flat and place a piece of cardboard underneath it to protect your work surface.
Dip your lip stamp into black paint and start stamping it randomly all over the scarf.


Once you’ve finished stamping your scarf, wait for the paint to dry and then follow the manufacturer’s instructions to set the paint. Mine didn’t require anything other than 24 hours of drying time, but some brands need heat setting so make sure you read the instructions carefully to ensure your lip print stays intact.


Like any kind of stamp, this one lends itself to all sorts of uses, so go nuts and be creative! You could stamp lips on a shirt like I’d originally intended, on cushions, on a wall hanging or anything else you’d like to decorate. And it’s very easy to mix up the colours to suit your decor or wardrobe – the sky’s the limit!
xx Steph

