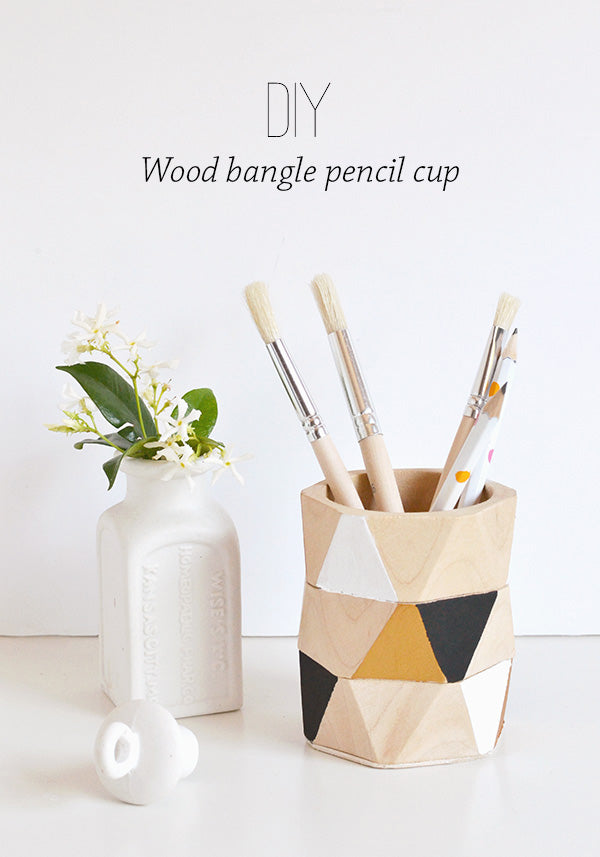
Have your craft supplies ever inspired you to create something you’d not have thought of otherwise? Sounds strange I know, but that’s exactly what happened when I saw these wooden bangles at Light & Co. There was something about their geometric shape that made me instantly want to stack them together. And that idea led to thoughts about making a container, which quickly turned into a pencil cup and voila, a new project was born!
Ha, okay I don’t blame you if you think I’ve gone a bit loopy, but what can I say, inspiration strikes at the oddest times. And I really loved how this one turned out – it speaks to my obsession with geometric shapes (hellooo triangles) and love of wood. Also, it was super easy to DIY, so if you’d like to make your own, grab that wood glue, get some bangles and follow along!
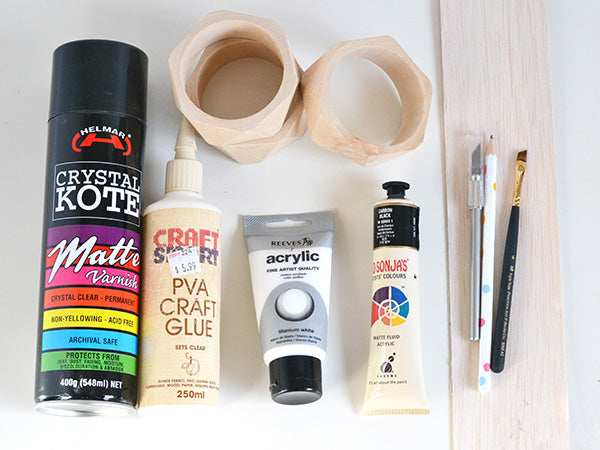
Materials
- Wood bangles (available from Light & Co)
- 2mm (or thicker) balsa wood
- Wood/PVA glue
- Pencil
- Craft knife
- Paint
- A paintbrush
- Painter’s tape
- A bar clamp or vise
- Matt varnish

Step 1
Experiment with lining up your bangles until you’ve figured out which goes best at the bottom, which in the middle and which at the top. The bangles aren’t exactly the same shape as each other, so it pays to do this first to make sure everything matches up the best way possible.
Then using the bottom bangle, trace an outline onto the balsa wood.

Step 2
Use your craft knife to cut along the lines you traced on the balsa wood. This shape will become the base of your pencil cup.

Step 3
Glue your top bangle to the middle one using PVA glue and then clamp the two bangles together with a bar clamp until the glue has dried.

Step 4
Once the top two bangles are glued together, glue the bottom bangles on and then adhere the base. Again use the clamp to hold it all together until the glue dries.


As you can see, I don’t woodwork very often! The only items I had to hold everything together were my trusty Bridget Jones books. I think if you’re going to be proper about this, perhaps try using two wooden planks instead… they’d provide a much more even distribution of pressure 😀
Step 5
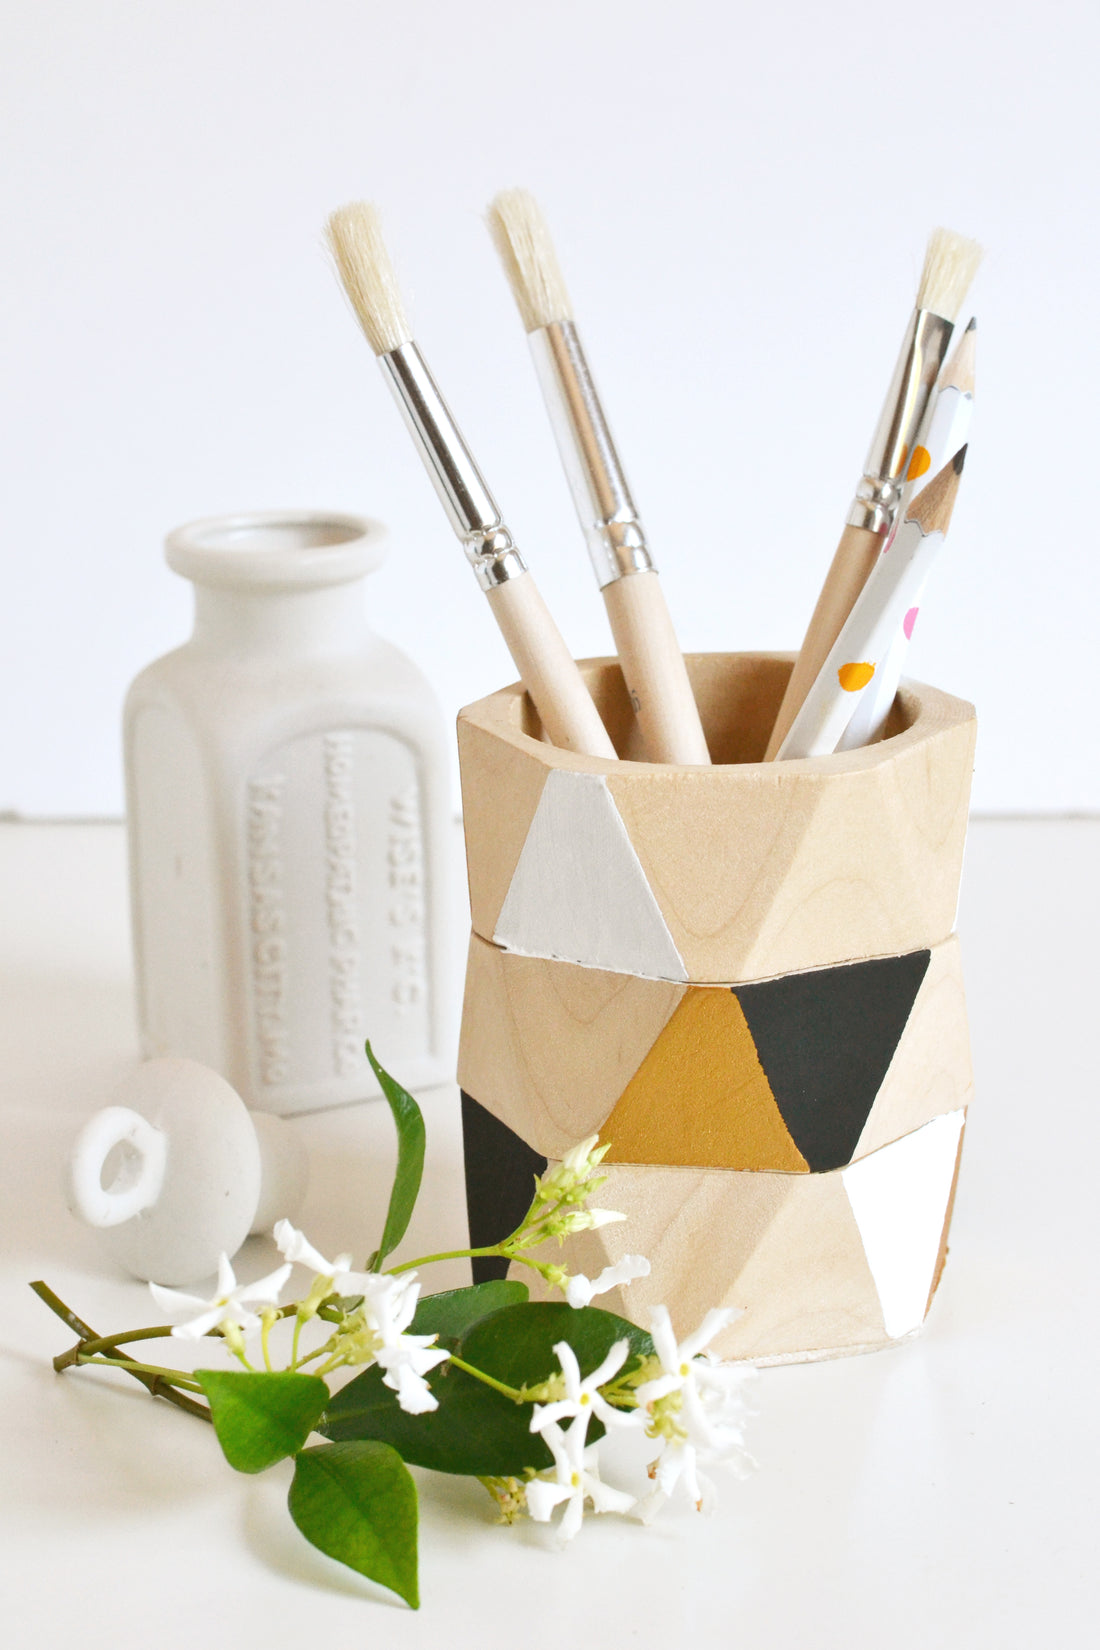
Section off some of the triangle segments on your pencil cup with painter’s tape. Then grab your paintbrush and start painting in the taped-off areas. I chose segments at random and left quite a few unpainted so the lovely natural wood of the bangles would be a feature.

Step 6
Lastly, give your pencil cup a good varnish to protect the raw wood and paint work.


Thank you to the lovely ladies at Light & Co for providing these bangles for me to craft with. My paintbrushes are looking quite stylish in their new home… now I just need to get the rest of my studio in order! Baby steps, baby steps. 😀
xx Steph
A little note: This post was created in partnership with Light & Co. All opinions (including general gushing about their faceted bangles), the project itself and photos are my own.

