
I’ve said it before, and I’ll say it again – this blog has brought me together with SO many talented, inspiring and creative souls. It’s one of the best things about working in blogland. And while many of the lovely folk who cross my path are overseas, every now and then I have the good fortune to meet a kindred spirit closer to home, like the amazing Helen from Lime Tree Bower.
If you haven’t come across Helen’s beautiful floral creations before… well there’s nothing else to say other than go check them out! Helen’s such a ray of sunshine and she works wonders with flowers, so when she suggested we do a project together I just leapt at the opportunity.

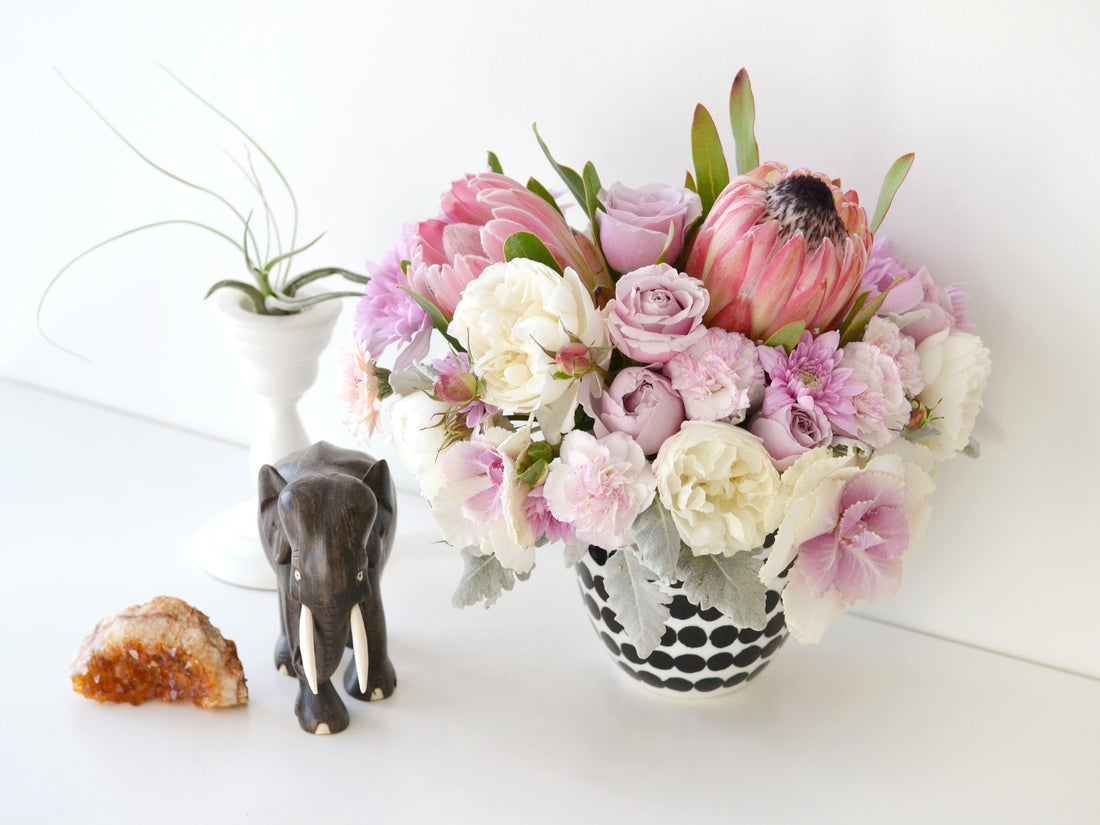
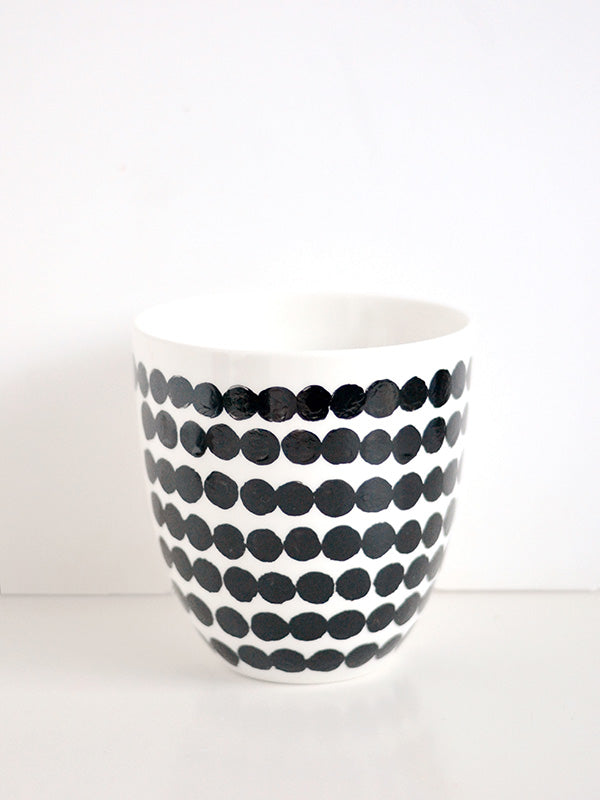
My contribution to this project was a vase that’s so simple to DIY that you can finish it in under half an hour. Ha, that makes me sound really lazy, but I swear I didn’t choose this design just because it was easy! It was actually inspired by a gorgeous Marimekko pattern called Räsymatto that I’ve been crushing on for awhile. And I have to say, even though it’s so effortless to make, this little vase is fast becoming my new favourite decorator piece.
See below for the instructions and once you’ve made your vase, make sure you head on over to Helen’s site for the low down on how to assemble your own beautiful floral arrangement!
Materials
- White vase or tall bowl (mine was actually a salsa bowl)
- Black nail polish
- A fat marker or something round to stamp with
- Flowers and foliage (tutorial for the florals on Lime Tree Bower)

Step 1
Brush some nail polish onto the end of your marker; enough that it’s well covered, but not so much that it starts to drip.

Step 2
Stamp spots onto your vase in rows. Try to make the spots overlap slightly as you go. And don’t worry too much if your lines are a little crooked – that semi-hand painted childlike look is what we’re after.


If you find that some of the spots appear patchy when stamped, simply fill them in using the nail polish brush.

Once you’ve stamped spots all the way around your vase, leave it to dry. With most brands of nail polish being quick-dry these days, this part shouldn’t take more than a few minutes.


And that’s seriously it! Told you it was simple 🙂
As you can probably tell, this is one of those pieces that you’ll need to be a little careful with when washing. It should withstand a light soaping with warm water, but since these aren’t glass paints, I wouldn’t go putting this in the dishwasher and definitely don’t use this technique on ceramics that will come in contact with food.
Oh, and don’t forget to head on over to Lime Tree Bower for the floral arrangement instructions – it’s such a pretty bouquet, I guarantee it’ll knock the socks off all your friends who come over to visit!
xx Steph