
Okay, let’s preface this by saying you might have seen this before – crafters have probably been spray painting glass and getting in on the Sharpie action for years. But Sharpie paint pens are new to me and the time has come for my poor old pencil cup to embrace retirement, so I thought I’d share this quick one with you while I created a brand new place to house my stationery.
This project’s as simple as they come, so grab some spray paint and a Sharpie paint pen and follow along!
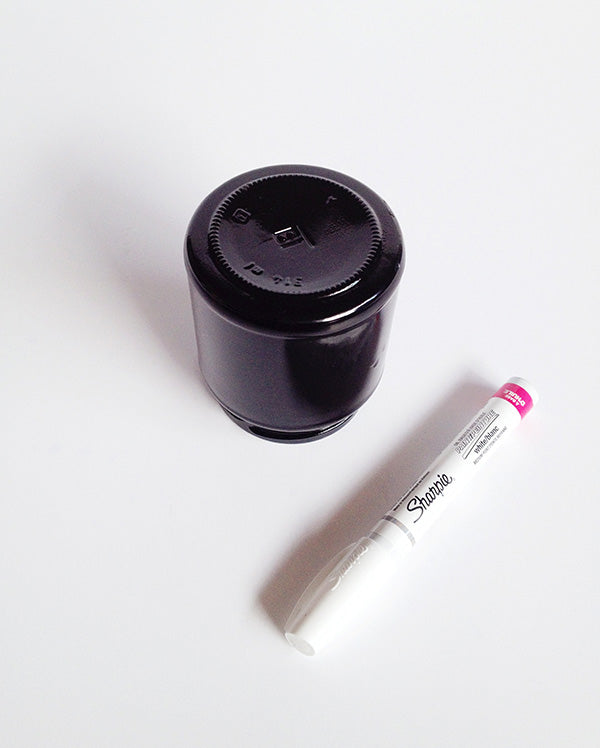
Materials
- Glass jar
- Black spray paint
- White Sharpie (oil based) paint pen

Step 1
Take yourself outside and spray paint the heck out of your jar. I found this works best when using multiple light coats rather than a single heavy coat (otherwise the paint will run and leave drip marks).
Step 2
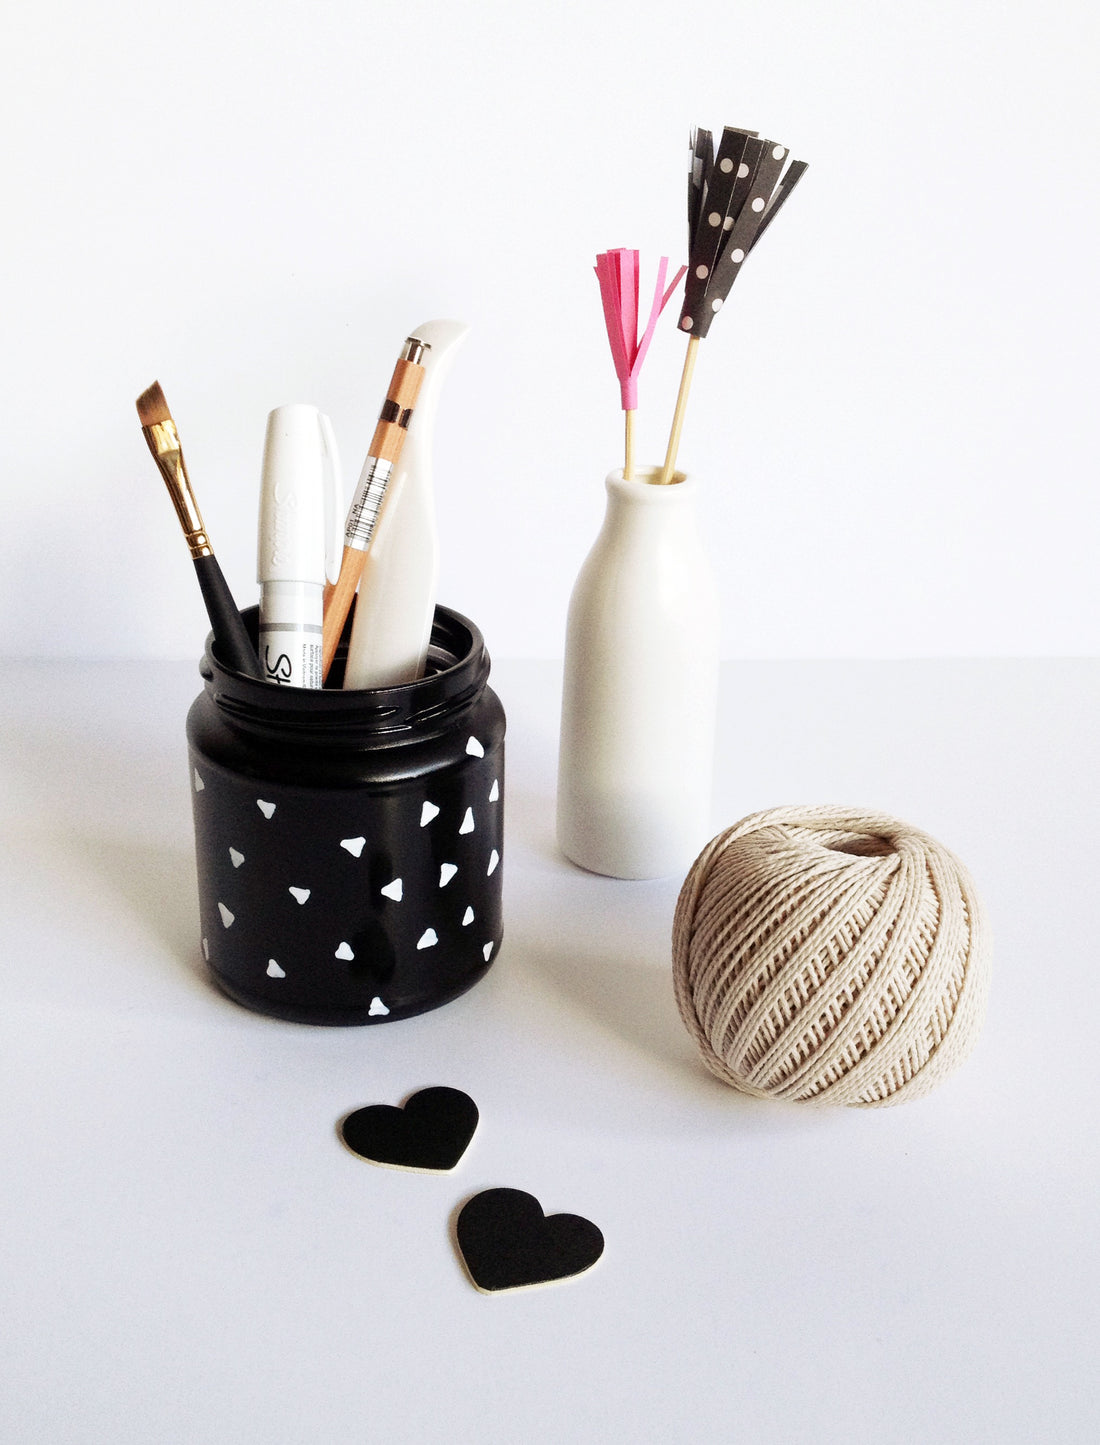
Once your jar has dried, grab your Sharpie and start drawing! This is where you get creative – you can draw ANYTHING you like. In case you haven’t already noticed, I have a penchant for triangles, so that’s what ended up on my jar 🙂

And would you believe it – project done! Couldn’t be easier really, and now you’ve got yourself a pencil cup that’s going to look pretty spiffy on your desk. Not bad for 10 minutes work hey?

One thing to remember is that the paint may not be permanent – I don’t think spray paint and Sharpie pens are specifically made for glass and they might come off with washing (but if you’ve experienced otherwise, correct me if I’m wrong!). If you want a more permanent effect, try using glass paint instead – once you fire that stuff in the oven, you can wash it to your heart’s content.
xx Steph