If I flashback to a couple of years ago, I can clearly remember being into everything stripes. Striped furniture, striped accessories, striped clothes… you wouldn’t believe how many striped dresses and tops I now have, all from that period!
Although I’ve somewhat eased up on that obsession of late, every now and then I can’t help but introduce a new striped accessory into my home and this cushion cover has turned out to be one such item.
Making this one is super easy and ends up being a fraction of the cost of a store bought cushion cover (win!). If you’re as keen on stripes as I am, get out those paints and let’s get started!
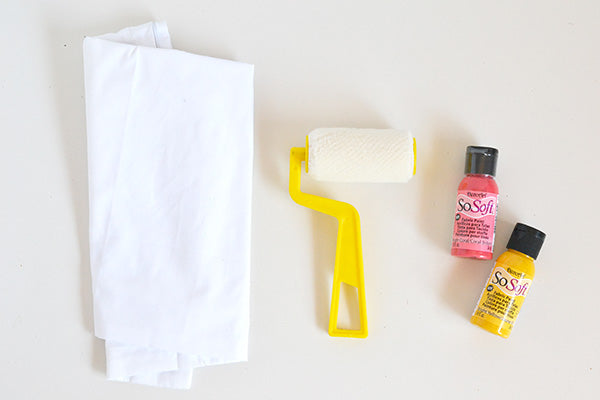
Materials
- Paint roller (I used one that’s meant for sample paint pots, with a width of around 8cm / 3.12 inches)
- Fabric paint
- White cushion cover
- Cushion insert
- Cardboard and plastic bags / plastic wrap
Step 1
Wash and iron your cushion cover to prep it for painting. Then get some cardboard, wrap it in plastic and place it inside your cushion cover. This will protect the back of your cushion cover while you’re rolling paint onto the front. I found that two A4 sheets of card wrapped in plastic worked quite well in keeping the reverse side of the cushion cover paint free.

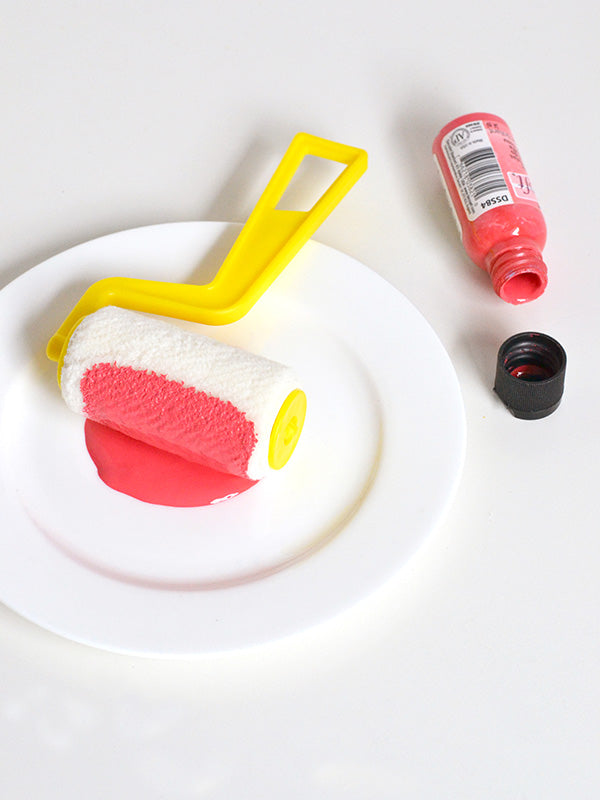
Step 2
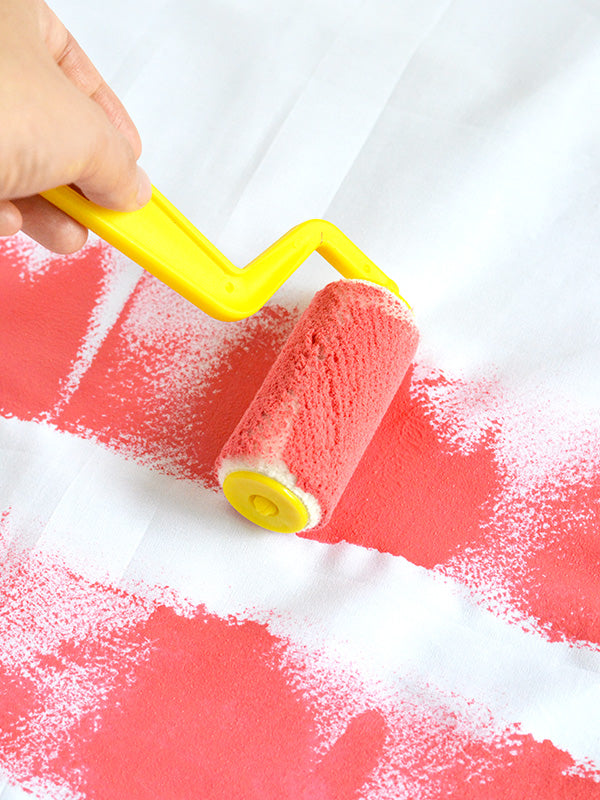
Place a good amount of fabric paint onto a palette and completely cover your roller (as you can see, I don’t have a palette so I just used a plate!).
Step 3
Start painting on your stripes. This part of the project is very forgiving, so don’t be alarmed if there are too many gaps at first. If your stripes are too rough to begin with simply put more paint on your roller and go over them again until they’re as filled in as you’d like.
Remember though, it’s supposed to look hand painted, so don’t stress out too much about getting the stripes perfect!
I found that reloading my roller with paint after each stripe was a good way to ensure a consistent texture across all the stripes on my cushion cover.
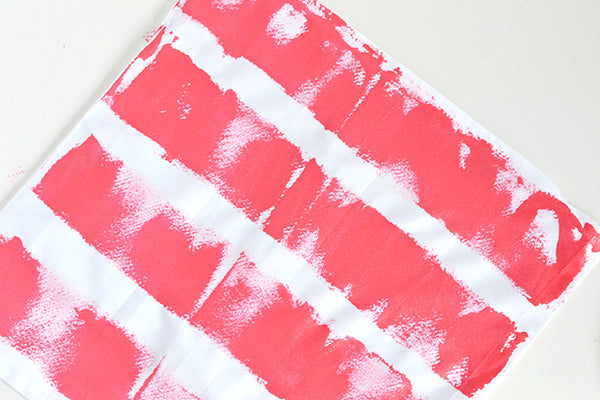
Step 4
Once your stripes have been painted on, leave your cushion cover to dry and then set your paint according to the manufacturer’s instructions (some paints are fine as is, others require heat setting with an iron).
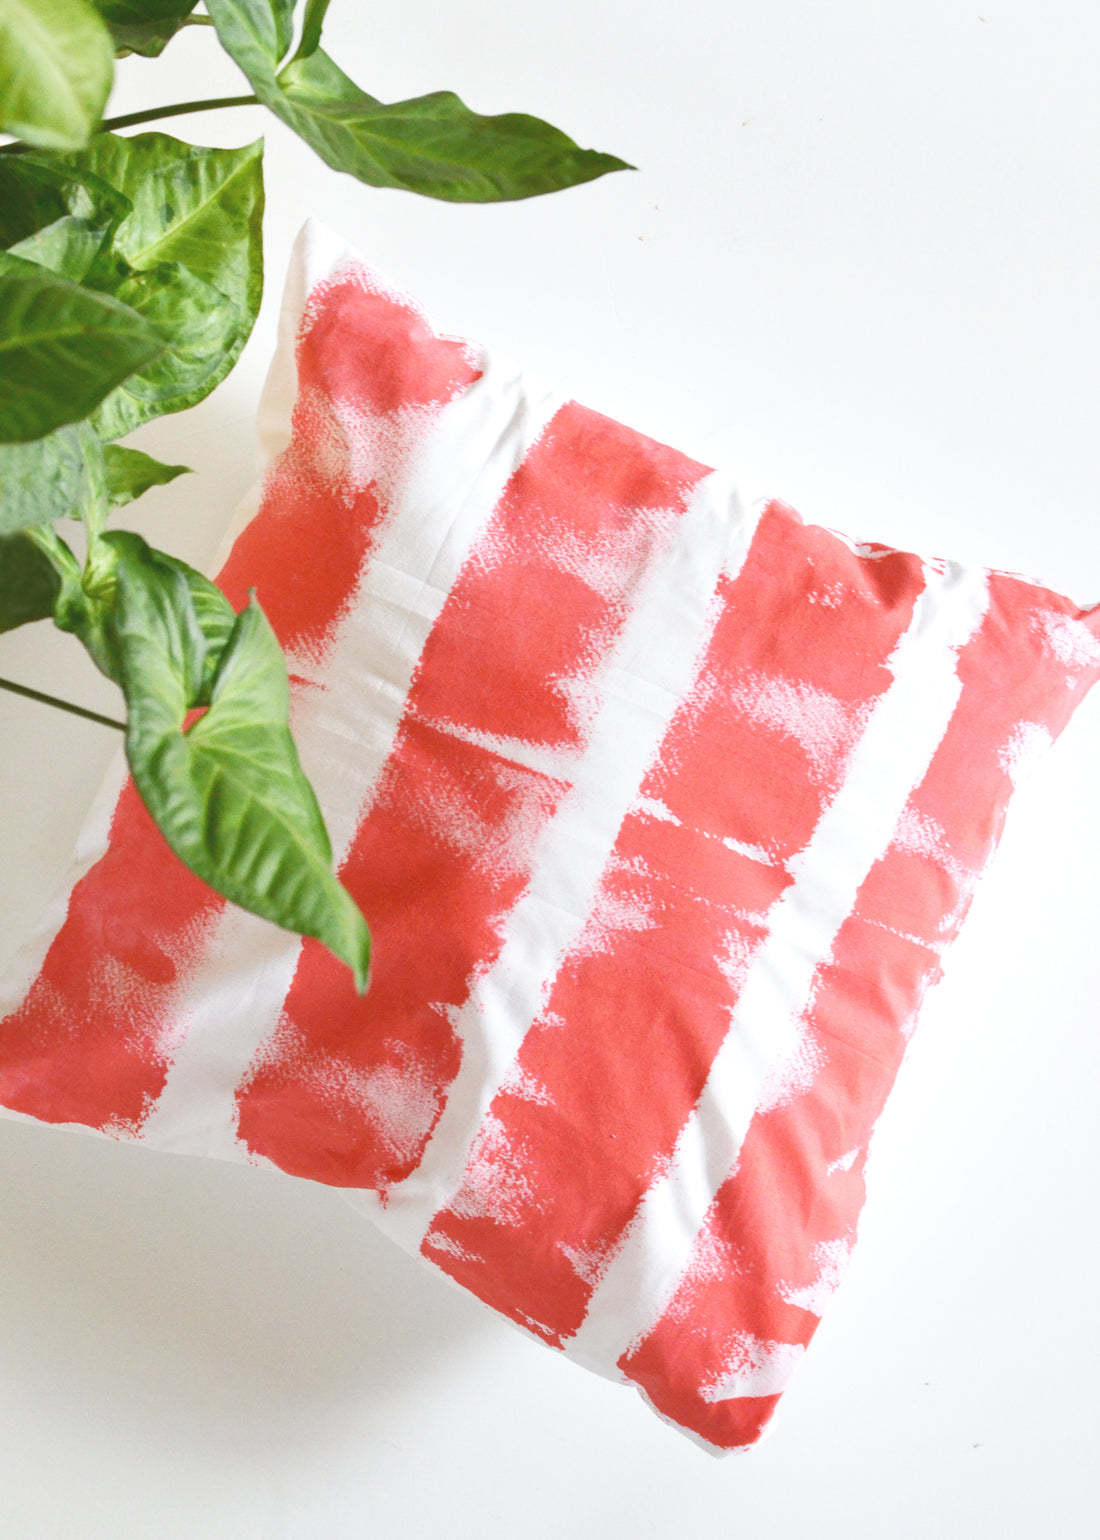
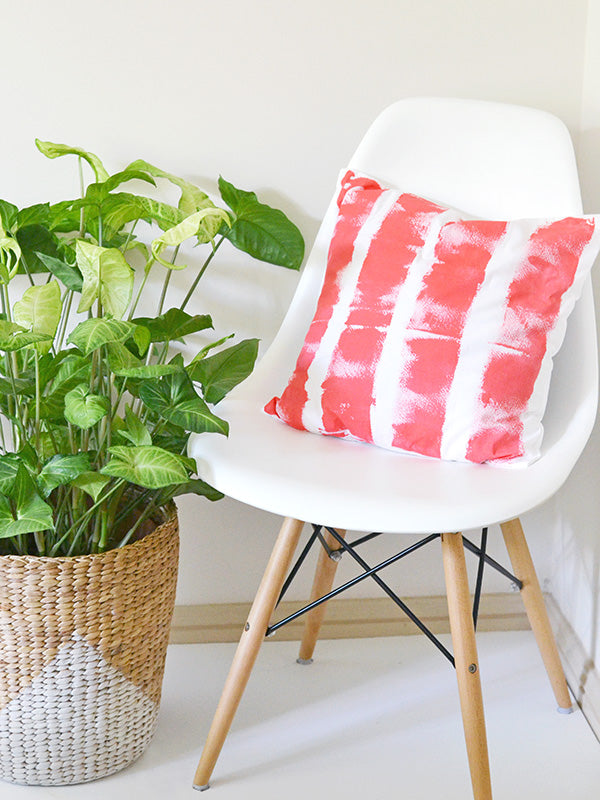
When your paint is dry and set, pop a cushion insert into your cover and you’re done!
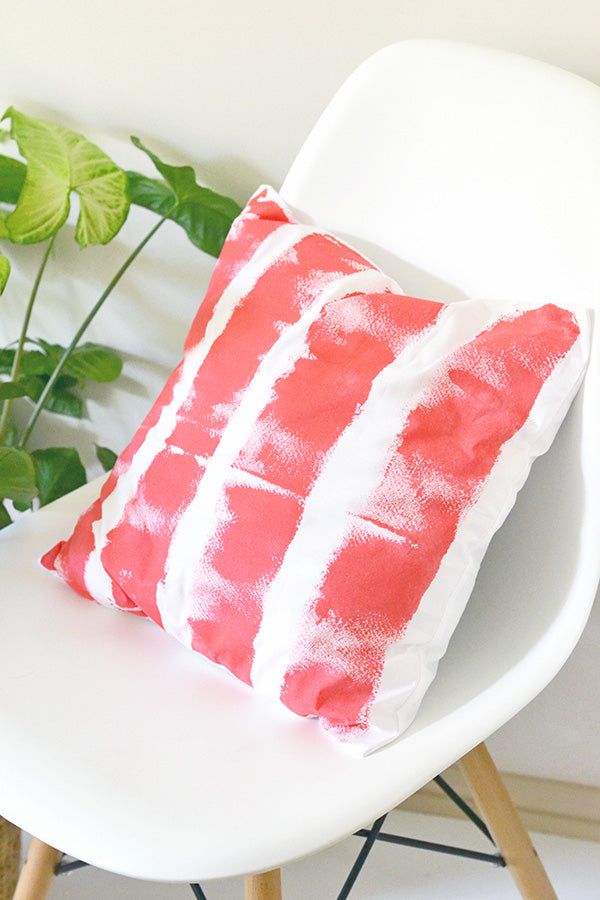
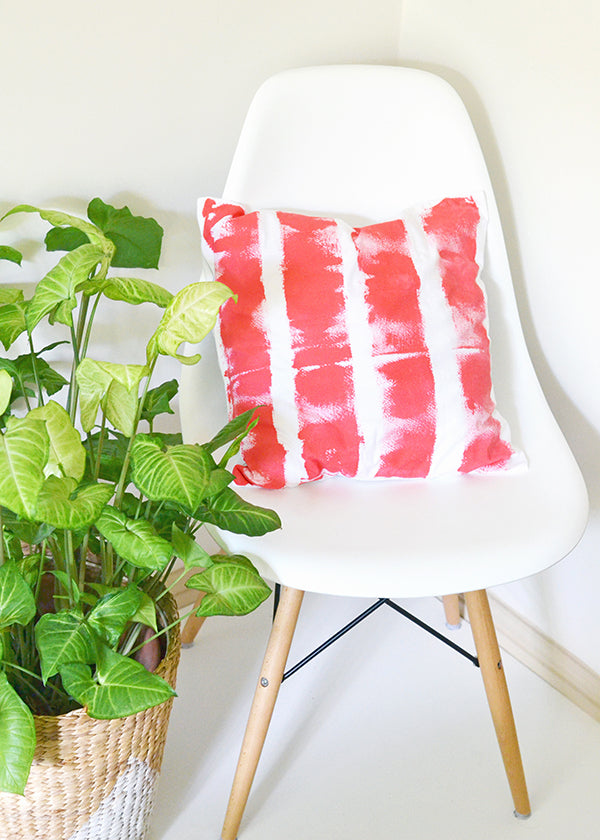
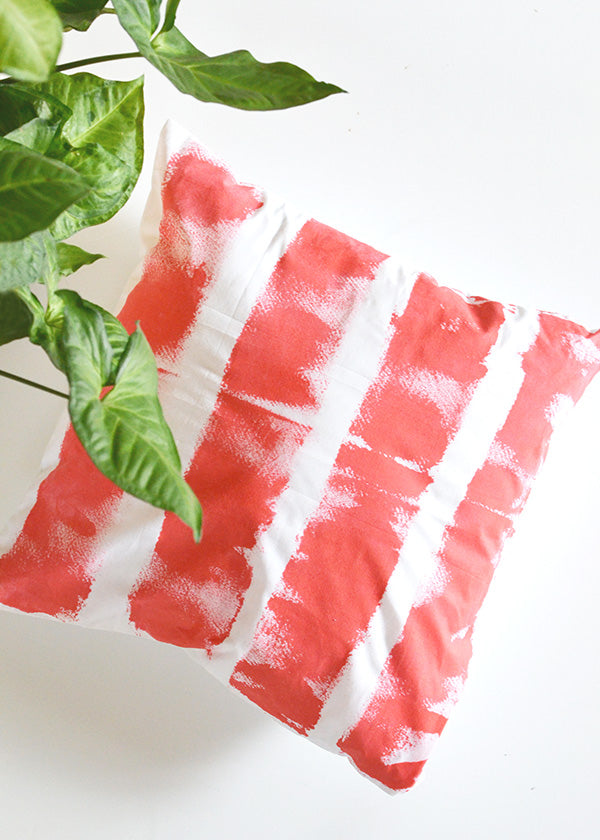
I’ll admit that when I initially started painting the stripes onto the cushion cover, my first thought was ‘oh dear, this looks terrible’. But after persisting and covering the whole cushion in stripes, the look has definitely grown on me and now I’m loving it! This project has been a fun and easy way to add pattern to an otherwise plain room – if you’re game, try making cushions with different roller widths or in different colours for an even more interesting effect!
xx Steph