
It seems my parents, bless them, haven’t yet given up on me and my plant-killing ways. They so badly want to see my home become a greener place that they’ve lovingly grown another indoor plant to send my way. This is after I broke the news that the last two leafy friends they’d passed onto me had since met their maker (insert sheepish grin here). What can I say? I have a cursed brown thumb (and my parents have eternal optimism!).
While this new plant is still healthy and green (how long that’ll last for I can’t say!) I thought it might be nice to give it a stylish new home. Yes, I realise this won’t increase my plant’s longevity in the slightest, but it’ll make it even prettier to gaze upon while it remains in the land of the living which is the next best thing right? If you’d like to make one of your own, the (very simple) instructions are below… and keep your fingers crossed for the survival of my latest plant baby!
Materials
- A basket
- White spray paint
- Painter’s tape

Step 1
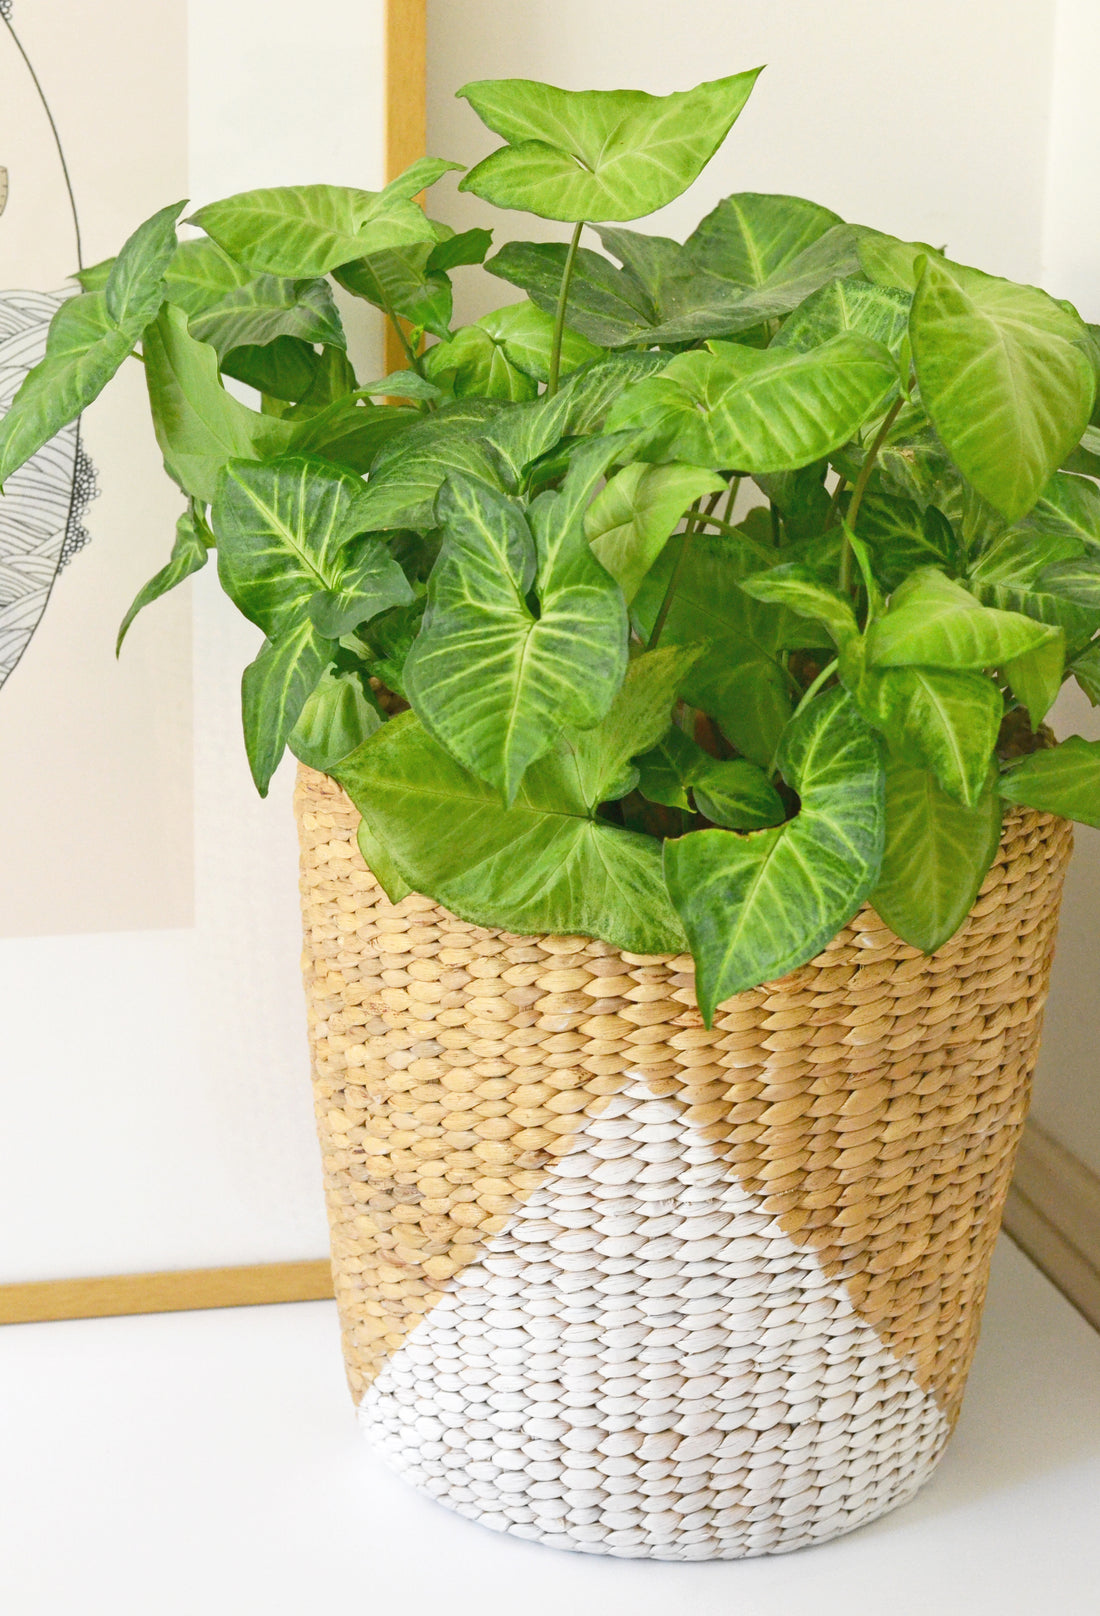
Mark out triangles on your basket using painter’s tape (I went with two triangles placed on opposite sides of the basket). Make sure the rest of your basket is well covered with tape so you don’t get paint in strange places when you start spray painting.
Before you start painting, press the tape down firmly EVERYWHERE. This one always gets me when I’m working with paint – there’ll inevitably be a gap somewhere that I miss which then turns into a white splodge once the tape’s been removed. Prevention is infinitely better than a cure in this case and firmly pressed down tape = happy days.

Step 2
Take your basket outside and give it a few good coats of spray paint. Then remove the painter’s tape to reveal your pretty triangles!

Uh huh, that’s really it. Project done! The hardest/longest part of this entire basket makeover was just getting my tape onto the basket – as you can see, I used quite a bit of tape which took awhile to put on. Once you’ve done that, the rest is smooth sailing.
You could also add a coat of matte varnish if you feel your basket needs it. I didn’t bother – mine is definitely going to stay indoors and out of harsh sunlight so I don’t expect the paint to come off or fade too much anytime soon.


Oh, and just in case you’re wondering, I kept my plant in its original pot before putting it into the basket – the pot my parents gave me may not be very pretty, but it has drainage holes and a drip tray which is infinitely better for my new leafy friend. If you wanted to put your plant straight into the basket, I’d line it with plastic first and put in some holes for drainage – this should help protect both your basket and the plant!
xx Steph