Yeah I know, I have a problem. First it was eyes, now it’s hands and before long I’m going to want to make one of those boob totes that’s been doing the rounds lately. I’m not sure if I should stop myself now before things get crazy or just dive right in!

If it’s any justification, I really did need a new pencil case for my ever increasing number of craft supplies, and the hand print looks pretty spiffy in my studio. I was inspired by this beauty, which I’ll totally end up buying as well because I just can’t get enough of the hand print trend. If you too are obsessed with all the body parts, you should find yourself some iron-on transfer paper and follow along…
Materials
- White canvas pouch (I got mine from Etsy)
- Iron on transfer paper
- Scissors
- Iron

Step 1
Head to the end of this post and download the Hand Pattern file. Then print it out onto your iron-on transfer paper (make sure you follow the manufacturer’s instructions for printing; a lot of brands only work with inkjet printers).
Step 2
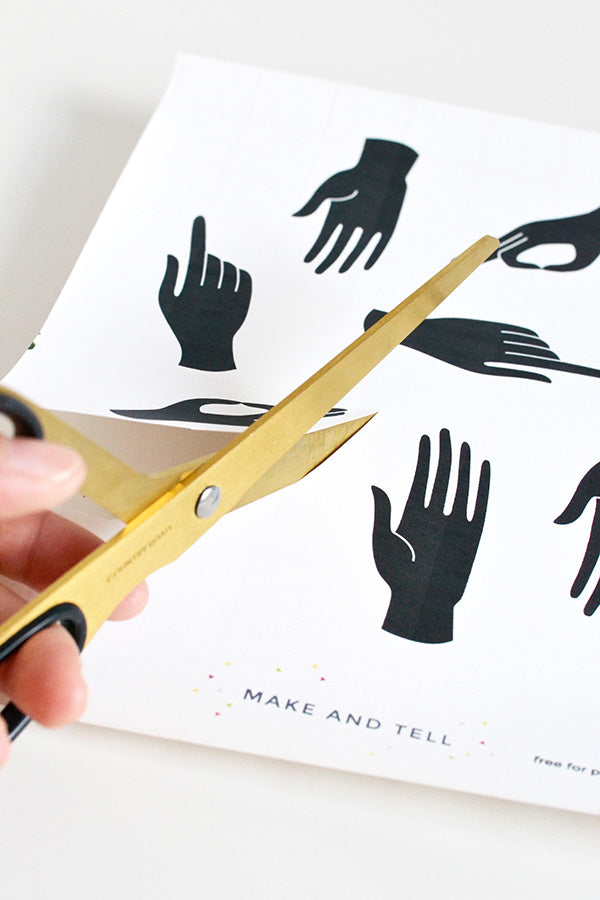
Cut out all the hands, leaving a border of about 3mm around each one.


Step 3
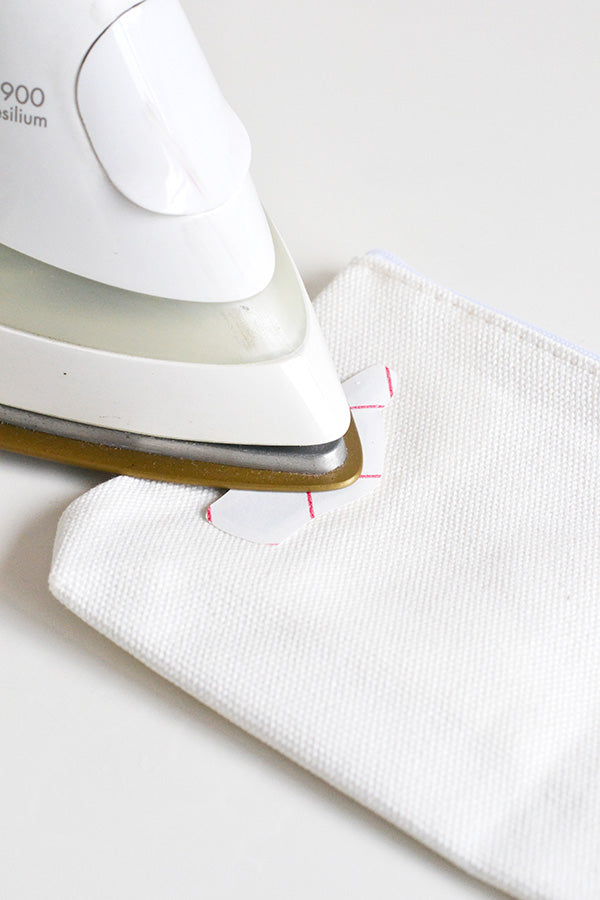
Place the hands face down onto your canvas pouch. This is the best time to play around with positioning them so that they fit on the front of your pouch the way you’d envisaged.
Once you’re happy with how they look, iron them on according to the manufacturer’s instructions. Different brands of iron-on transfer paper have different guidelines so make sure you check these before you start ironing (e.g. mine required the iron to be set at the highest cotton setting on dry).

Step 4
Wait for your pouch to cool completely, then peel the backing paper off your hand prints.

If you’d like the hand pattern to be on both sides of your pouch, simply flip the pouch over and repeat steps two to four on the other side. Make sure you place a piece of baking paper underneath the pouch before ironing the hands onto the second side – this will stop the print from coming off the first side when you start to iron.

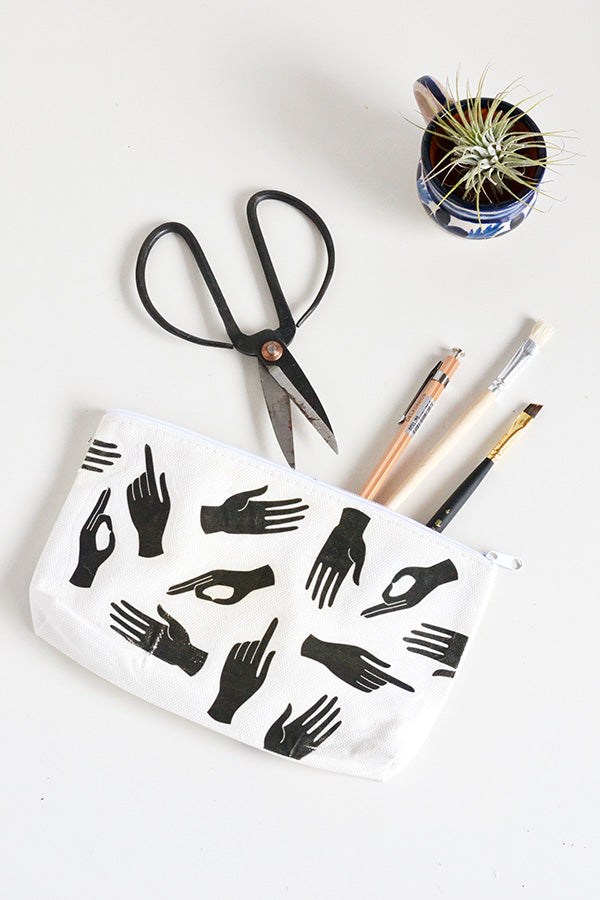
Oh, and if you’d like to have some of the hands disappearing off the edges of the pouch like in the image above, simply trim the hands to size before ironing them on.
Once both sides of your pouch are covered in hands and the pouch has completely cooled after ironing, it’s ready to use!


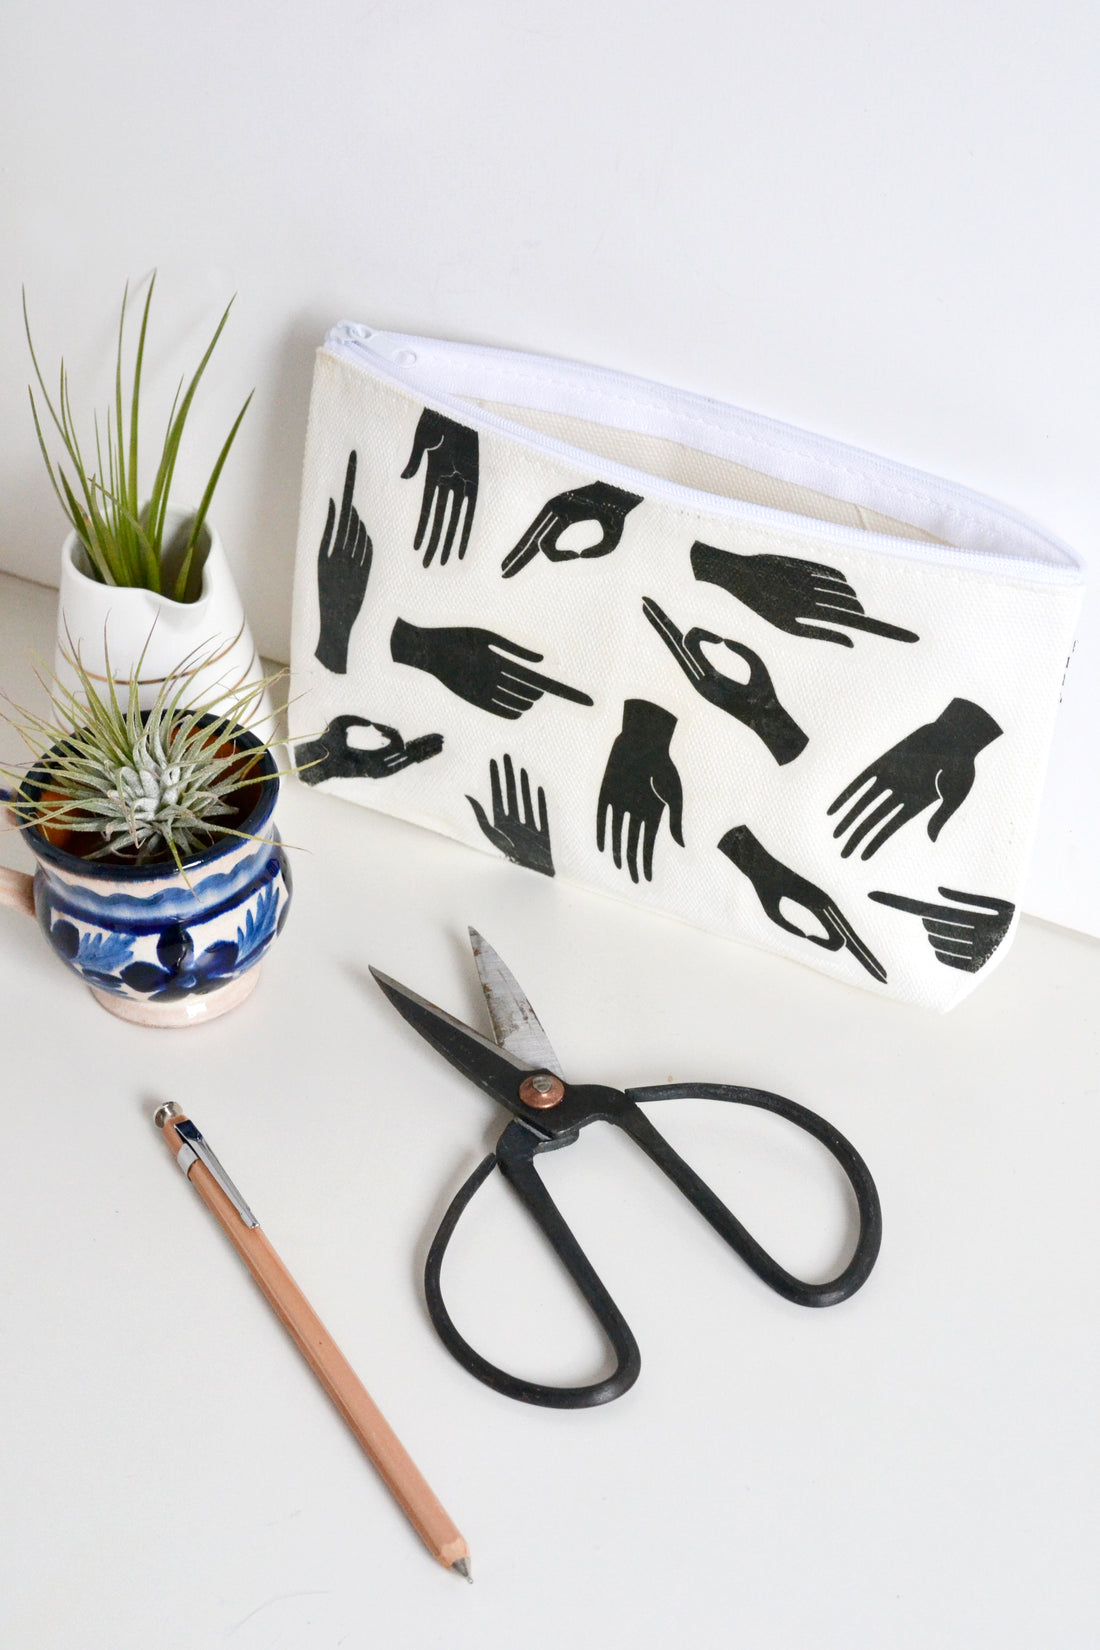
Without tooting my own horn too much, I just love how my little pencil case turned out – it goes perfectly with my clay eye dishes and the eye pillow in my studio. Slowly but surely I’m decking out my workspace in appendages… what do you think, boobs next? 😉

xx Steph

