
Is it showing my age if I say that the whole time I was painting this cushion, the words ‘Kris Kross will make you jump, JUMP’ were on repeat in my head? Yeah I know, I’m getting worse as the years go on… first it was the dad jokes, now it’s bad music!
Poor song choices aside, criss cross patterns, grids or whatever you’d like to call them have been high on my ‘must make’ list for the longest time. There’s a lot to love about this minimal, sleek look – it goes with everything, it’s sophisticated while still being fun, and best of all it’s super simple to DIY.

And because there are quite a few grid patterned DIYs out in the world already, I thought I’d try something a little different and go for a painterly look instead. If you’re after a nice easy way to dress up those plain cushion covers, get out that fabric paint and let’s get painting!
Materials
- Plain cushion cover
- Black fabric paint
- Fine paint brush
- Painter’s tape or masking tape

Step 1
Prep your cushion cover for painting by giving it a good wash and iron. Then wrap a sheet of cardboard in plastic and insert it into the cushion cover. This will protect the back of the cushion from getting paint on it while you’re working on the front.


Step 2
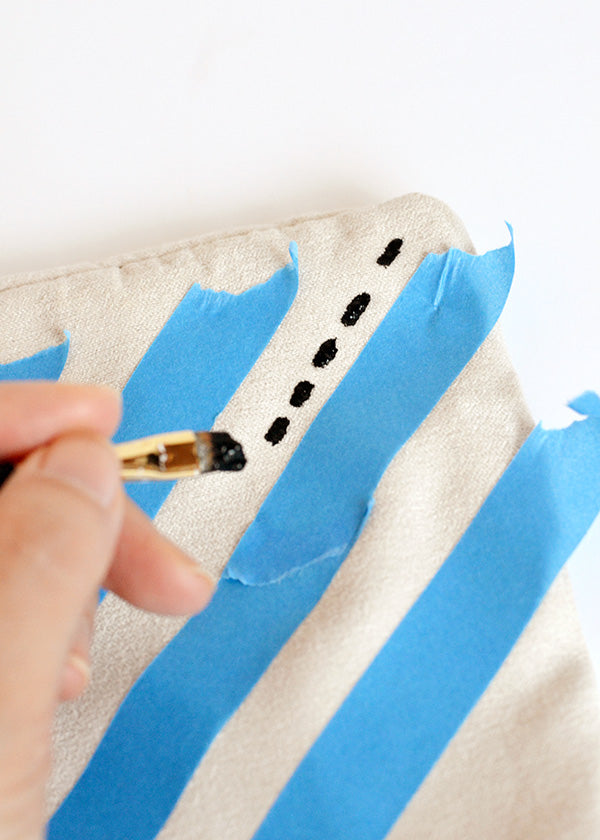
Use painter’s tape or masking tape to mark out stripes diagonally on the cushion cover. The tape will act as a guide so that your lines are relatively straight and evenly spaced (a little crookedness is fine, but you can bet that if I didn’t have the tape, I’d be going off in all sorts of directions which would ruin the whole ‘grid’ look).

Step 3
Start adding dashed lines in the spaces between the painter’s tape. Don’t worry about being overly precise with this step – the whole idea is to get that painterly, imperfect look so it’s fine if your dashes are not all identical.

Step 4
Once you’ve painted all the dashed lines in one direction, wait for the paint to dry and then apply painter’s tape diagonally in the opposite direction.

Step 5
Repeat Step 3 by painting dashes in the areas not marked off by painter’s tape. The end result should be a grid of dashed lines.

Let your cushion cover dry completely, then set your paint according to the manufacturer’s instructions (some paints require heat setting with an iron, others hold fast after 24 hours of drying time).


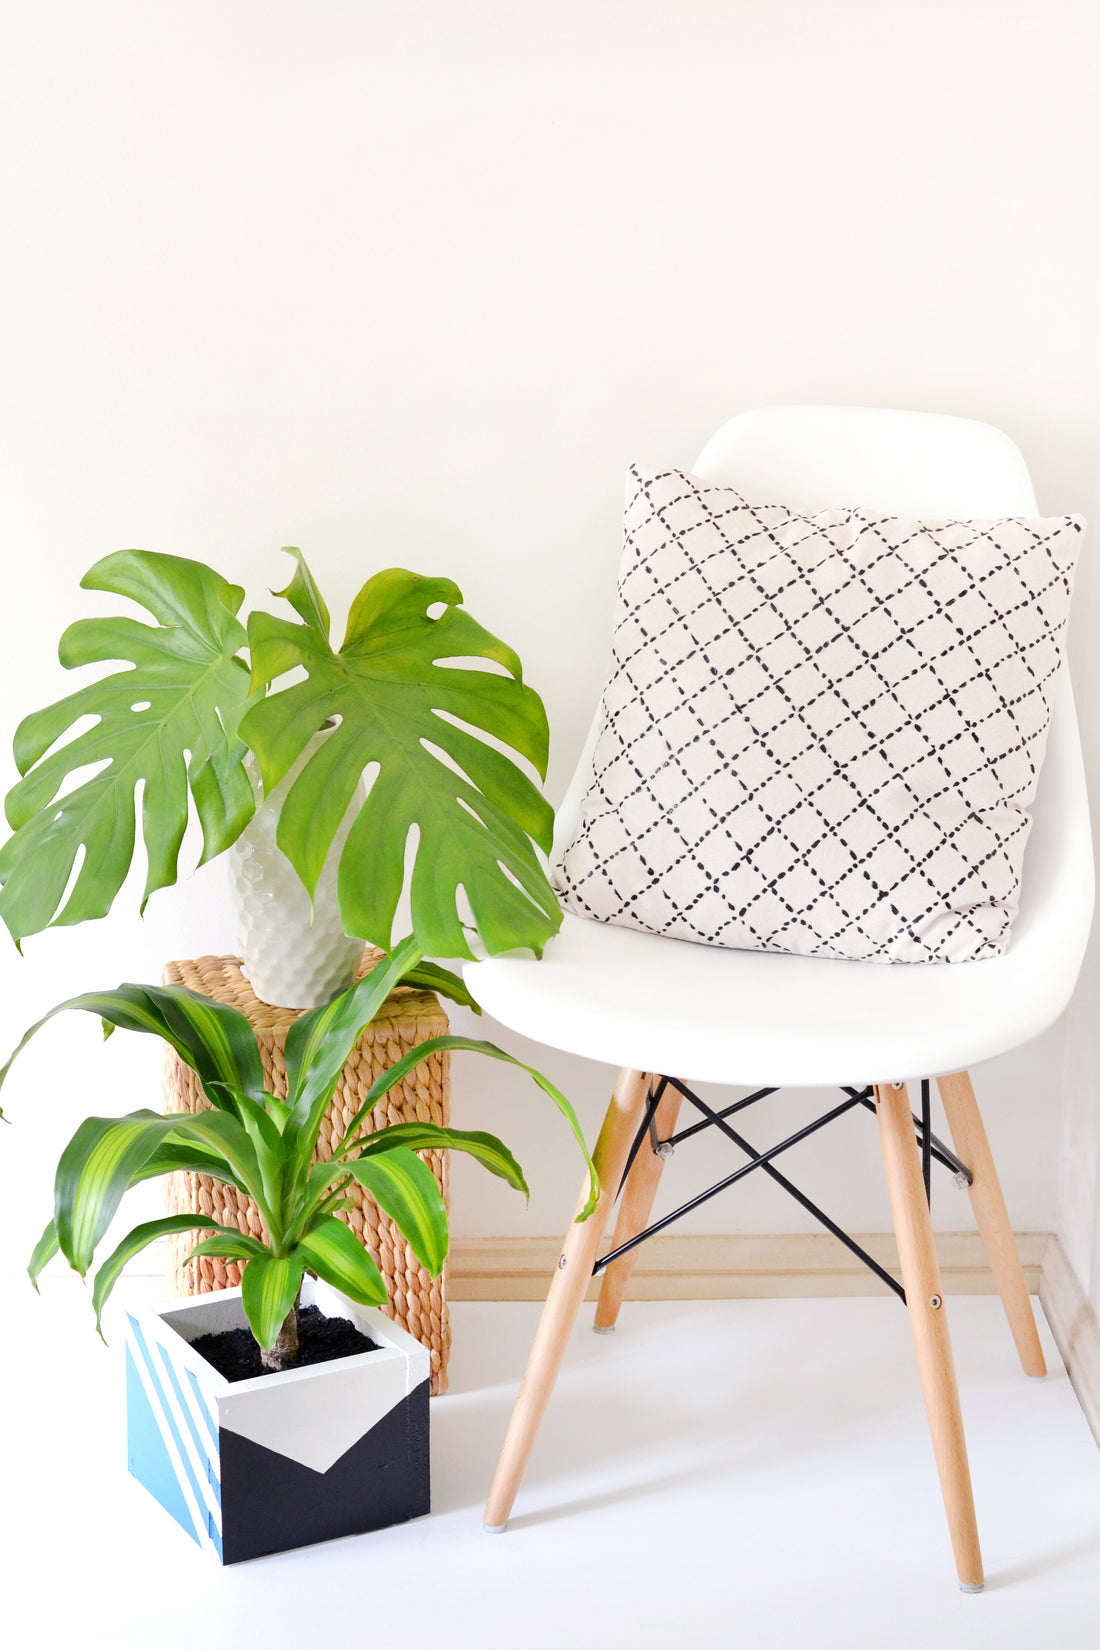
And there you have it, an on-trend grid cushion cover! That wasn’t too hard right? And yeah, this might not be quite the same as the sleek grid patterns that are so popular right now, but I have to say I like the painterly look – it takes the edge off the straight lines and makes everything just a tad more relaxed don’t you think?
xx Steph