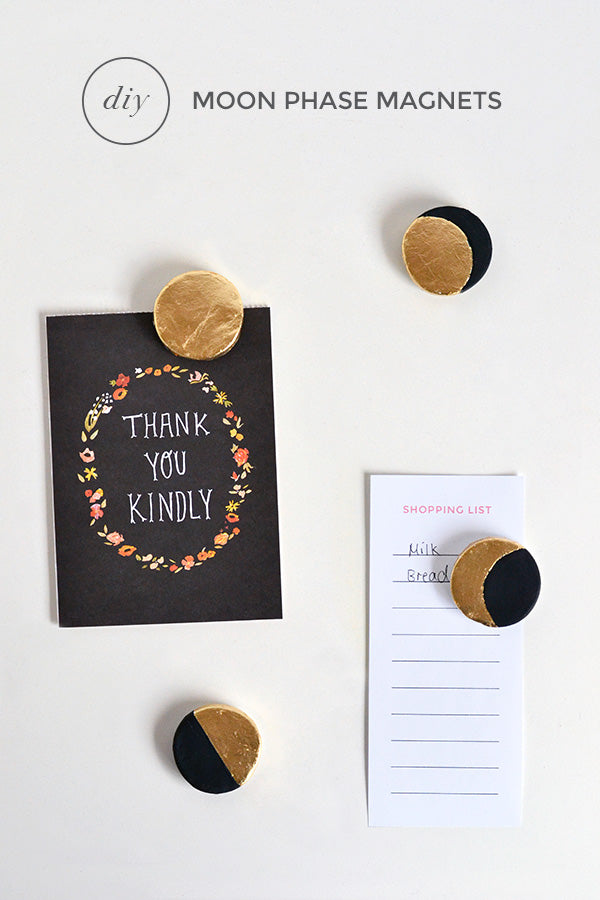
I hope you guys are in the mood for metallics because as you can see, this week’s project is just packed to the brim with gold. And I have to say, if I’d known my boring fridge would look this much better with a hint of shine, I would have done this a long time ago! Now if I could just cover my whole fridge in gold, I’d be a happy gal. 😉
If you think your kitchen could do with a bit of a sparkle, get out that clay and let’s get making…
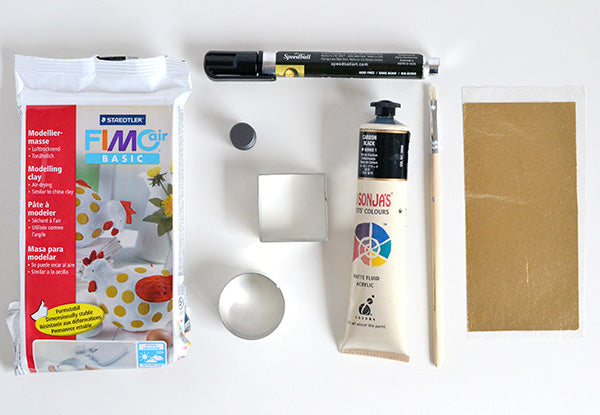
Materials
- Air dry polymer clay
- Black acrylic paint
- Gold foil and adhesive
- Circle cookie cutter
- Square cookie cutter or palette knife
- Paint brush
- Magnets
- Super glue or E6000
- Spray varnish
Step 1
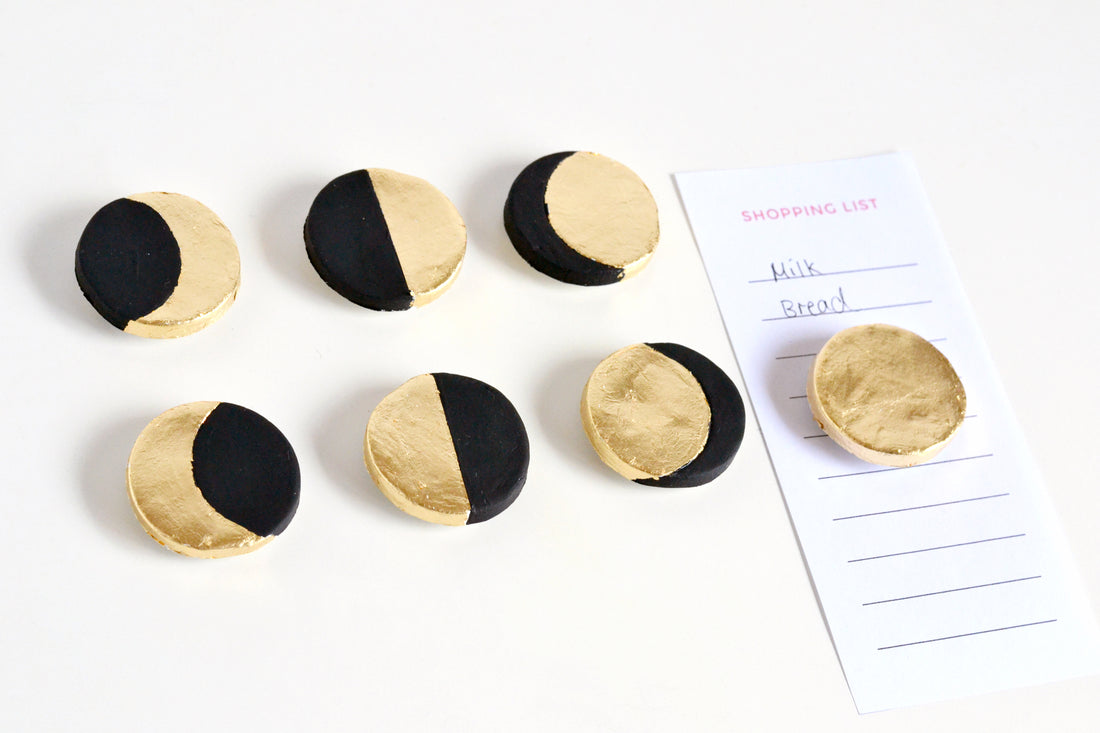
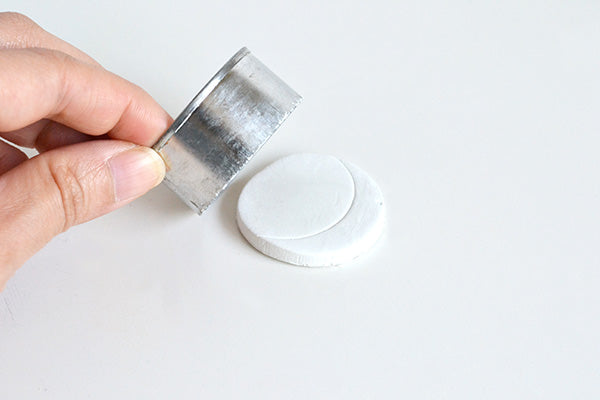
Roll out your clay to around 5mm thick, then use a round cookie cutter to cut out some circles. I made seven circles in total to cover each of the phases of the moon.

Step 2
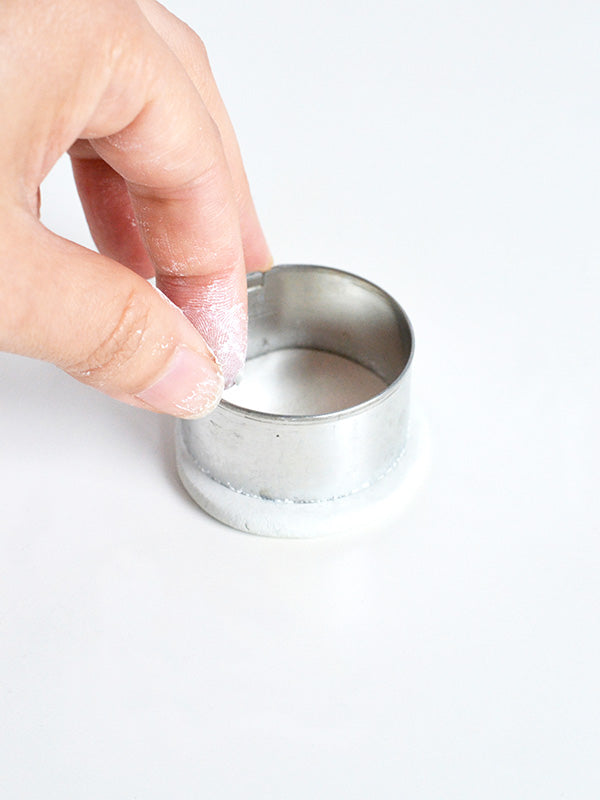
Make slight indents in your clay circles with your cookie cutter. These indents will act as guides so you know where to paint and foil your clay.
To make the indents, lightly press into the clay before lifting the cookie cutter away. Use a circle cookie cutter to mark out the shapes of the first quarter and three quarter moons.
Then use a square cookie cutter (or a palette knife) to mark out a straight-line indent for the half moon.
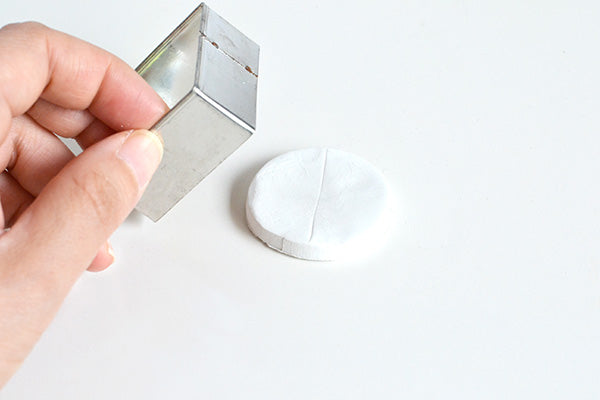
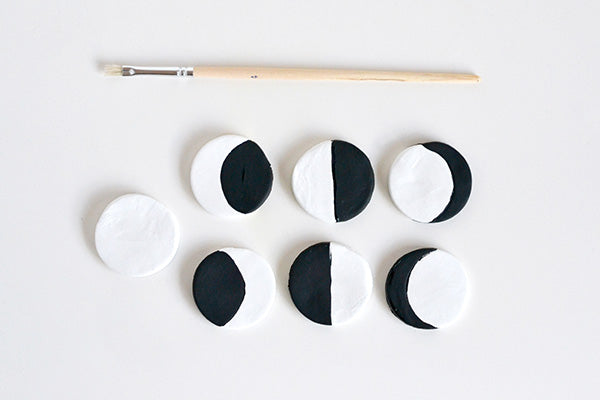
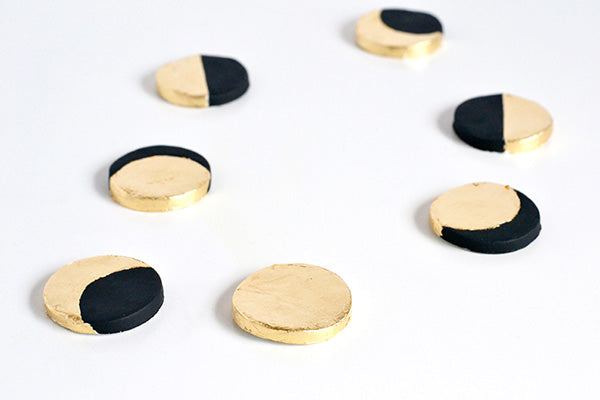
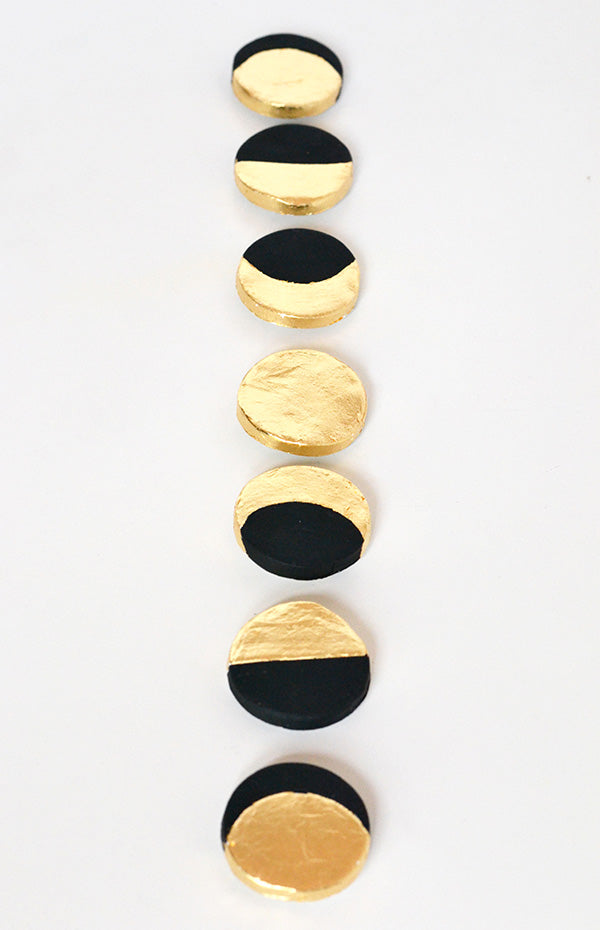
Once your indents have been made they should look similar to the the circles below (one circle will have no indents – this will be the full moon).

When you’ve finished making indents, leave your clay to air dry according to the manufacturer’s instructions.
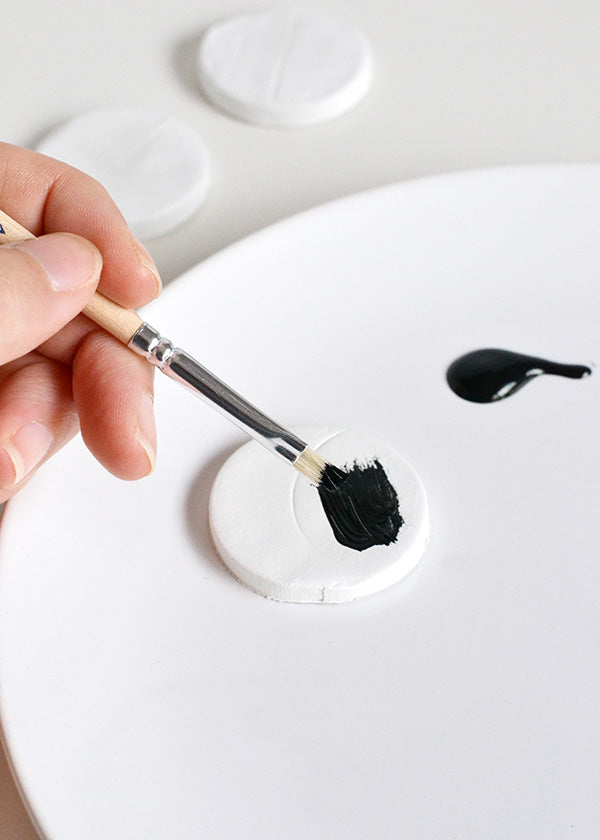
Step 3
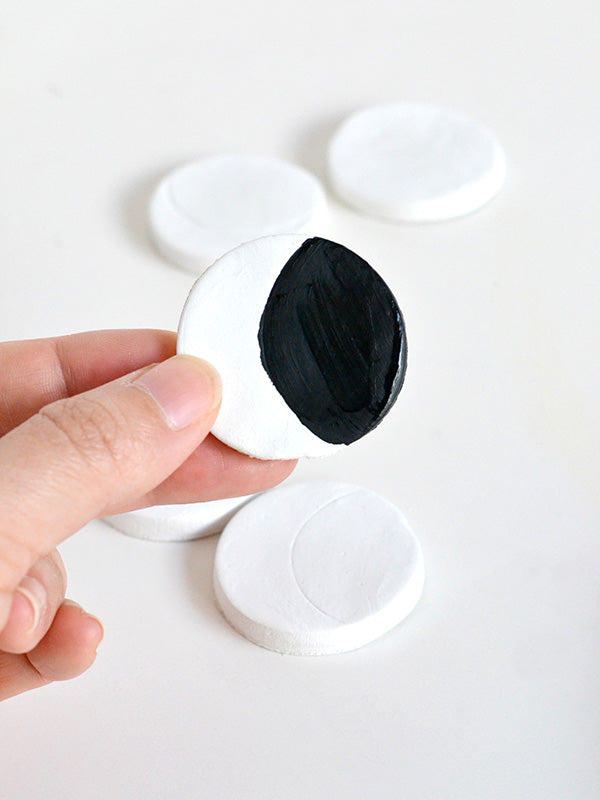
Once your clay has hardened, paint in the black parts of your circles with acrylic paint using your indents as a guide. Leave the ‘crescent moon’ parts white.
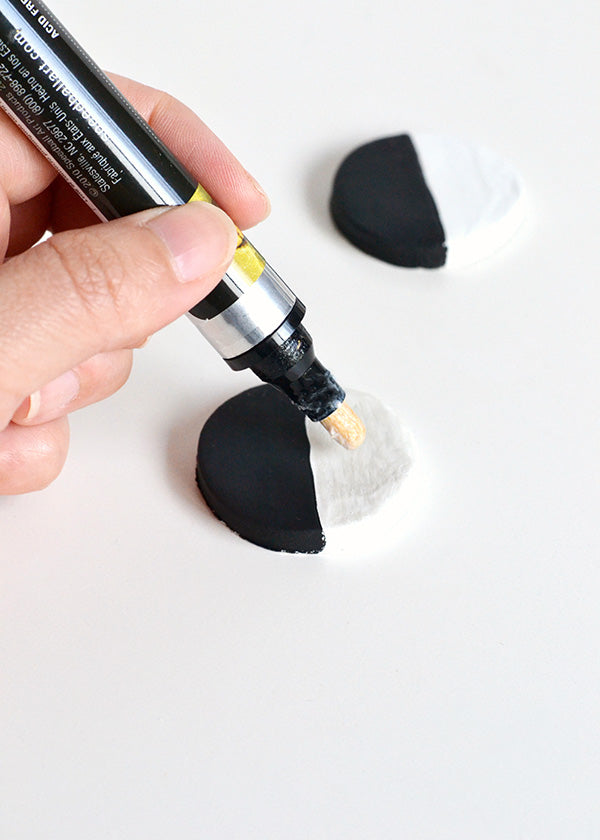
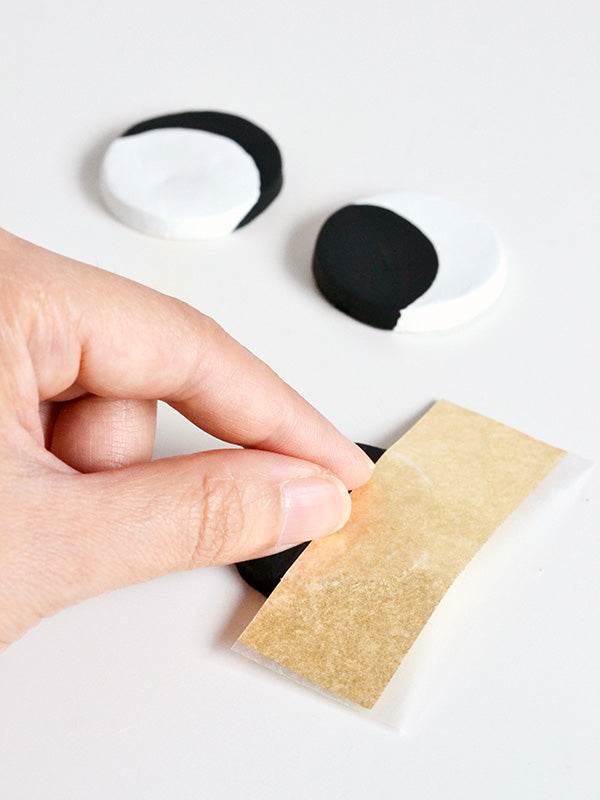
Step 4
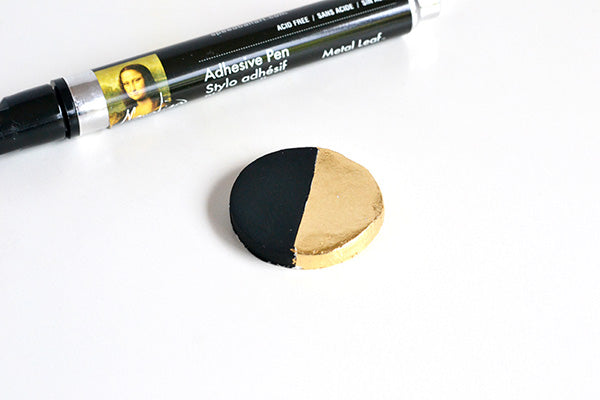
When the paint is dry, apply adhesive to the ‘moon’ parts of your clay circles and then stick down some gold foil. The process for adhering the gold foil may vary between brands, so it’s best to follow the manufacturer’s instructions for this step.
Remember to foil the sides of your circles as well as the top so no parts are left white.
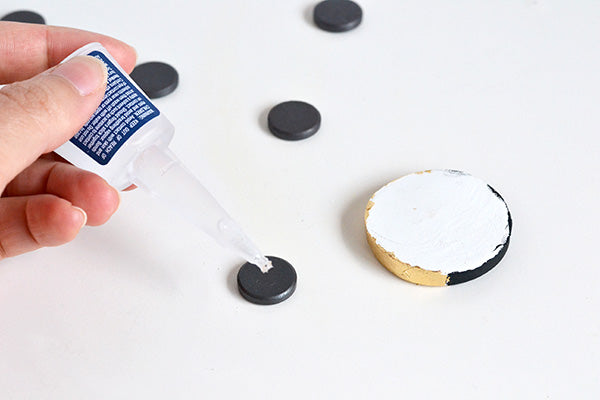
Step 5
Give your circles a coat of varnish to protect the paint and foil. Then flip each circle over and stick a magnet to the back using super glue or strong craft glue (like E6000).
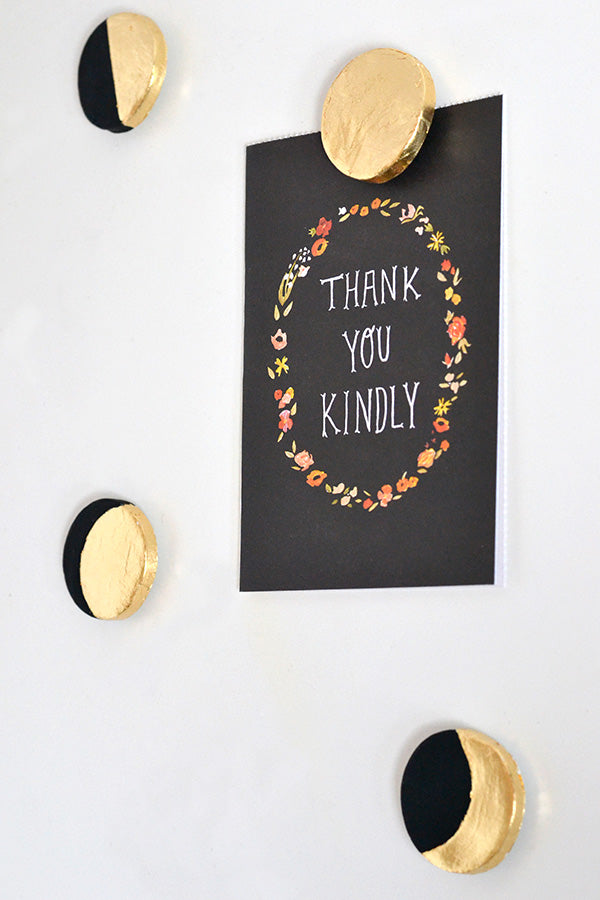
And that’s it, project done! Now all you need to do is add these bad boys to your fridge for instant shine 🙂
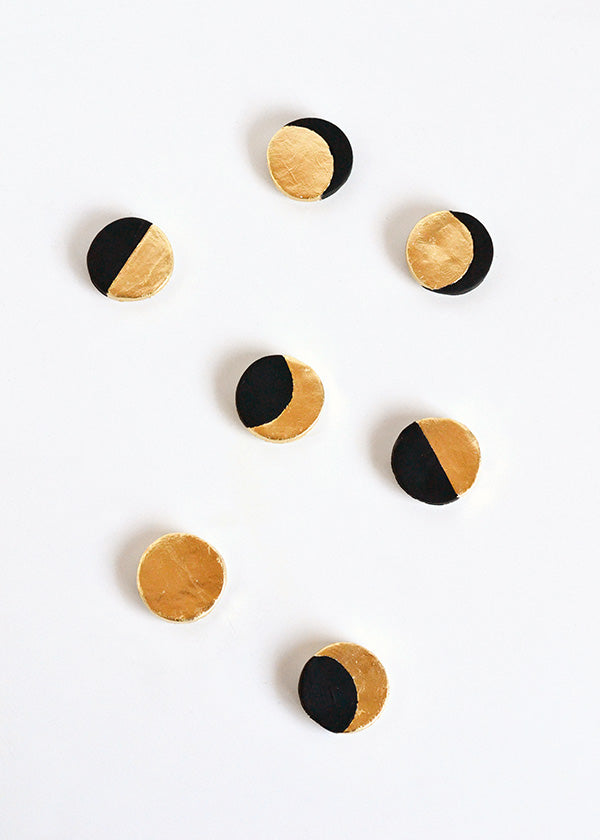


Before I started this project, I was tossing up between using gold foil or just metallic paint to decorate these magnets. Gold paint seemed much easier, but at the end of the day the foil won out and I’m so glad it did! The shine is really pretty and exactly what my otherwise ordinary fridge needed. What do you think of the gold foil – yay or nay?
xx Steph
Edited to add: One of my lovely readers suggested that gold spray paint might work just as well as foil and be much easier to apply. Which is a great point! You could also use liquid leaf in pen or paint form, both of which are no fuss ways to get that pretty golden glow.