

I’ve had paint on the brain lately. There was a period not so long ago where I hadn’t had any reason to use paint so I didn’t touch the stuff for ages and now it appears I’m making up for lost time and including it in EVERYTHING. I hope you don’t mind 🙂
If you’ve got a hankering to mess the place up with some paint then this is the project for you. The end result is quite satisfying, but you’ll have to make sure you have an outdoor space or an area where all surfaces are well protected because the paint will get ALL OVER. Trust me. Having said that, it’s quite liberating to splash paint everywhere so if you’re all for that then follow along!
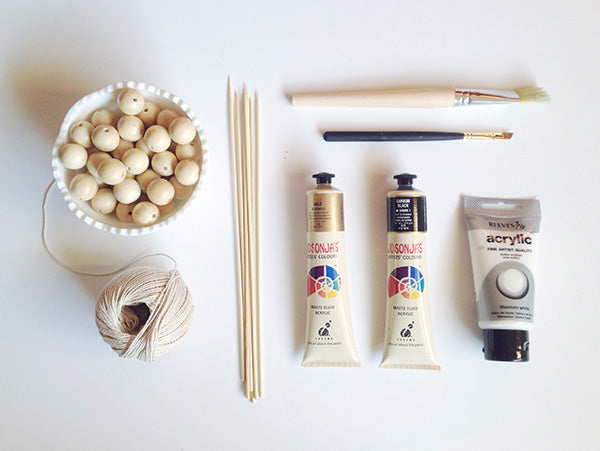
Materials
- Wooden beads
- Skewers
- White acrylic paint or spray paint
- Black and gold acrylic paint
- Paint brush
- Twine
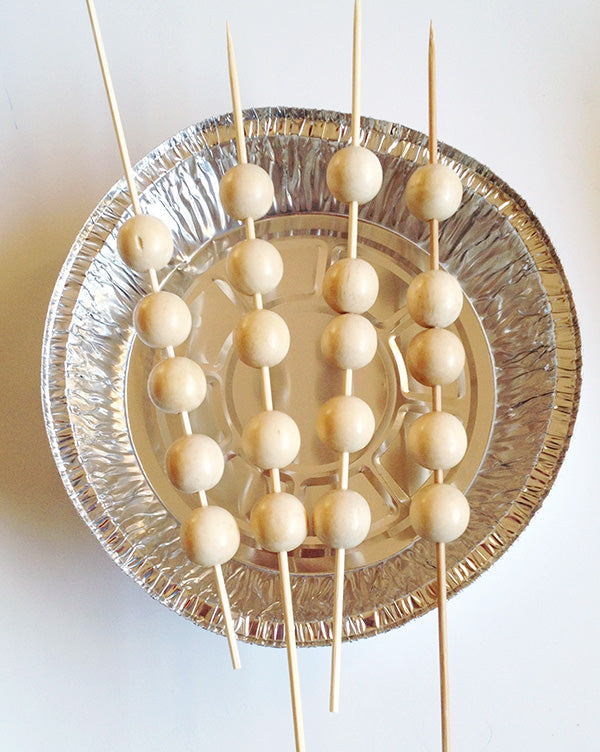
Step 1
Pop your beads onto skewers and line them up on a foil tray or something similar that you don’t mind getting paint all over. The tray helps by keeping the beads elevated so that you can easily paint them without having to lay them on the ground to dry.
Once your beads have been nicely lined up on skewers, paint them white. I started off using acrylic paint and then found spray paint was a lot faster and provided a more even coverage so I switched to that instead.
Step 2
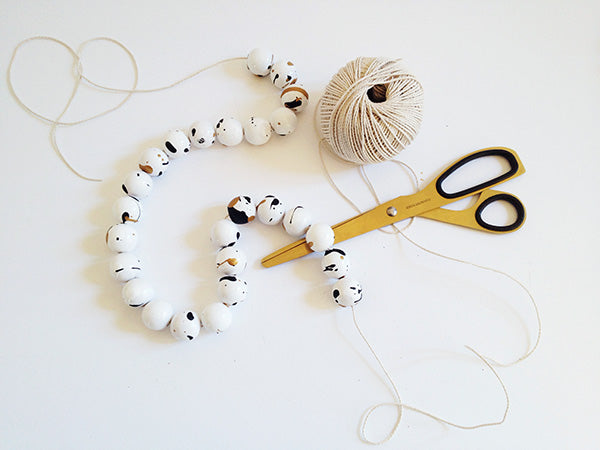
Once your white beads are dry, it’s time to get splattering! Dollop a good helping of paint onto your paintbrush and flick it from side to side over the beads. Again, I can’t stress this enough… this part is messy! I got paint on the walls when I tried to do this inside (rookie mistake, don’t tell my husband!).
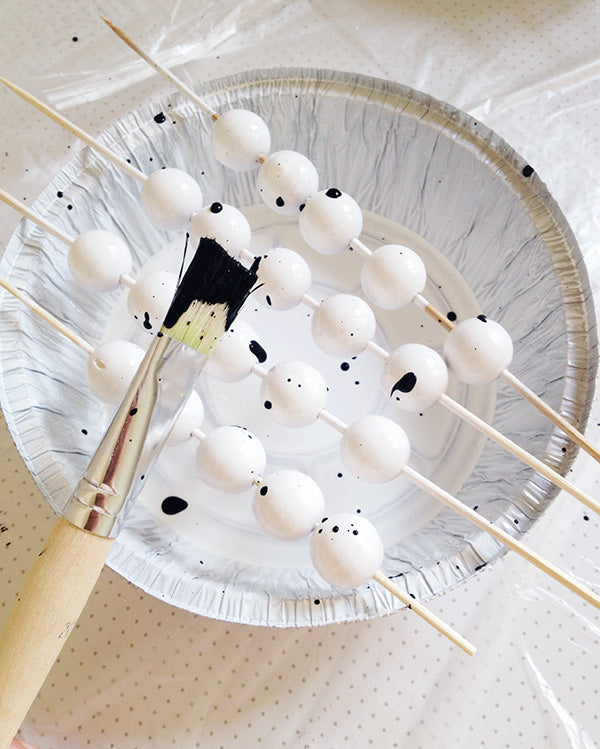
Repeat the splattering with as many colours as you’d like to have on your beads. I’m still firmly entrenched in my black and metallics phase so my second colour was gold :). Once you’ve gotten all that splattering on your beads (and out of your system!), leave your beads to dry.

Step 3
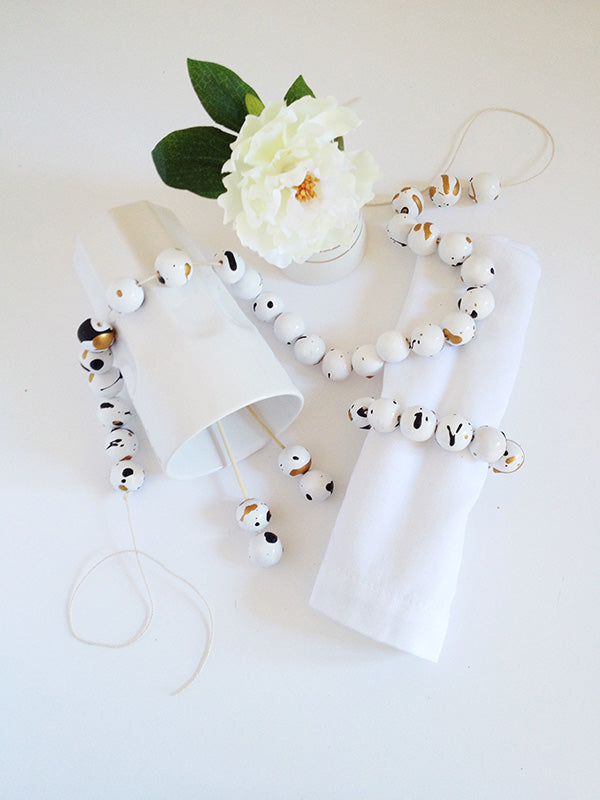
To make the napkin ring, thread your beads onto twine until you have enough beads to go all the way around a folded napkin.
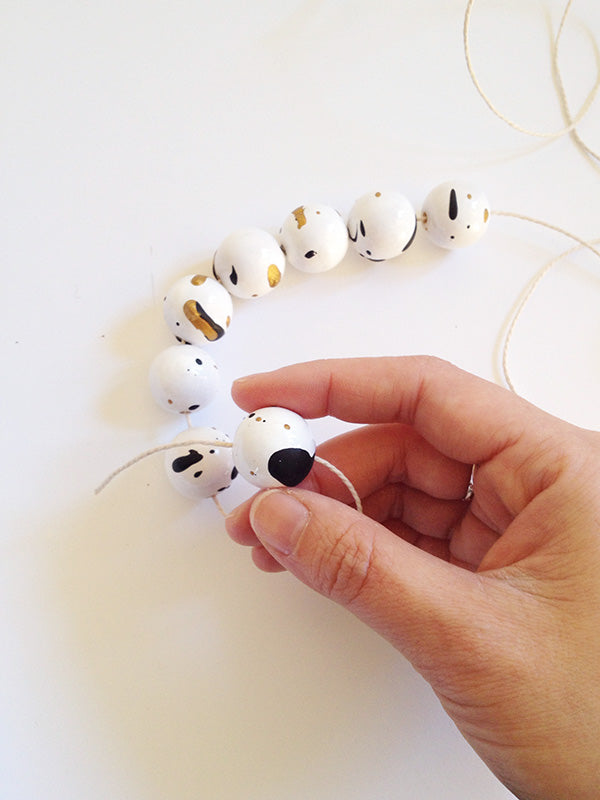
Then tie a knot and insert the loose ends of twine back through the holes of the beads to hide them.

Step 4
Choose a few beads to turn into drink stirrers and attach them to the ends of some skewers using superglue.

Step 5
Lastly, thread any leftover beads onto twine to create garland. Tie a knot at each end to stop the beads from falling off.
Step 6
Once all your decorations are complete, then it’s time to get styling! This is the fun bit – grab some accent pieces that complement the colours in your beads (vases and flowers are always good for this kind of thing) and arrange on your tables in whatever way takes your fancy.

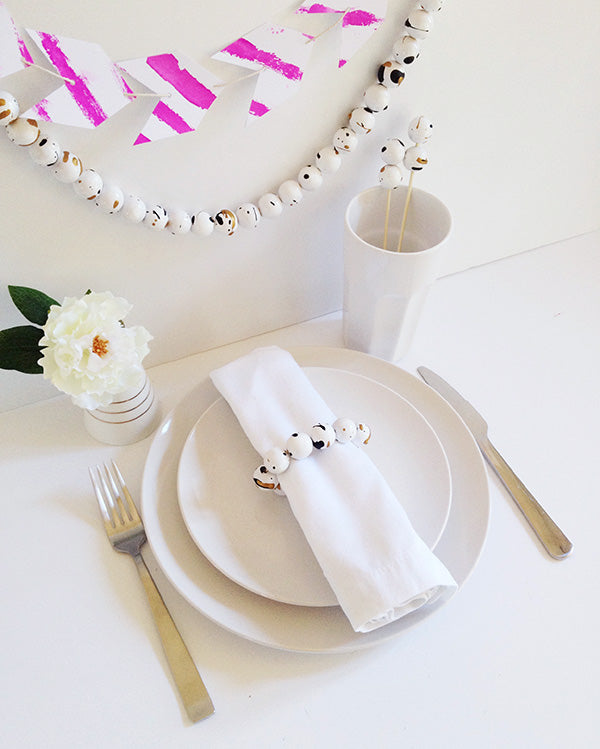
I like the way these decorations turned out but I think if I had to do this over again, I’d vary the size of the beads I used so that there were some bigger ones as well as smaller ones in the mix. I’d also maybe add in a third colour to the black and gold… what do you think?
xx Steph