
Hey hey, it’s party time! I’m not 100% sure, but I think I may have dropped a couple of sneaky hints over the last few weeks that my birthday’s coming up soon. And while I’m usually the last person to make a fuss about that sort of thing, it’s too good an excuse not to take advantage and make loads of party projects!
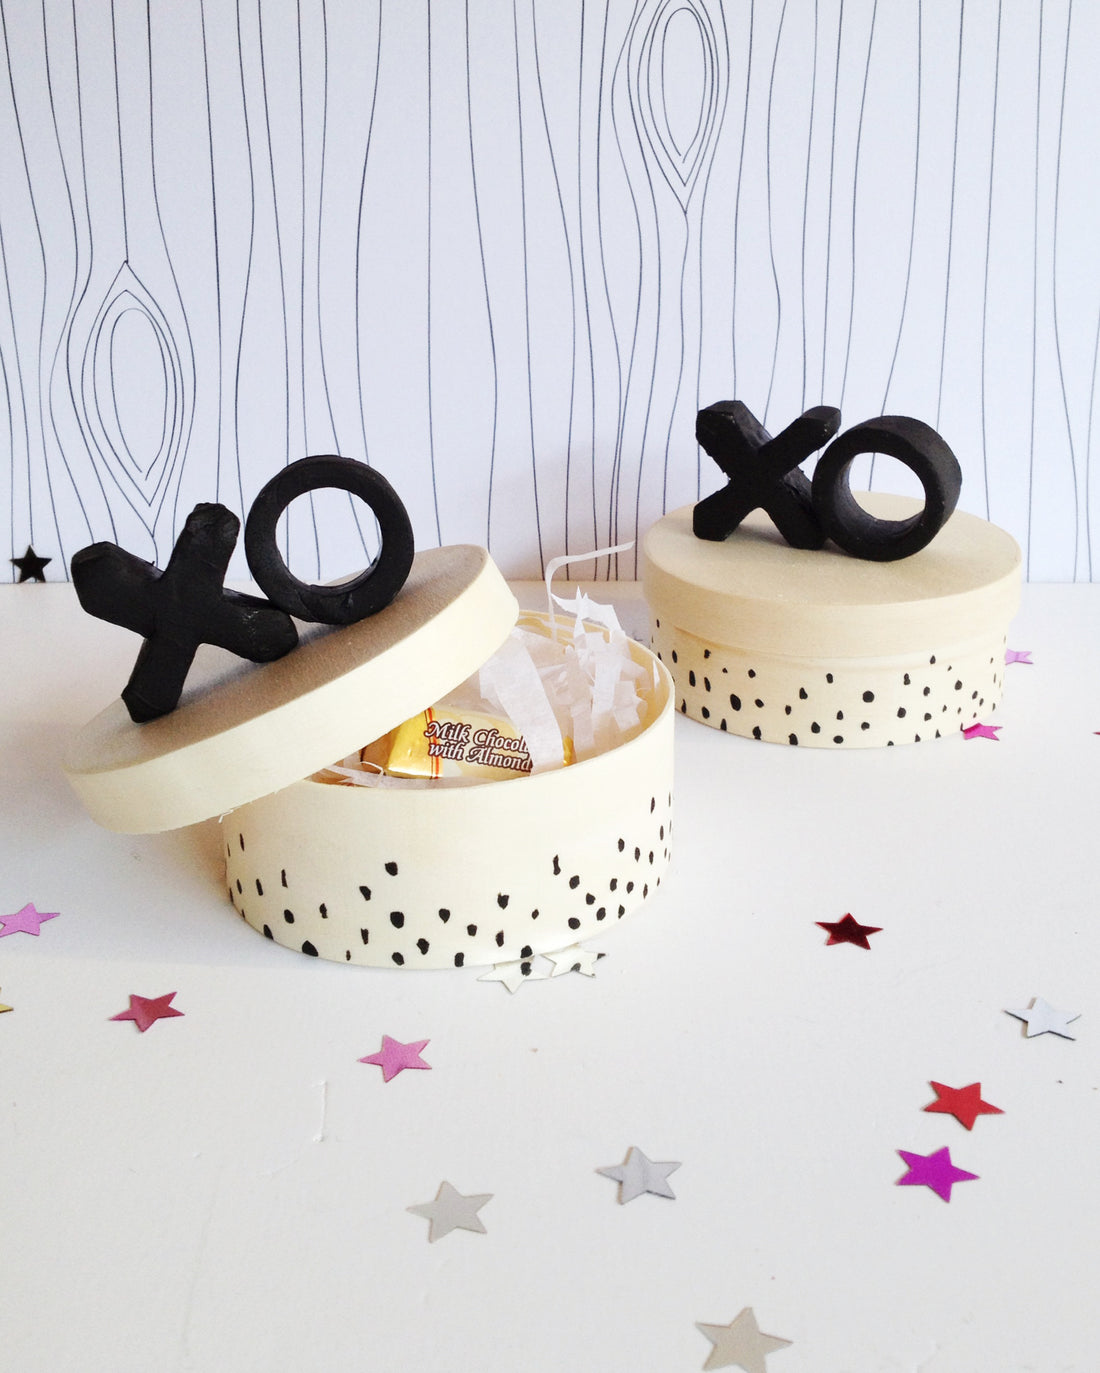
I thought it’d be nice to follow up Tuesday’s marshmallow pops with some gift boxes that’ll look pretty cute as little favours at your next event. Fill them with your favourite candy and blow your guests away with your mad DIY skills!
Materials
- Mini gift boxes (I used some fab wooden ones that you can get here)
- Air dry polymer clay
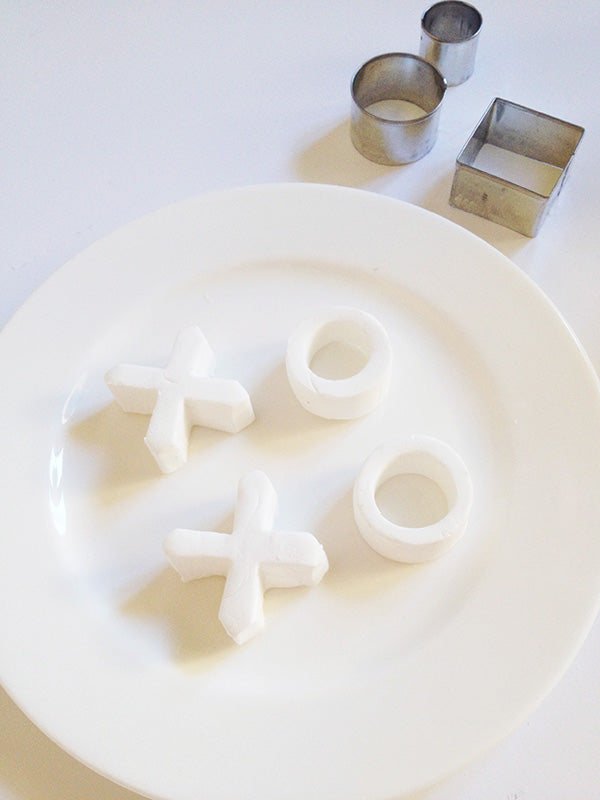
- Cookie cutters (a small circle, a slightly larger circle and a square)
- Black acrylic paint
- Super glue

Step 1
Roll out your clay until it’s around 1cm thick. Then use your larger circle cookie cutter to cut out a circle.

Step 2
Use the smaller circle cookie cutter to cut a hole out of the middle of your clay circle. This will create your ‘O’ shape.

Step 3
Roll out some more clay to around 1cm thick and cut out a square using your square cookie cutter.

Step 4
Then use the corner of the square cookie cutter to cut little triangles out of each of the sides.

As you cut triangles out of the clay square, you’ll start see your ‘X’ take shape.

Step 5
Set your letters aside to harden for 24 hours or according to the clay manufacturer’s instructions.
Step 6
While you’re waiting for your clay to dry, start painting your gift boxes. I wanted the wood of these boxes to be nice and prominent, so I painted a very basic pattern of little spots that let the wood shine through.


Step 7
When your clay letters have properly hardened, give them a coat of black paint and leave them to dry. Then attach them to the tops of your boxes using super glue.

And hey presto – you have yourself some pretty spunky gift boxes for your next shindig!

So it seems I’m still well and truly in love with black and the look of black on wood, but you can dress these babies up in any colour that suits your party. Heck, you could go wild and use all the colours of the rainbow… having these boxes all lined up in multi-coloured splendour would be amazing!
xx Steph