I’ve never really been a Halloween kinda girl. I think it’s partly because it’s not celebrated as much in Australia as it is in other countries. Folks here still decorate and dress up, but it’s maybe one house in 10, not every house on the street.
Also, when I was younger, I was scared of EVERYTHING. I hated skeletons, I hated blood, and the whole idea of guts and gore just grossed me out. Don’t get me wrong, I’m still scared of tons of stupid stuff (even now!), but at least I can appreciate that skeletons are kind of funny and painting pumpkins is downright awesome.
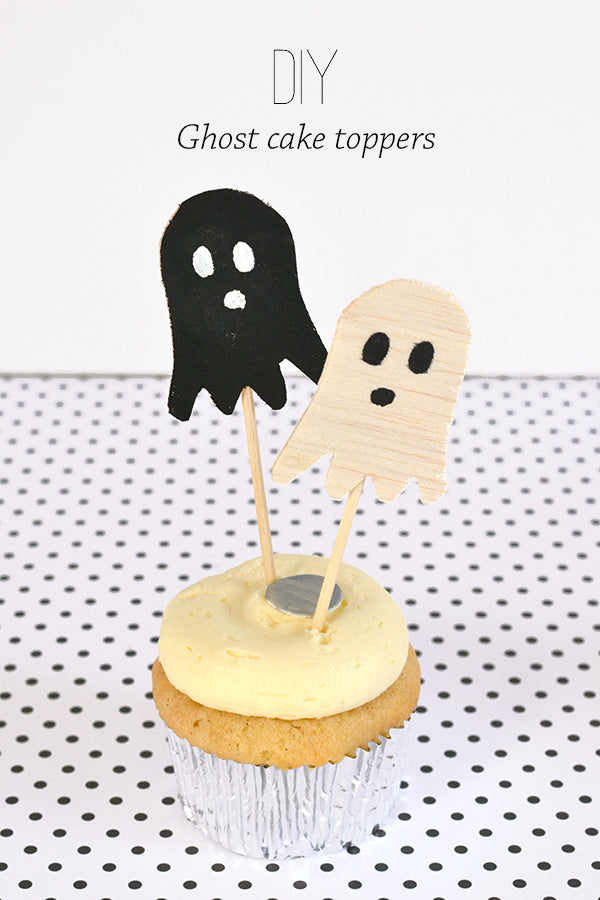
So this being the first year of me blogging through Halloween, I thought it might be nice to give some of the festive DIYs a go. And without further ado, here’s the first one! It involves cute ghosts and cake, so yep, definitely nothing scary here and lots of yummy things to eat. Win. 🙂
Materials
- Cardboard
- 1mm thick balsa wood (you could also use thick cardboard)
- Paint
- Scissors
- A craft knife
- Skewers
- Glue

Step 1
Print out the ghost template (at the end of this post) onto a sheet of cardboard then use your scissors to cut out the ghosts. You’ll be using these ghosts as stencils so you probably only need to cut out one or two.

Step 2
Trace your ghosts onto the balsa wood.

Step 3
Carefully cut out your traced ghost shapes using scissors or a craft knife. One thing I learnt while doing this is step that balsa wood might feel very light, but it’s still wood and has a grain. This means that turning your scissors certain directions can cause the wood to split, so I found using a craft knife was much easier for this job.

Step 4
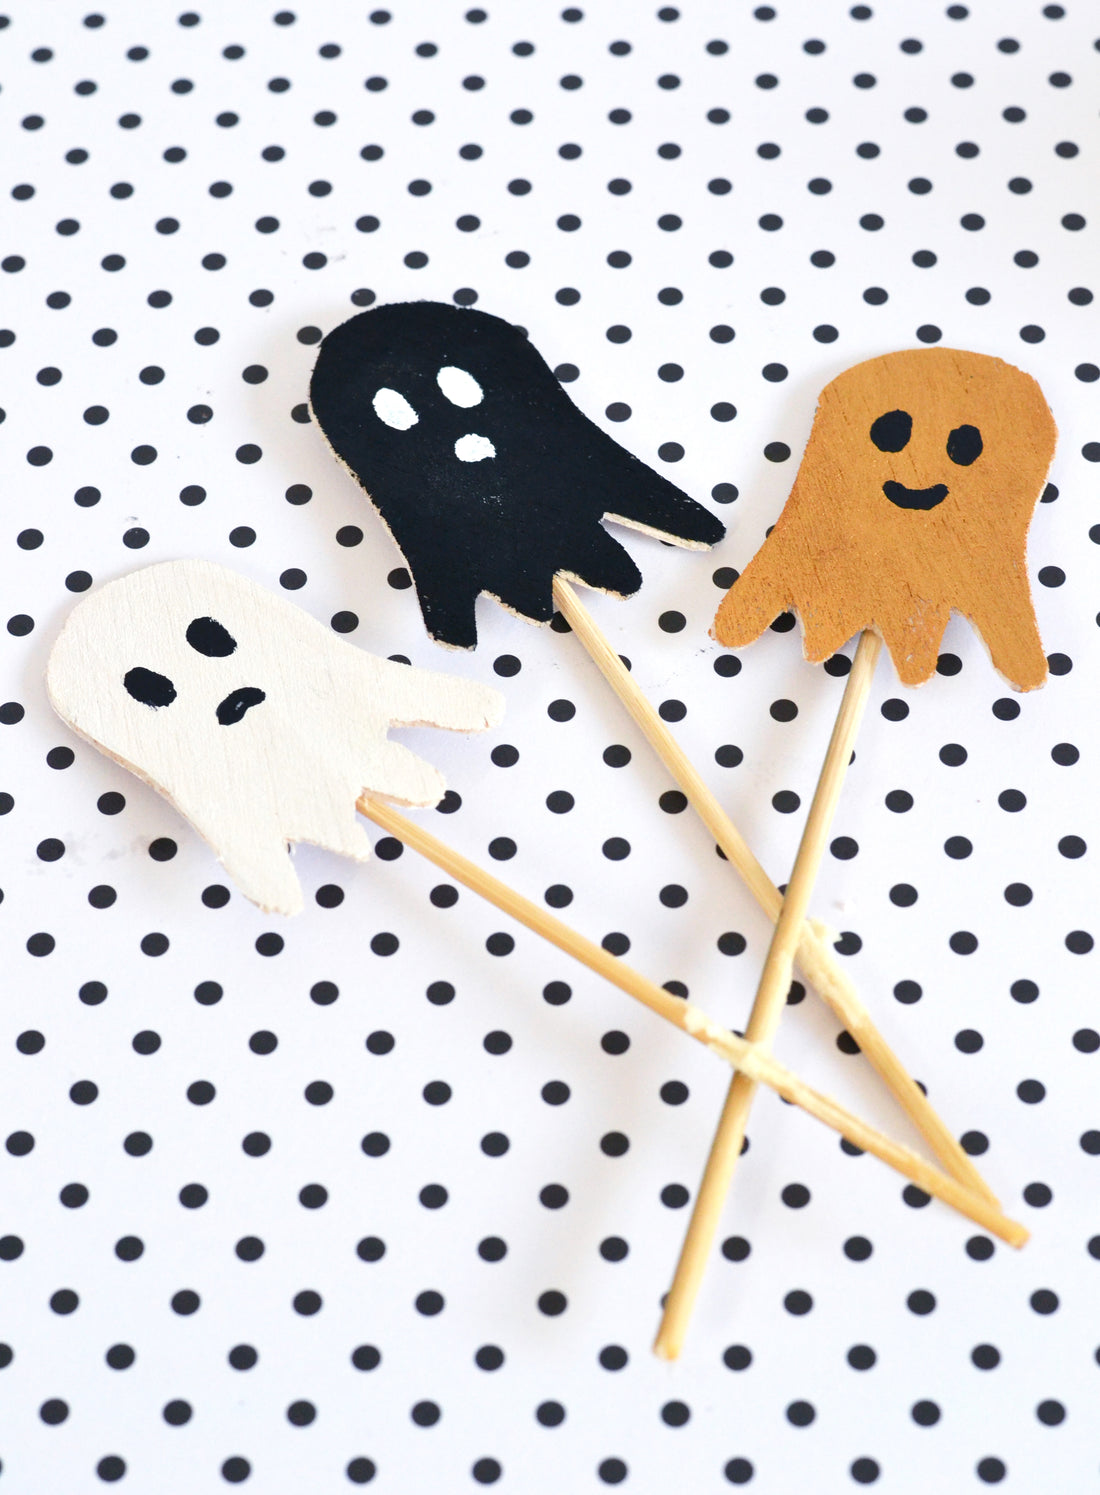
Paint your ghosts. I wasn’t in a particularly ‘orange and black’ mood when I made these little fellas so I opted for gold, black and white instead. And I left one ghost its natural woody colour, which I really liked!
Once you’ve done the background colours of each ghost, don’t forget to paint on their eyes and mouths. I tried doing this with a Sharpie initially, but I found it bled into the balsa wood so I switched to paint instead.

Step 5
Glue a skewer onto the back of each ghost using craft glue or super glue.

Stick your ghosts into your cakes and job done!


I made these little guys out of balsa wood because I’d never used the stuff before and really wanted to try it out. I also wanted the ghosts to have that wood grain texture, which you can see really well in the unpainted one and just a little bit on the painted ghosts.
Having said that, if you’re not particularly keen on using balsa wood, it’d be very easy to make these out of thick cardboard instead. In fact, you could skip Step 2 of this tutorial and print the template below straight onto the cardboard. Then just cut out your ghosts, paint and enjoy 🙂

xx Steph