
I love to take photos of friends and family as well as the pretty scenes I spot day to day, but it occurred to me that while I have over 3000 photos stored on my phone (crazy right!), I’ve never taken the time to print any down to display.

And so they just sit in the cloud, where they largely go unnoticed until I flip through my archives maybe once or twice a year. As I was thinking about this the other day, it felt like bit of a waste to hide these lovely images away so I decided to make myself some photo holders to display my favourites where they’ll bring a smile to my face whenever I see them. 🙂
If you’re looking for a unique way to store your treasured photos, this is a really simple DIY so grab some clay and follow along!
Materials
- Plastic sheet (I used cling wrap)
- Air dry clay
- Rolling pin or jar
- Small and large square cookie cutters
- Scalpel
- Painter’s tape
- Paint (various colours)
- Paint brush
- Paint pen

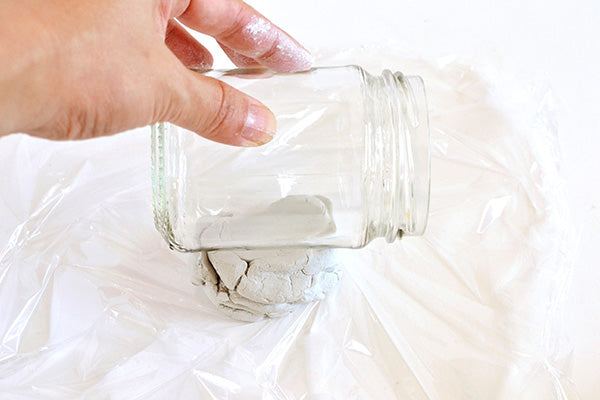
Step 1
Lay a plastic sheet down to protect your work surface, then roll out your clay until it’s around 1.5cm (3/4 inches) thick.
Step 2
Use your large cookie cutter to cut a square out of the clay.

Step 3
Insert the small cookie cutter into the middle of your clay square. Remove the large cookie cutter.

Step 4
With the small cookie cutter still inserted, carefully slice all the way through the top of your clay square and halfway down the sides using a scalpel.
Keep the small cookie cutter in place while you do this to ensure the clay square doesn’t flatten as you apply pressure to make the slice.

Step 5
Remove the small cookie cutter from the centre of your clay square. Neaten any rough bits by dipping your finger in water and smoothing the edges and faces of your cut-out square. Use a scalpel where needed to square off any rounded edges.
Leave the clay to completely air dry.

Step 6
Mark off a section of your photo holder with painter’s tape (I divided mine in half diagonally), and paint that segment with acrylic paint. Wait until the paint has dried, then do the same for the opposite side using a different colour paint.


Step 7
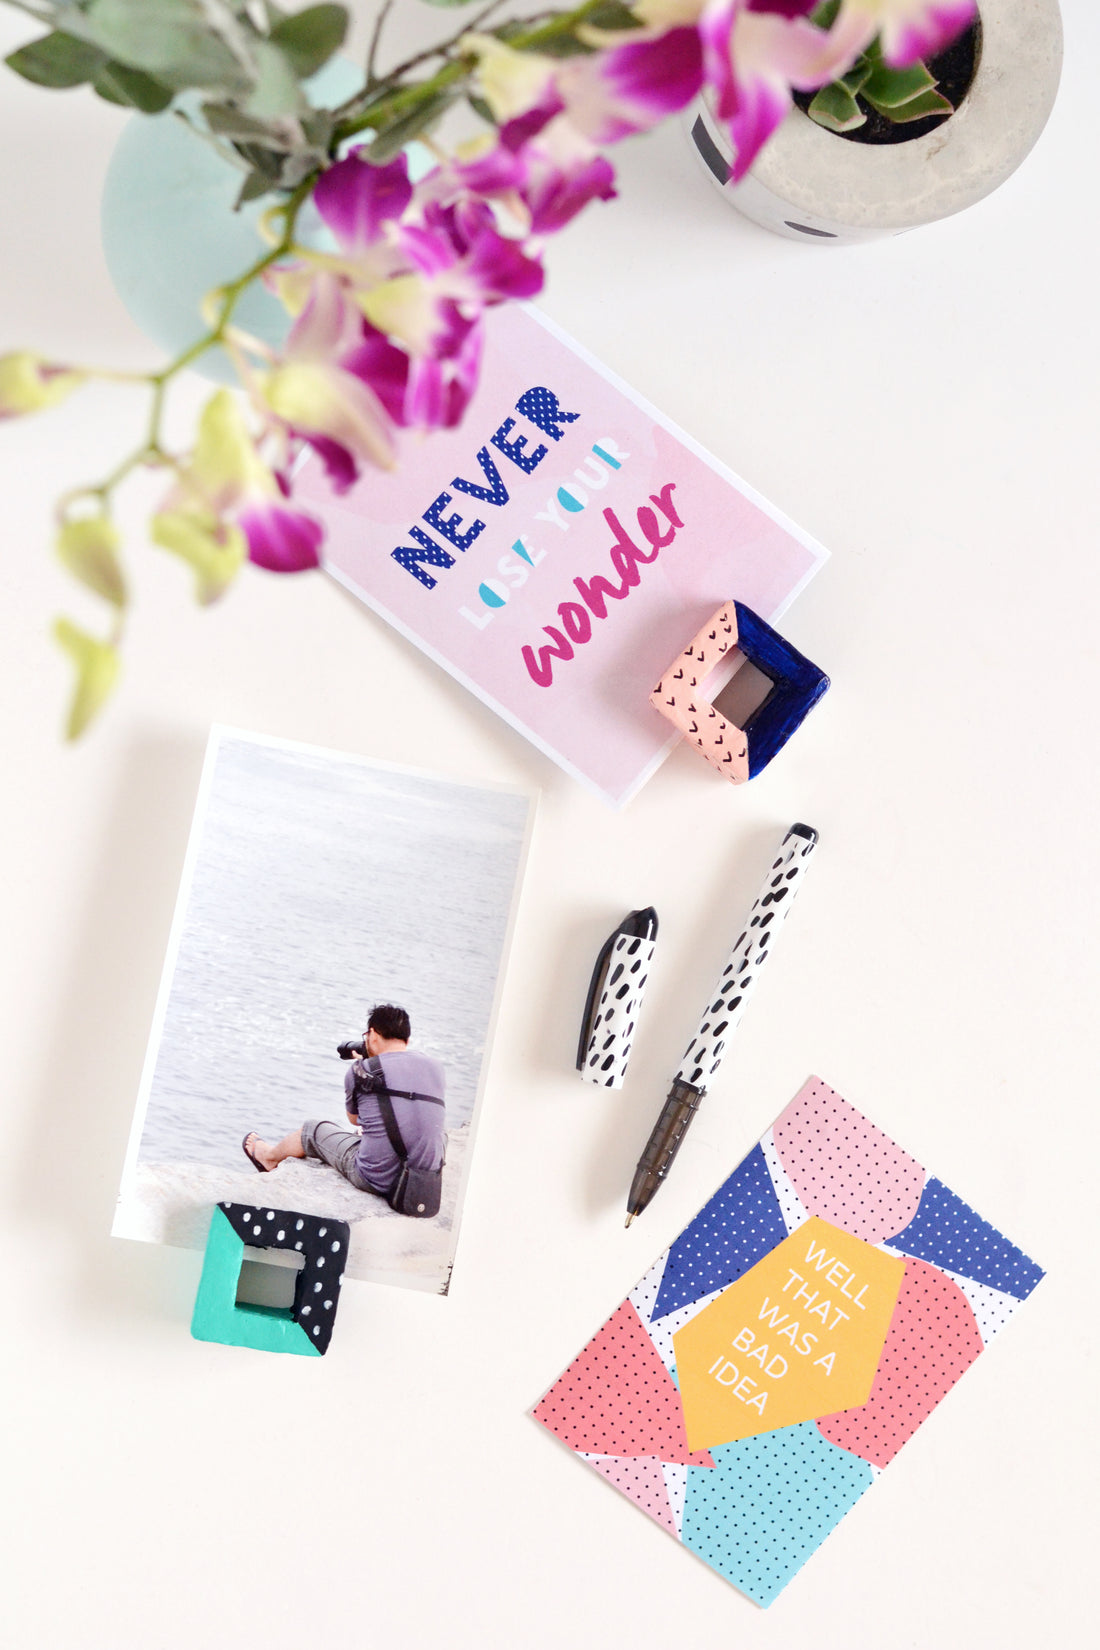
Once the paint had completely dried, use a paint pen to draw patterns on one half of the photo holder. I used a white paint pen on the darker coloured paint and a black one on the lighter paint colours.


When the marks from your paint pen have dried, simply insert your photos and you’ve got yourself a nifty little display!


These photo holders are so easy to craft that I had to stop myself from making a ton of them. In fact, the hardest part of the whole project was deciding which of my 3000 photos I should print out to display! 😉
xx Steph