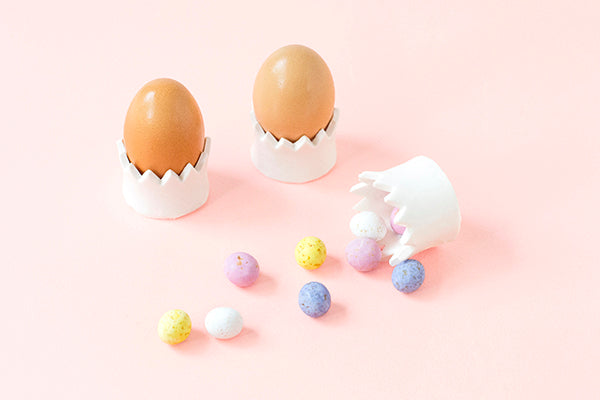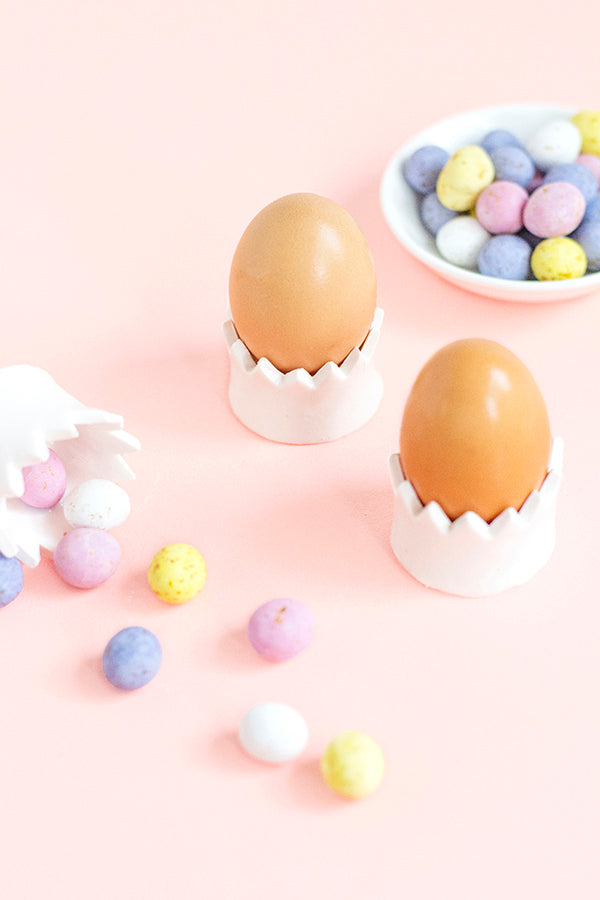
It occurred to me the other day that Easter is only a month away. Which is a bit of a shock if I’m being honest – I mean wasn’t it just Christmas yesterday?
I’m super excited that this time of year has rolled around though, because it brings some of the best things. Like hot cross buns. And holidays and pretty spring colours and bunnies and… oh the list goes on and I’ll just keep waffling, so it’s probably safest if I just stop now. 😉
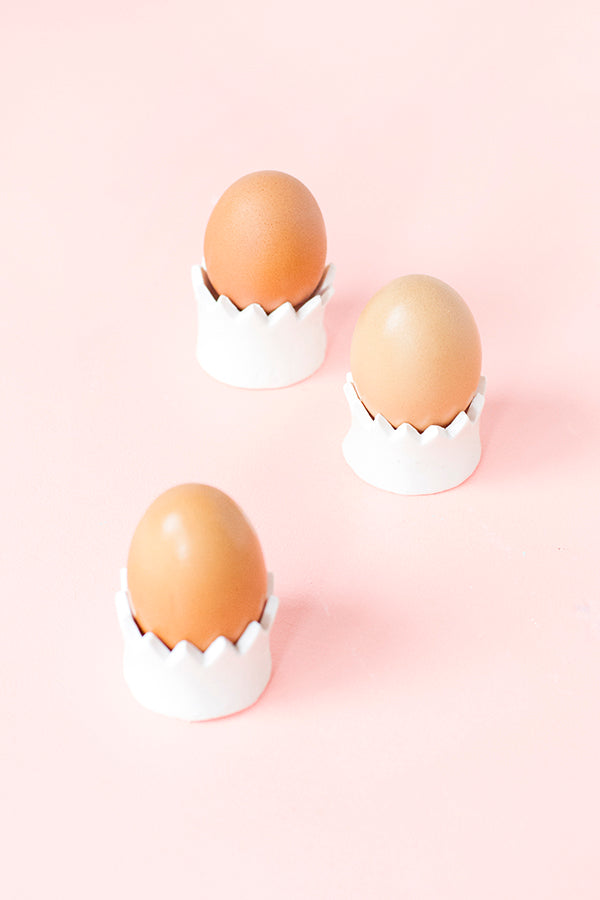
Easter DIYs are also right up there amongst my favourite things about this month. And I’ve got a nice simple one to start us off for the year that you can use all year round if you’re partial to a soft-boiled egg for breakfast. Want to know more? Follow along below!
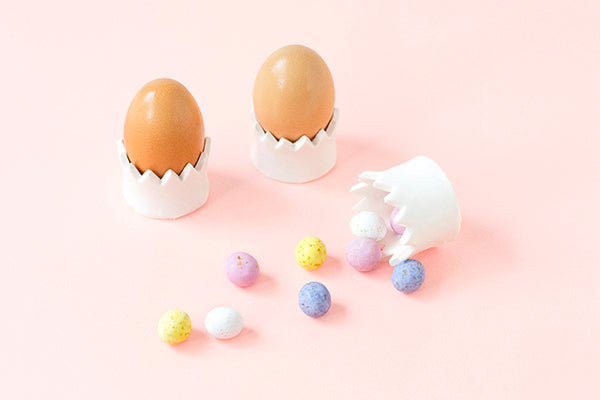
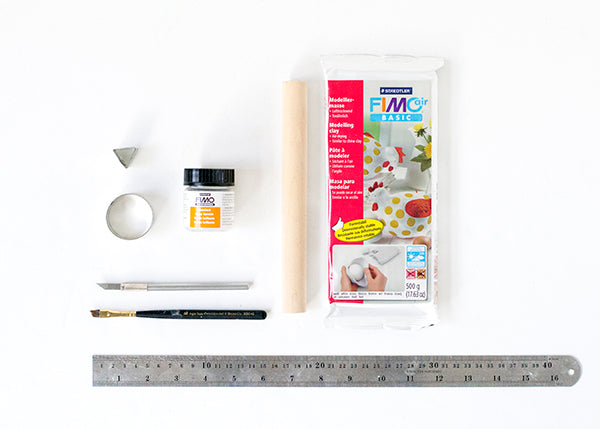
Materials
- White air dry polymer clay
- Rolling pin, glass jar or similar
- Ruler
- Scalpel
- Round object or circle cookie cutter
- Small triangle cookie cutter
- Paintbrush
- High gloss varnish
Step 1
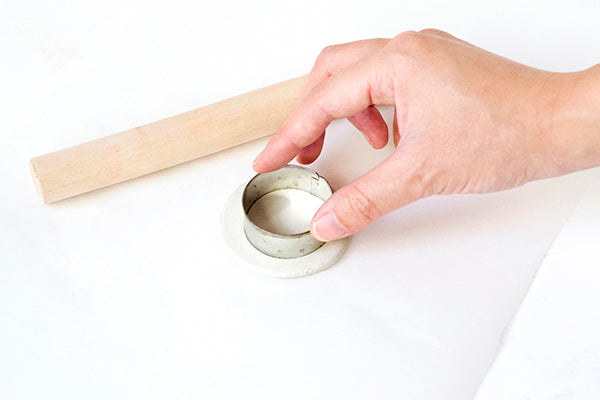
Roll out your clay using a rolling pin, glass jar or similar so that it’s roughly 0.5cm (0.2 inches) thick. Then cut out a circle that’s around 4cm (1.6 inches) in diameter. You can do this by tracing around a circular object or using a circle cookie cutter.
Step 2
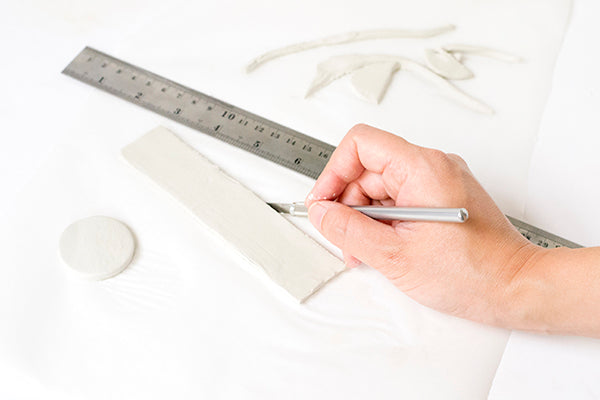
Cut out a strip of clay that measures around 15cm (5.9 inches) by 4cm (1.6 inches). This strip will form the sides of your egg cup and should be just wide enough wrap around an egg and the circle you made in Step 1.
Step 3
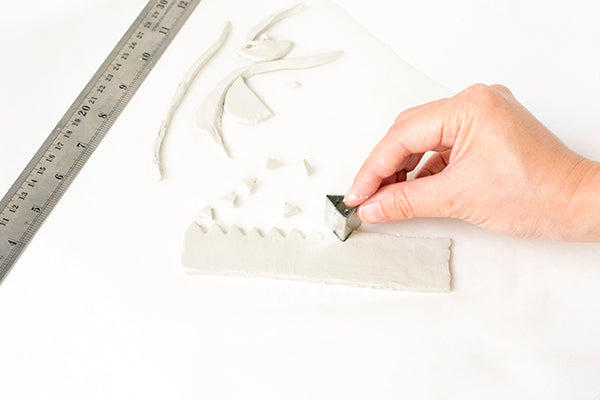
Lay the strip you cut out in Step 2 flat and use a triangle cookie cutter to cut small triangles out of one of the longer edges. This will create a zig-zag pattern for the top of the crown.
Step 4
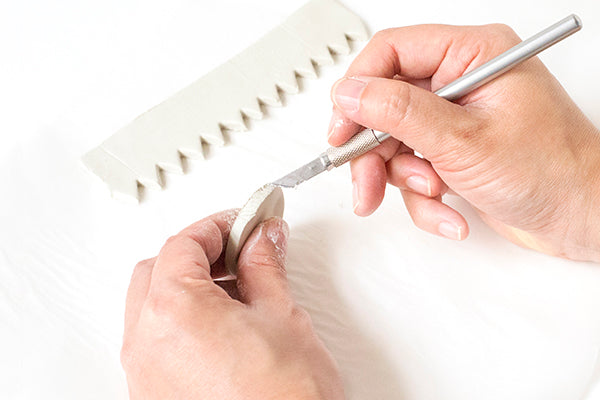
Use a scalpel to cross hatch around the edge of the clay circle you made in Step 1.
Step 5
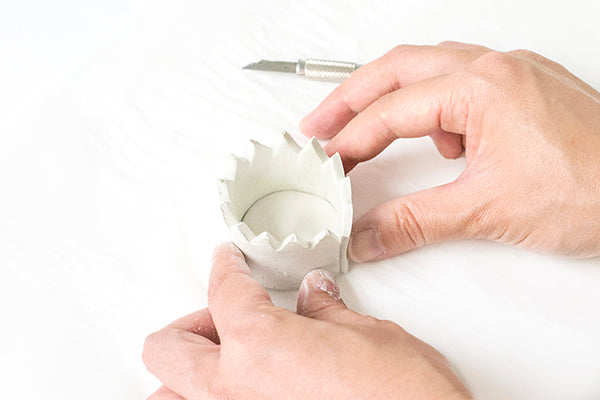
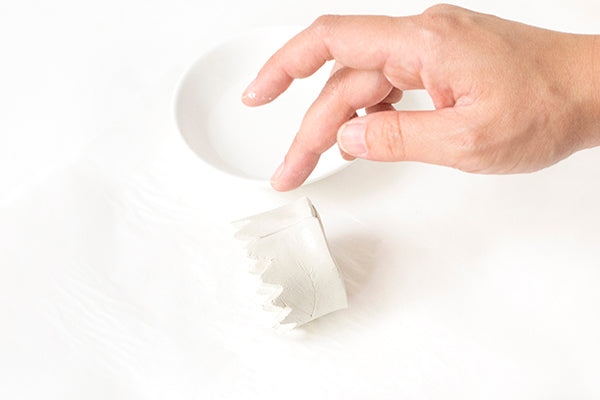
Wrap the clay strip so that it fits snug around the edge of the circle and gently press the two together. Then smooth the edges of the clay strip where they meet using your fingers and a bit of water until the seam disappears.
Step 6
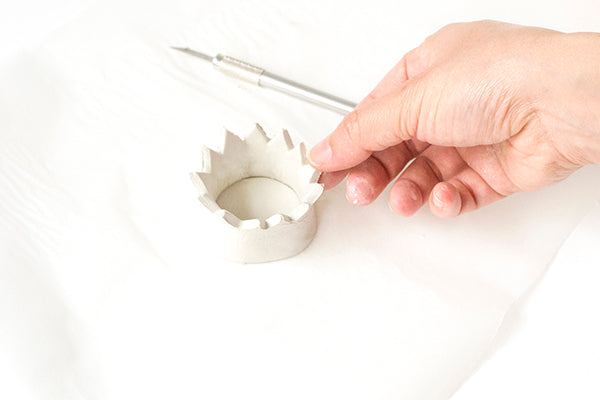
Bend the points of the crown gently so they curve outwards slightly. Then leave the clay to air dry according to the manufacturer’s instructions.
Step 7
Once your clay has completely air dried, give your egg cups a coat of high gloss varnish. When the varnish has dried, they’re ready to use!

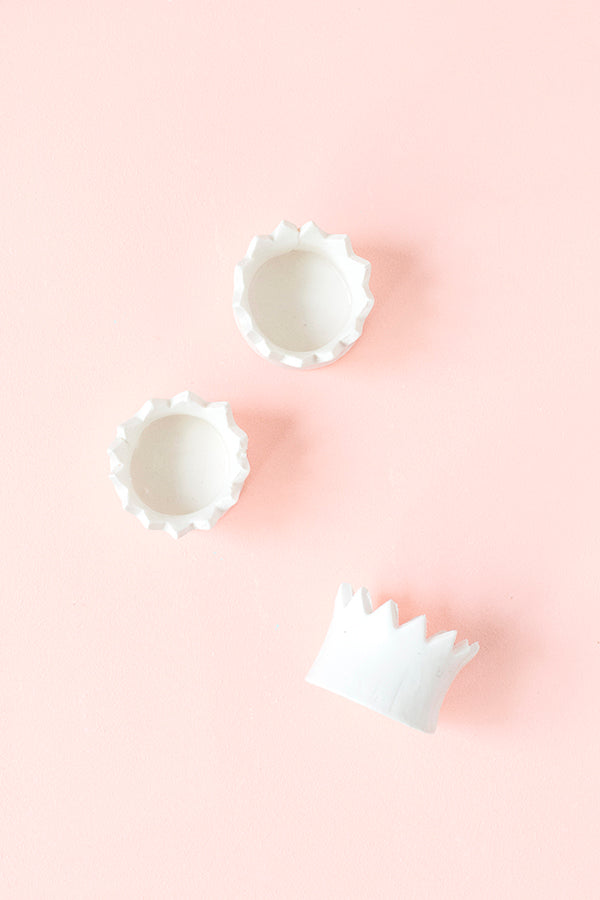
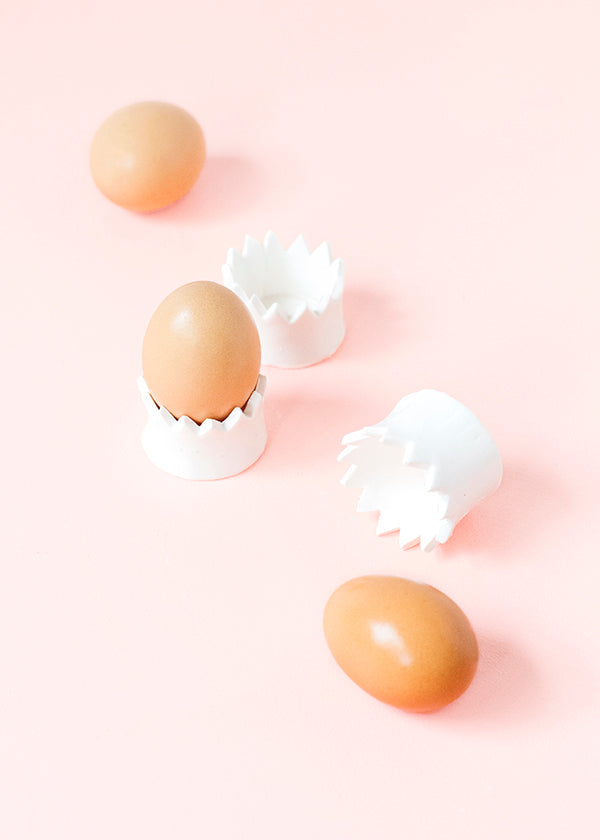
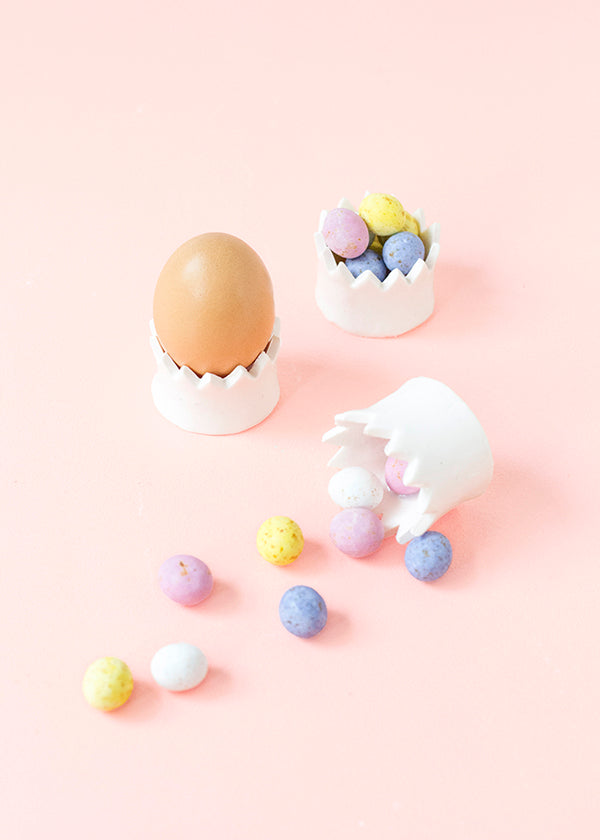
The great thing about these egg cups is that they’re inexpensive to craft and they make fantastic gifts for Easter. Simply substitute a boiled egg for a chocolate one, bundle your package up in cellophane and hand them out to friends and family!
xx Steph

