Most people start to think about Christmas when December rolls around, but for me that process begins as far back as September. And that’s not because I’m super prepared or anything. It’s because I’m one of those annoying people who LOVES getting into the festive gear as soon as it hits department store shelves.

I can imagine many of my friends (and some of you perhaps?) rolling their eyes right now – I know September’s way too early and it’s all a big commercial ploy to make us buy more stuff but I can’t help it. I adore tinsel and baubles and lights and the earlier the better as far as I’m concerned!

So this DIY is me finally letting myself get stuck into my love for all the pretty decorations that the festive season brings (I’ve been waiting 2 months, which is very restrained I think!). Want to join me and make your own? Follow along below…
Materials
- Terracotta polymer clay
- Rolling pin or jar
- Square cookie cutter
- Scalpel
- Ruler
- Something pointy (to poke a hole in your baubles)
- White paint
- High gloss varnish
- Scissors
- Cord, ribbon or twine

Step 1
Roll out your clay with a rolling pin or glass jar until it’s about 3mm thick.

Step 2
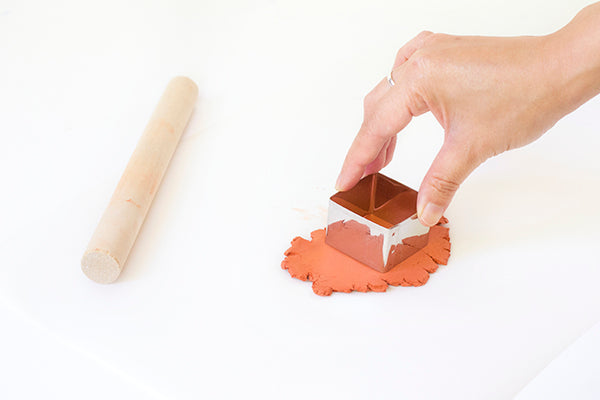
Use a square cookie cutter to cut two squares out of your clay.


Step 3
Cut a strip from the middle of one of your two squares using a ruler and scalpel. The strip should be about the same width as the thickness of your rolled-out clay (which in my case was 3mm). Cast aside the strip and keep the two triangles.


Step 4
You should now have one square (or diamond if you turn it on an angle) and two triangles. Use a sharp object to punch a hole in your diamond. Make sure the hole is towards the top and off-centre.

Step 5
Let your clay shapes harden according to the clay manufacturer’s instructions. Depending on the type of clay you used, this might involve baking it in the oven or leaving it to air-dry for 24 hours.
Step 6
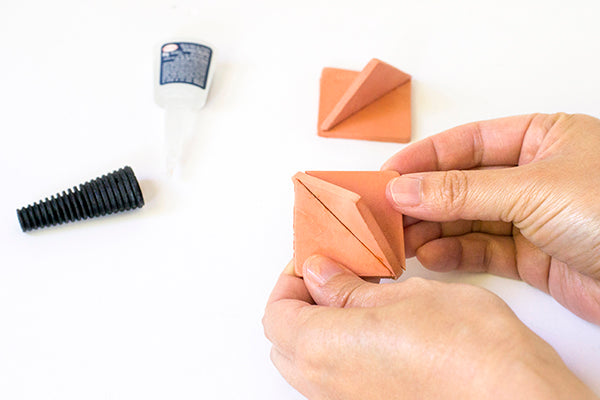
Use strong craft glue to stick the edge of one triangle to the centre of your diamond (make sure you leave the hole you made in Step 4 uncovered). If the edge of the triangle doesn’t sit flush with the surface of your diamond, give it a bit of a sand first.

Repeat on the other side with the second triangle. You will now have a ‘3D’ ornament.

Step 7
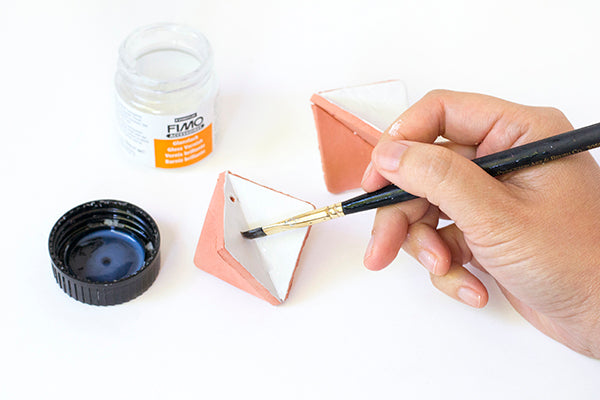
Once the glue has dried, paint some of the sides of your clay ornament with acrylic paint. It doesn’t matter which sides – you can get creative and colour in any (or all) of the segments, and add patterns in too if you like!

Step 8 (optional)
When the paint has dried, add a coat or two of varnish. I love the matte terracotta and gloss white look, so I used gloss varnish and only covered the painted areas, leaving the rest unvarnished.

Step 9
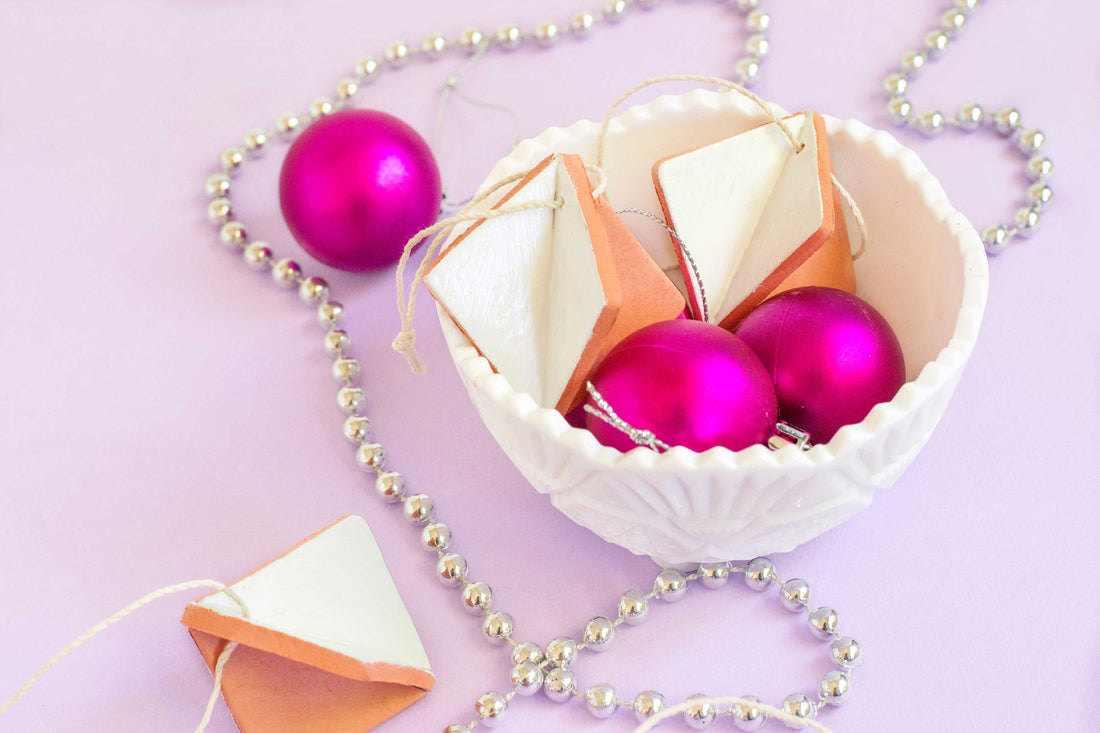
Once the varnish has completely dried, cut a piece of twine or cord, thread it through the hole in your bauble and tie a knot to secure. Then show off your brand new ornament by hanging it in pride of place on your tree!


By the way, don’t feel restricted to just using these ornaments on your tree. These baubles could make great place cards for your next Christmas party – simply write your guests’ names on the white painted section with a black paint pen and lay the bauble on top of a napkin at each place setting.


Or if you’ve got the patience and the time, make up a whole lot of diamond ornaments and then string them together on one long piece of twine for a lovely minimal clay garland!
xx Steph

