
It’s more than official, I have the world’s worst brown thumb. The number of plants I’ve bought and killed over the last year is… well more than I want to admit really! Enough that my husband makes fun of me every time I bring home a new one. Oh, and my parents keep giving me plants they’ve grown from scratch in an attempt to green up my home, and I have to sheepishly admit two weeks later that they’re no longer in the land of the living.
But I love green things a lot! So rather than give up, I thought I’d start over in a REALLY small way with some tiny succulents. Succulents are hardy right? I’ll just gloss over the fact that I’ve killed a whole bed full of them recently. Ahem. This will be totally different because they’ll be indoor plants and I’ll remember to water them. Yes.
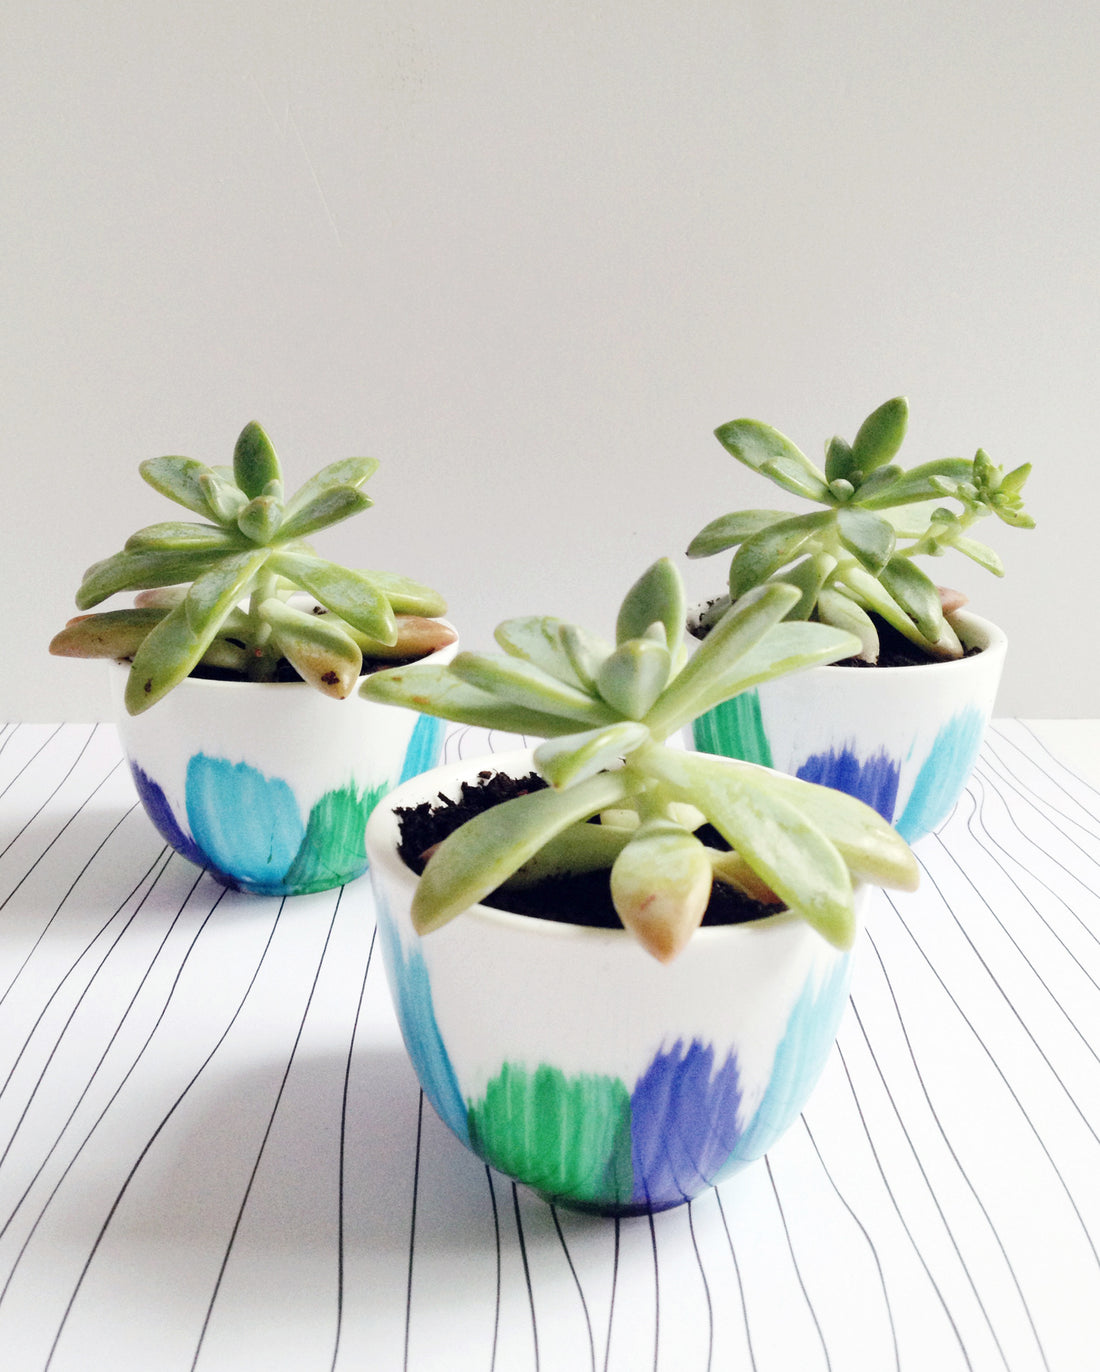
Anyway! While they’re alive, I wanted to give them pretty homes and painted chinese tea cups seemed like just the thing. This project also gave me the perfect opportunity to try out painting with nail polish, which turned out to be SUPER easy. So if you’d like some snazzy tea cup homes for your air plants or succulents, follow along below!
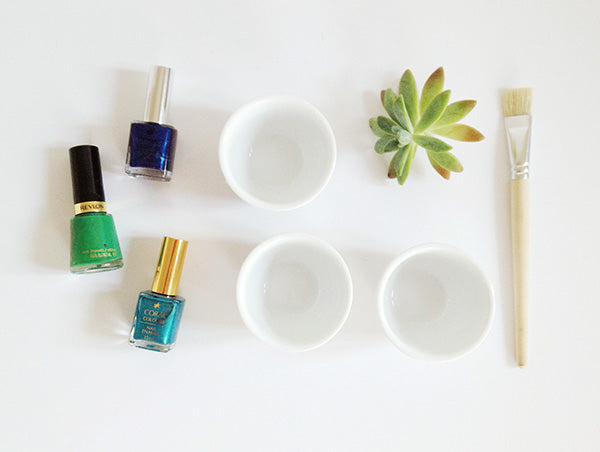
Materials
- White Chinese tea cups
- Nail polish
- Wide, flat paint brush
- Nail polish remover
- Cotton buds
- Succulents or air plants
- Potting mix (if you’re planting succulents)
Step 1
Give your tea cups a good clean. Then get your paint brush and paint one of your nail polish colours in stripes onto each cup, brushing the paint from the base of the cup towards the top. Stop the stripes at random points as you get to the top of the cup, so that they’re staggered.

Step 2
Wait for your first set of stripes to dry, then repeat the first step for each of the nail polish colours you plan on using.

Step 3
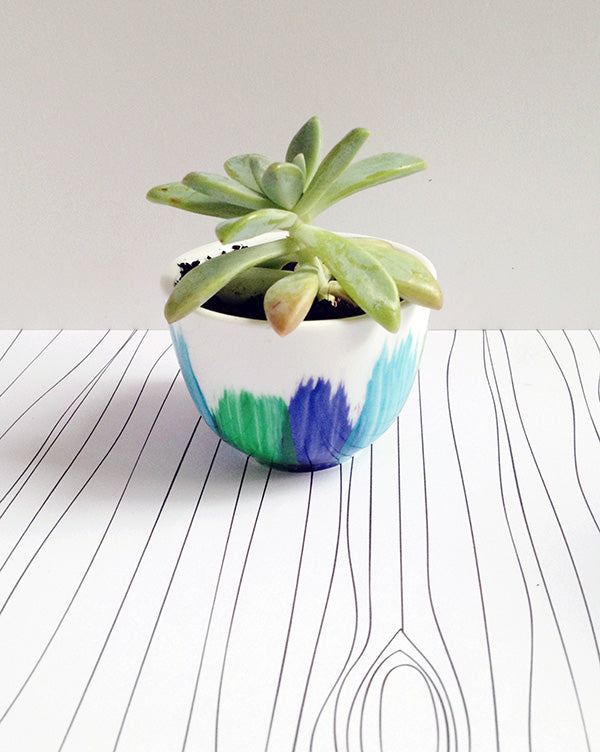
Once your nail polish has completely dried (which won’t take long!), clean up any drips or messy bits with a cotton bud dipped in nail polish remover. Then place your plants inside (along with some potting mix if you’re using succulents).

Super easy right? The only other thing to remember is that you’ll need your nail polish remover very close at hand to clean your brush in between colours, along with a lot of paper towel. Oh, and maybe open all the windows before you start this project – the fumes can get a bit overpowering!
Other than that, this project is pretty foolproof. I even tried scratching the polish off with my fingernail after it dried and it didn’t budge. Which is great! I wouldn’t go putting these through the dishwasher or anything but as a little plant pots, they work just great.
xx Steph