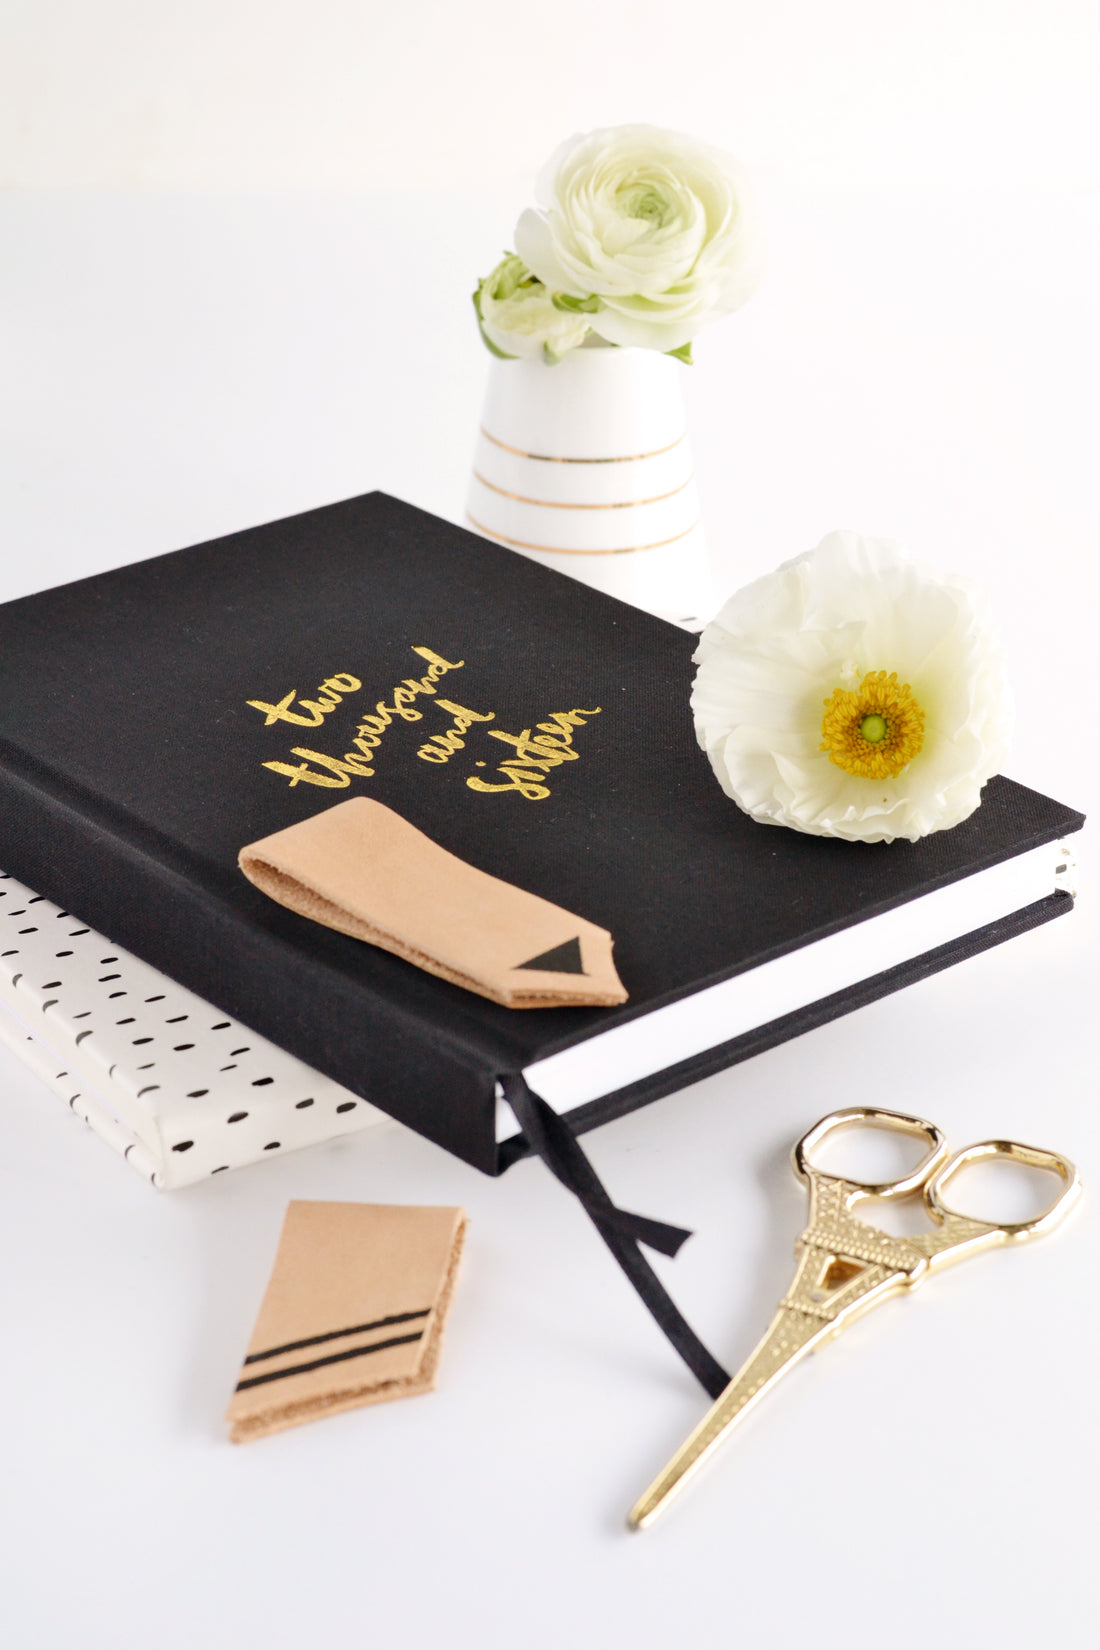

If you saw last week’s post on the debut of my friend Ria’s 2016 planner, you’ll know how excited I was to get one of these bad boys in my hot little hands… I mean, just look at all that pretty gold foil and black linen!
And actually, it was the cover of the planner that inspired me to make these leather bookmarks (my first leather DIY folks!). I’ve always liked combining different textures and I had a gut feeling that the mix of cloth, foil and leather would be a winning combo. I wasn’t disappointed!

Oh and the best part of all is that while these bookmarks may look super chic (or at least I think so haha!), they’re actually very simple to DIY. So what are you waiting for – get yourself some leather scraps and let’s get crafting!
Materials
- Leather scraps
- Magnetic strips/tape
- Tacky spray adhesive (only if your magnets are not already sticky-backed)
- Black acrylic paint
- Ruler and pencil
- Scissors
- Painter’s tape
- Paintbrush

Step 1
Measure and cut your leather to size. The bookmarks will be folded in half, so estimate the length you’d like your finished bookmarks to be and double it to get the length that you should cut your leather.
As a guide, my leather strips were around 2.5cm (1 inch) wide and 10cm (4 inches) long when laid flat.

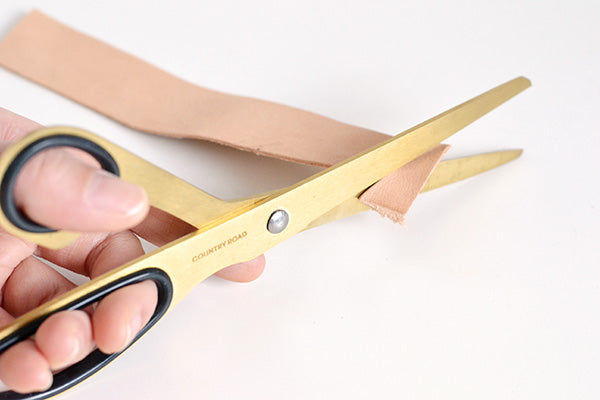
Step 2
Trim the ends of your leather strips. This step is entirely optional – you can leave the ends straight if you prefer. I played around with the edges of my bookmarks so one had a blunt end, two were trimmed at an angle and one ended up with a pointed tip.

Step 3
Apply some painter’s tape to mark out the sections where you’d like your paint to go. I stuck to simple lines and geometric shapes to keep things clean and modern-looking.

Step 4
Make sure your tape is well stuck down, then paint on your patterns. Once you’ve applied a couple of coats, leave the bookmarks to dry and then remove the tape.


Step 5
Flip the leather strips over so that they’re face-down and apply the magnets to the back using tacky spray adhesive. Make sure your magnets are set up correctly before you glue them down, otherwise they might repel each other instead of sticking together once the bookmarks are folded.

Step 6
Fold your bookmarks in half so the magnets fasten the ends together and you’re done!

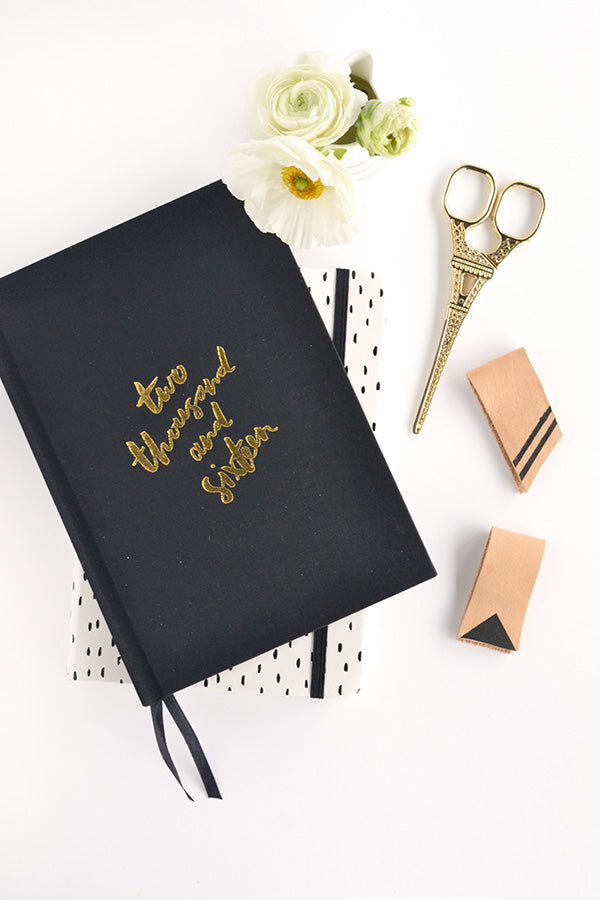

I have to say, leather is so easy and fun to work with that I’m now tempted to make leather everything. So don’t be too surprised if you see a few more leather projects in the future 😉
Oh, and make sure you visit Craftsposure to pre-order your very own 2016 planner – I’m loving mine so much I can’t wait for next year to start!
xx Steph