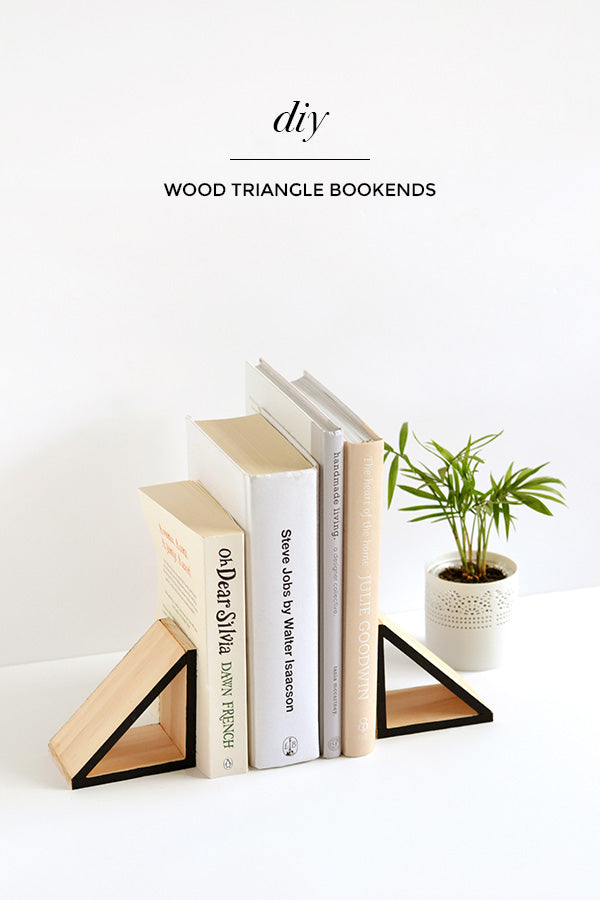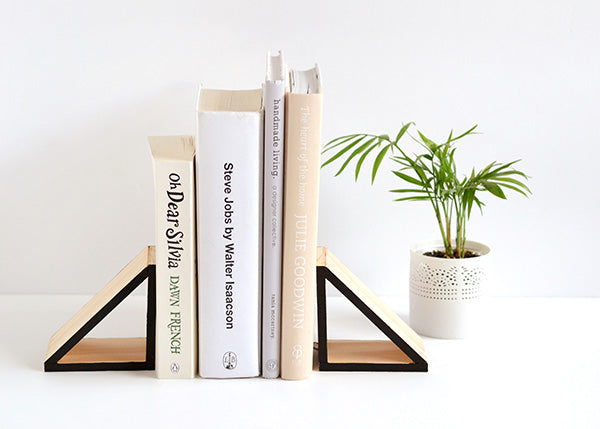
Although I don’t do many woodworking projects, I’ve somehow gathered many spare bits of timber that now float around the house waiting for their moment to shine. The pieces are too nice to throw away (they really are, I’m not a hoarder I swear!) so I came up with a way to use those pretty offcuts and create a stylish way to house my books at the same time. Follow along for this very easy geometric bookend DIY!

Materials
- Wood (I used pine)
- Ruler
- Pencil
- Hand saw
- Miter box (or miter saw)
- Wood glue
- Painter’s tape
- Black acrylic paint
- Paintbrush
Step 1
Measure and mark out three pieces of wood with a ruler and pencil, then cut out the pieces with a handsaw.

The size of the pieces will vary depending on the thickness of your timber and how tall you’d like your bookends to stand. As a guide, my bookends measured 100mm tall by 100mm wide (3.94 by 3.94 inches), and my timber was 8mm (0.31 inches) thick.

If you’re going to make your bookends the same size as mine, the size of the pieces will be as follows:
- Piece A: 92mm tall (3.62 inches)
- Piece B: 100mm tall (3.94 inches)
- Piece C: 130mm tall (5.12 inches)
Note: All my pieces measured 65mm wide (2.56 inches), but you can change this up to suit your needs – the triangle shape should still assemble properly with the lengths listed above regardless of how wide the pieces are (just make sure your pieces are all the same width as each other or else you’ll have a very odd looking bookend!)
If you’re making your bookends to a custom size, once you’ve worked out how long you’d like Pieces A and B to be, use a right triangle side calculator to calculate how long you should cut Piece C so it fits snugly. Or you can do some simple algebra if that takes your fancy. 😉
Step 2
When you’re cutting your pieces out with a saw, Pieces A and B will be straight cuts (easy!), but Piece C (the longest piece in the picture above) needs to be cut at a 45° angle on both ends.
I used a large miter box for this, but if you have a miter saw to work with, even better!

Step 3
Apply wood glue to the end of Piece A (your shortest piece) and attach it to Piece B so that the two form a right angle.


Step 4
Once the glue binding Pieces A and B has dried, attach Piece C (the longest piece with the mitered edges) with more glue.


Step 5
Use painter’s tape to section off the edges of the assembled bookends. This will protect the rest of the wood while you’re painting. Then paint the edges in the colour of your choice.

Remove the tape once the paint has dried and smugly gloat over your newest creation! 😉


While I realise this is very basic woodworking for most people, it’s something I’m super new to, so I understand if you also have questions! Feel free to hit me up in the comments below with anything that isn’t clear. And most importantly, happy making!
xx Steph

