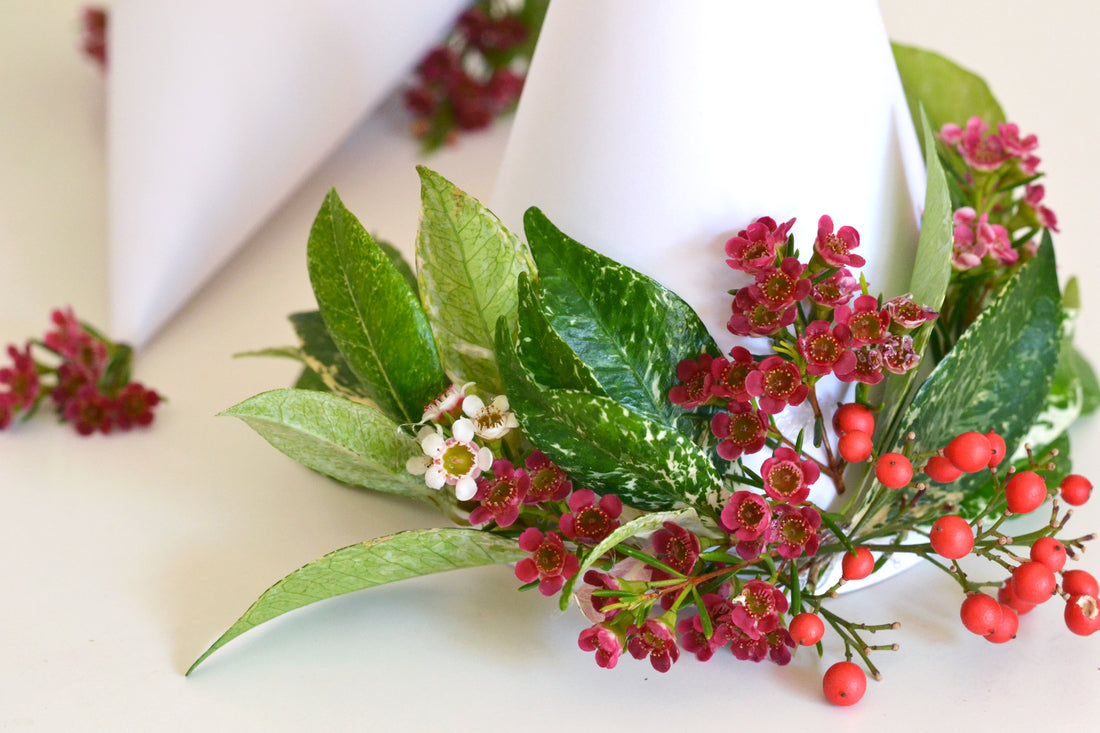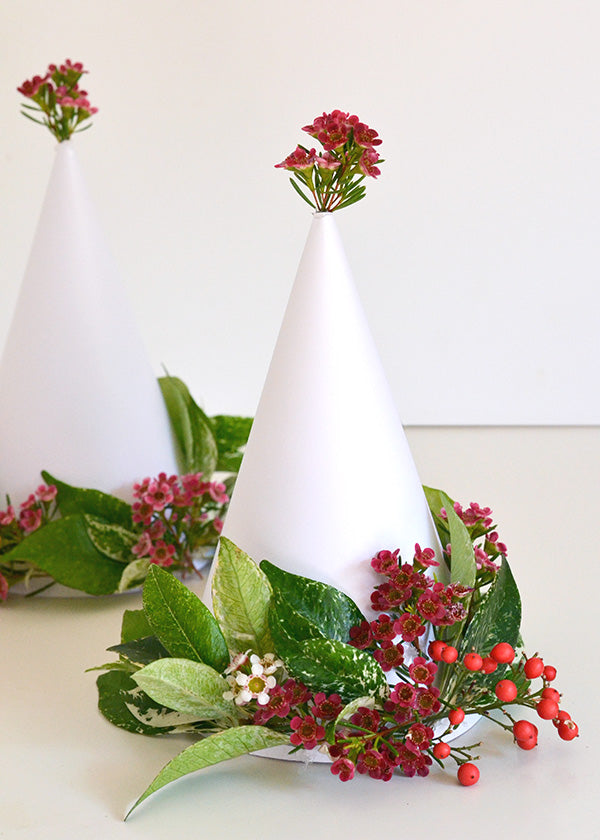
If there’s one thing I love more than fresh flowers, it’s Christmas. So combine the two and guess what you have? The. Best. Project. Ever.
Ha, okay maybe I’m exaggerating just a little, but I really did enjoy working on this one. And yes, it was because I got to to pick bunches of flowers and assemble them into pretty bundles. Sometimes I can be the girliest girl. 🙂
If you too are a flower fiend, go on and grab some festive florals and let’s get crafting!
Materials
- Party hat template (download at the end of this post)
- Fresh foliage and flowers (I found red flowers and berries worked well together)
- Double-sided tape or glue
- Scissors
- Elastic
- Stapler
- Hot glue gun
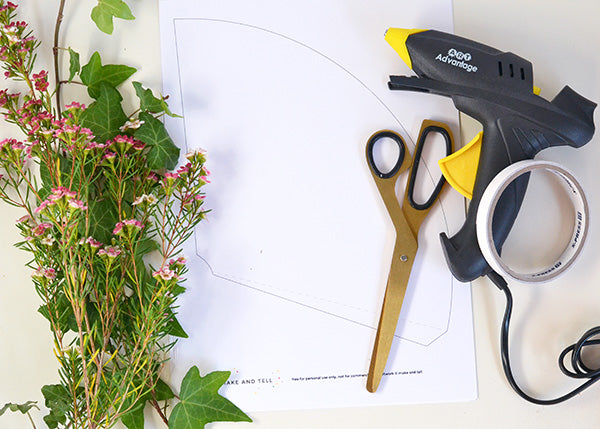
Step 1
Print out the party hat template (at the end of this post) and cut around the solid line.
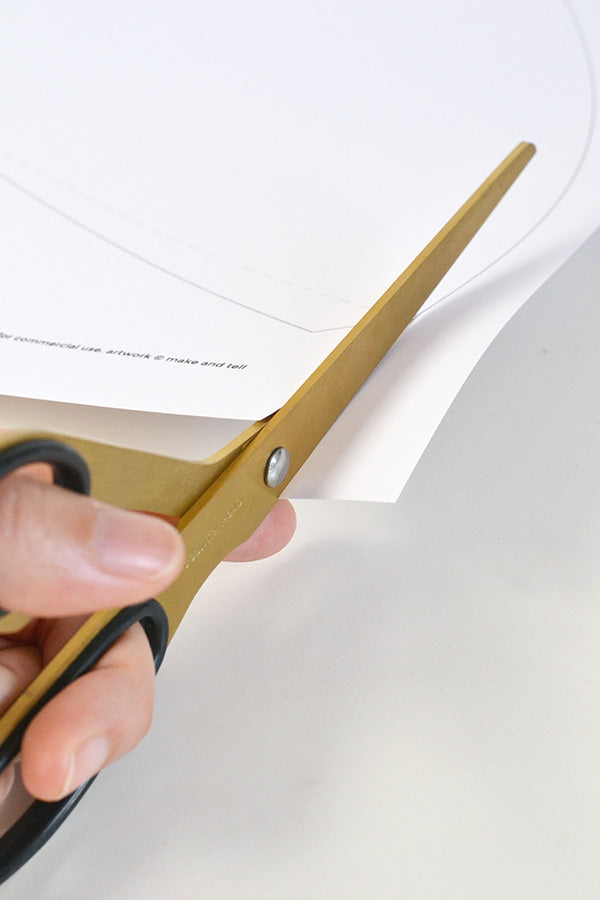
Step 2
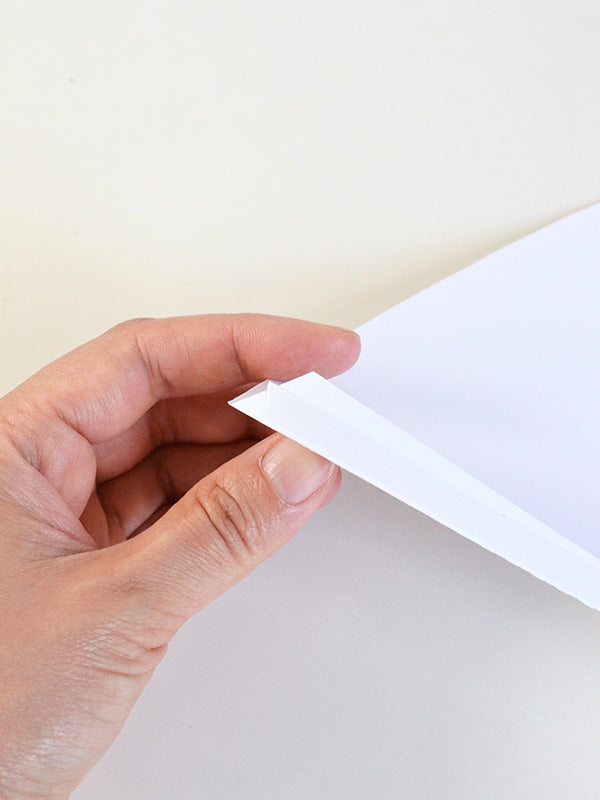
Apply glue or tape to the flap marked out by the dashed line and stick the hat together.
Step 3
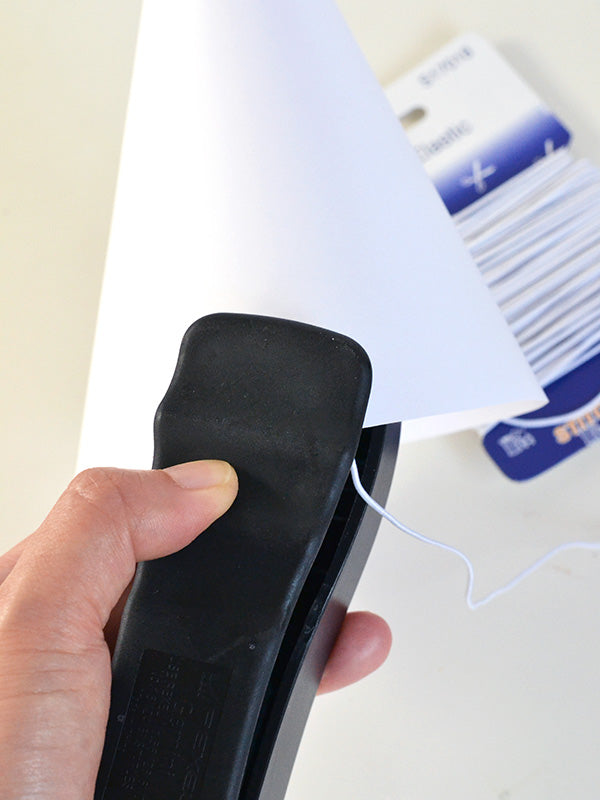
Cut a piece of elastic and staple it to the hat. Don’t worry too much about the staples – these will eventually be covered by flowers.
Step 4
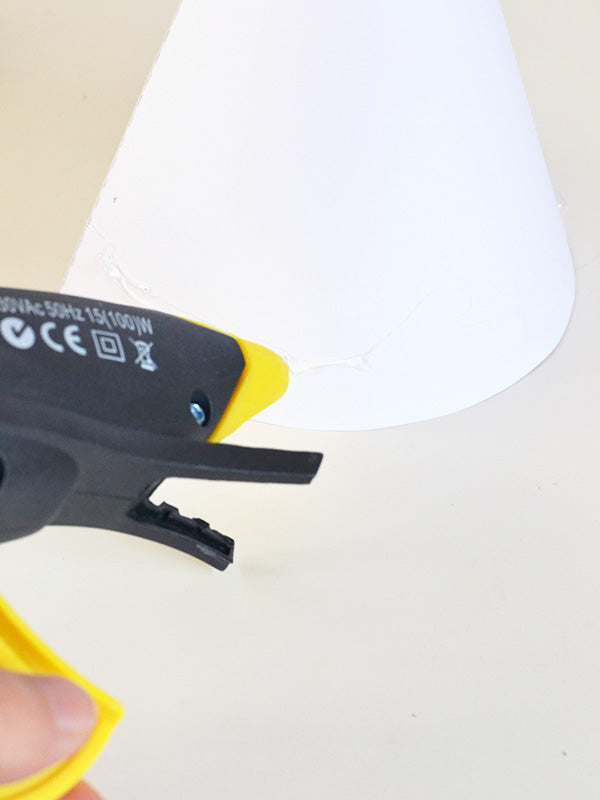
Using a hot glue gun, apply some glue in little blobs to the area just above the rim of the hat.
Step 5
Working quickly, stick foliage and flowers onto each dollop of glue you apply.

Step 6
Lastly, add some glue to the top of the hat and attach a few flowers. And that’s it – project completed!
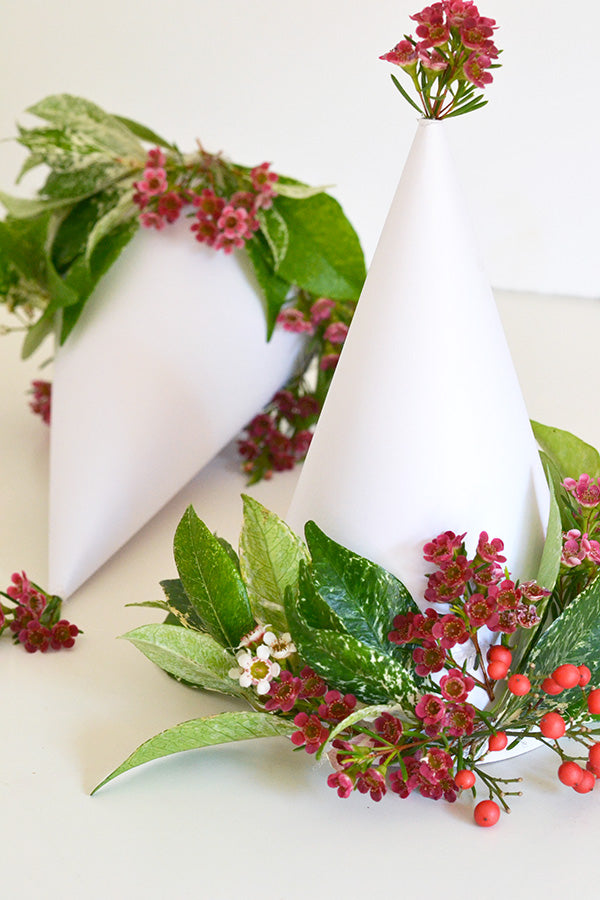
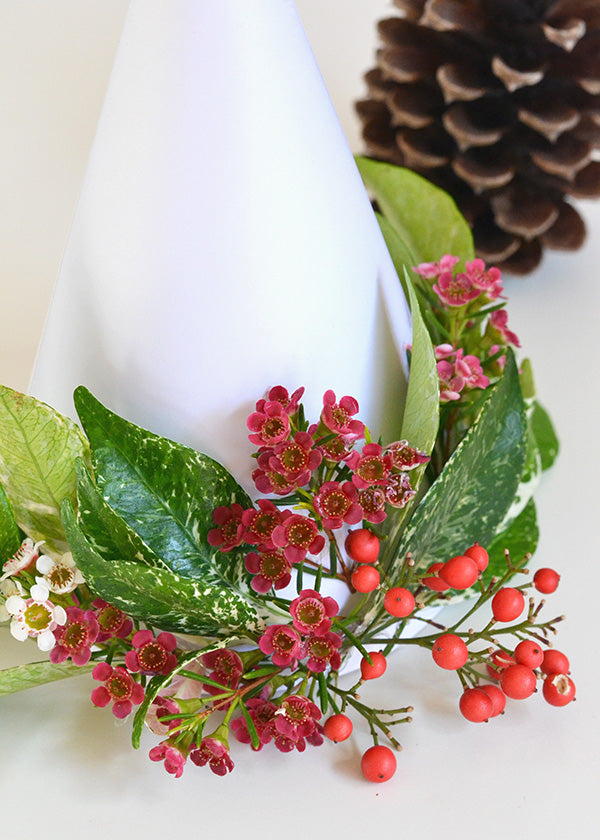
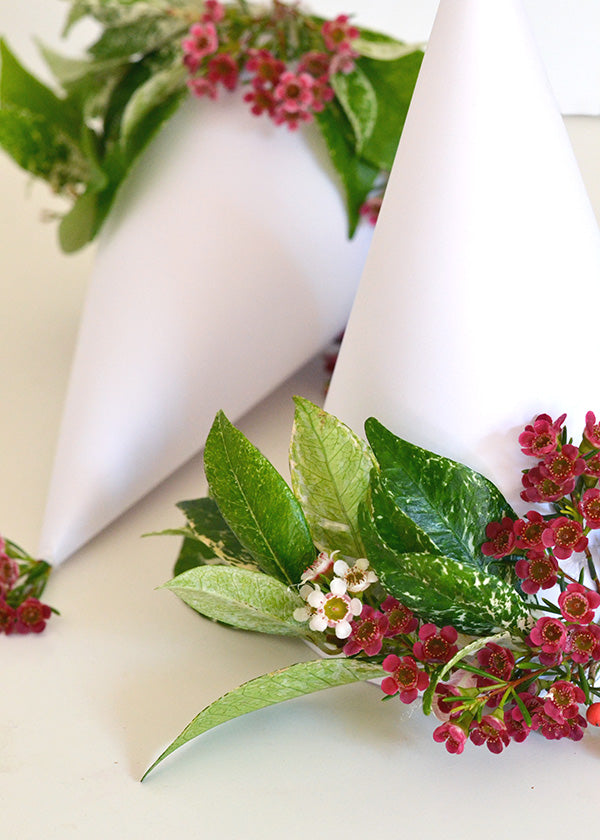
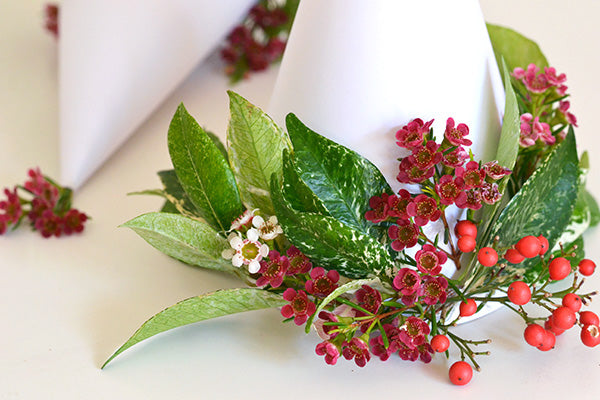
I love how festive these turned out don’t you? Even though I’ve been leaning more towards pinks and blues lately, the red and green combo just won me over… it’s hard to go past those lovely traditional colours.
Oh, and I’ll be honest with you, this DIY wasn’t as easy as I thought it’d be, especially when it came to the gluing part. I haven’t done much work with flowers in the past, and when you combine that with having to work fast to stick them on before the glue dries… well let’s just say there were quite a few mistakes and burnt fingers!
I’d do it all over again in a heartbeat though… it may not have been as easy as I expected, but it was lots of fun!

xx Steph

