
Hands up if you’re loving the donut fever that’s taken over lately? I for one can’t get enough of all the fab donut projects out there – anything that’s covered in pink and sprinkles has my vote!
Not to mention the fact that after you’ve finished your project, you can eat the sugary props. Bonus!
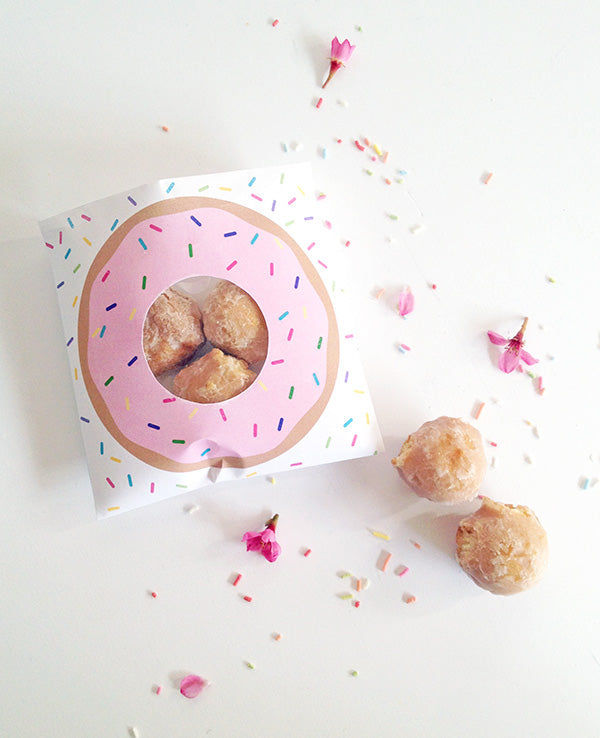
So when a friend of mine asked me if I could share a treat bag project on the blog, my thoughts immediately turned to donuts. After all, what could be better than a donut gift bag that houses…. more donuts!
If you love your donuts as much as I do (or if you’re just sick of me saying the word ‘donut’ and want me to get on with the project), scroll on down for all the details. 🙂
Materials
- Donut gift bag printable (see the end of this post to download)
- Bone-folder
- Ruler
- Scissors or a craft knife
- Double-sided tape or glue
- Food grade cello bags (I used ones that were 120mm wide)
- Donut bites

Step 1
Use your ruler and bone folder to score lines across your gift bags. The markings I’ve provided on the printable will act as a guide – simply position your ruler so that it connects two lines at opposite ends of the page, then score.

Step 2
Cut out your gift bags with scissors or a craft knife.

Step 3
Cut out the centre of the donut. I find the easiest way to do this is to make a couple of slits in the shape of an ‘x’ first. This will enable you to insert your scissors to cut around the circle.


Step 4
Now moving onto your cello bags. Unless your bags are exactly the same length as the printable, you’ll need to trim them to size. Cut the tops off your cello bags so they fit inside your donut gift bag (the cello bag will need to measure around 120mm x 120mm once trimmed).

Step 5
Flip your donut gift bag over so the printed side is face-down, then fold along the score-lines you created earlier. This will create some tabs that will help to close up your bag.
Place double-sided tape or a bit of glue along the two lower tabs.

Step 6
Finish assembling your donut gift bag by folding the template in half along the middle score-line you made earlier. Attach the folded part to the two taped tabs.

Step 7
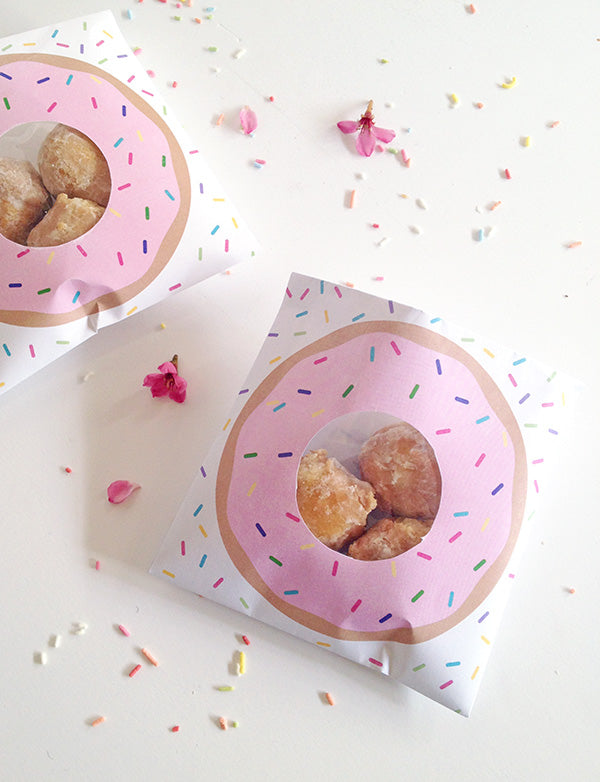
Insert your trimmed cello bag into the completed donut gift bag and fill with tasty treats!

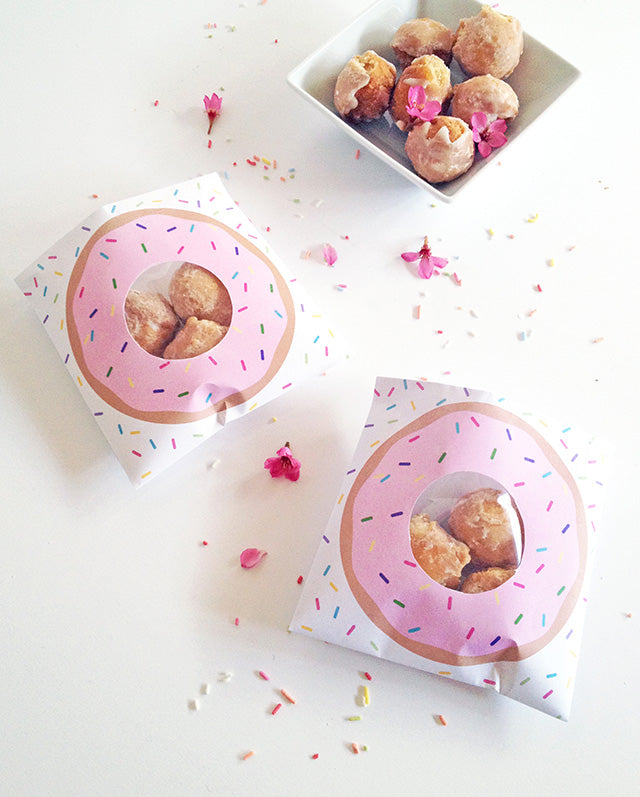
Since these bags are gift size (i.e. not large), I filled mine with little donut bites rather than one big donut. You could also use mini donuts, candy, cookies or anything else that takes your fancy. If you’re not sure where to start, this might be a good excuse to go out and try all the different types of donutty, sugary treats to see which fits best. I’m sure you didn’t need another reason to eat sweets, but if anyone asks, you can tell them it was my fault. I don’t mind one bit 🙂

xx Steph