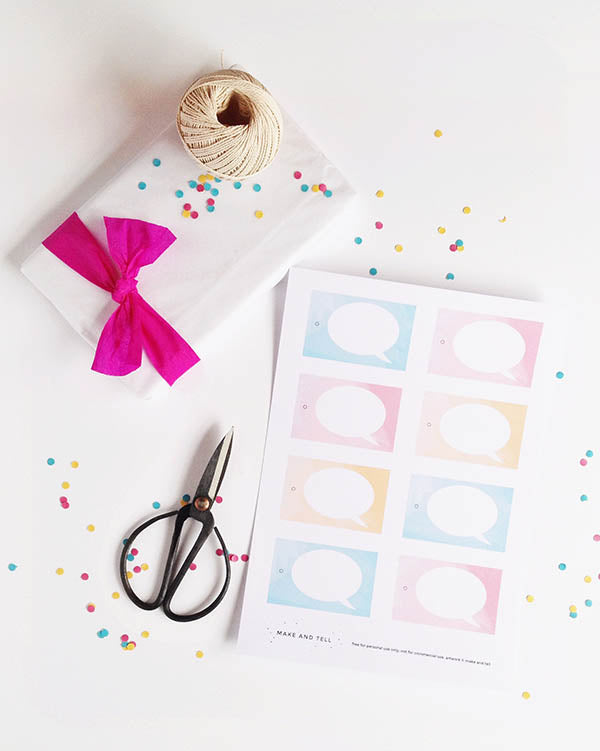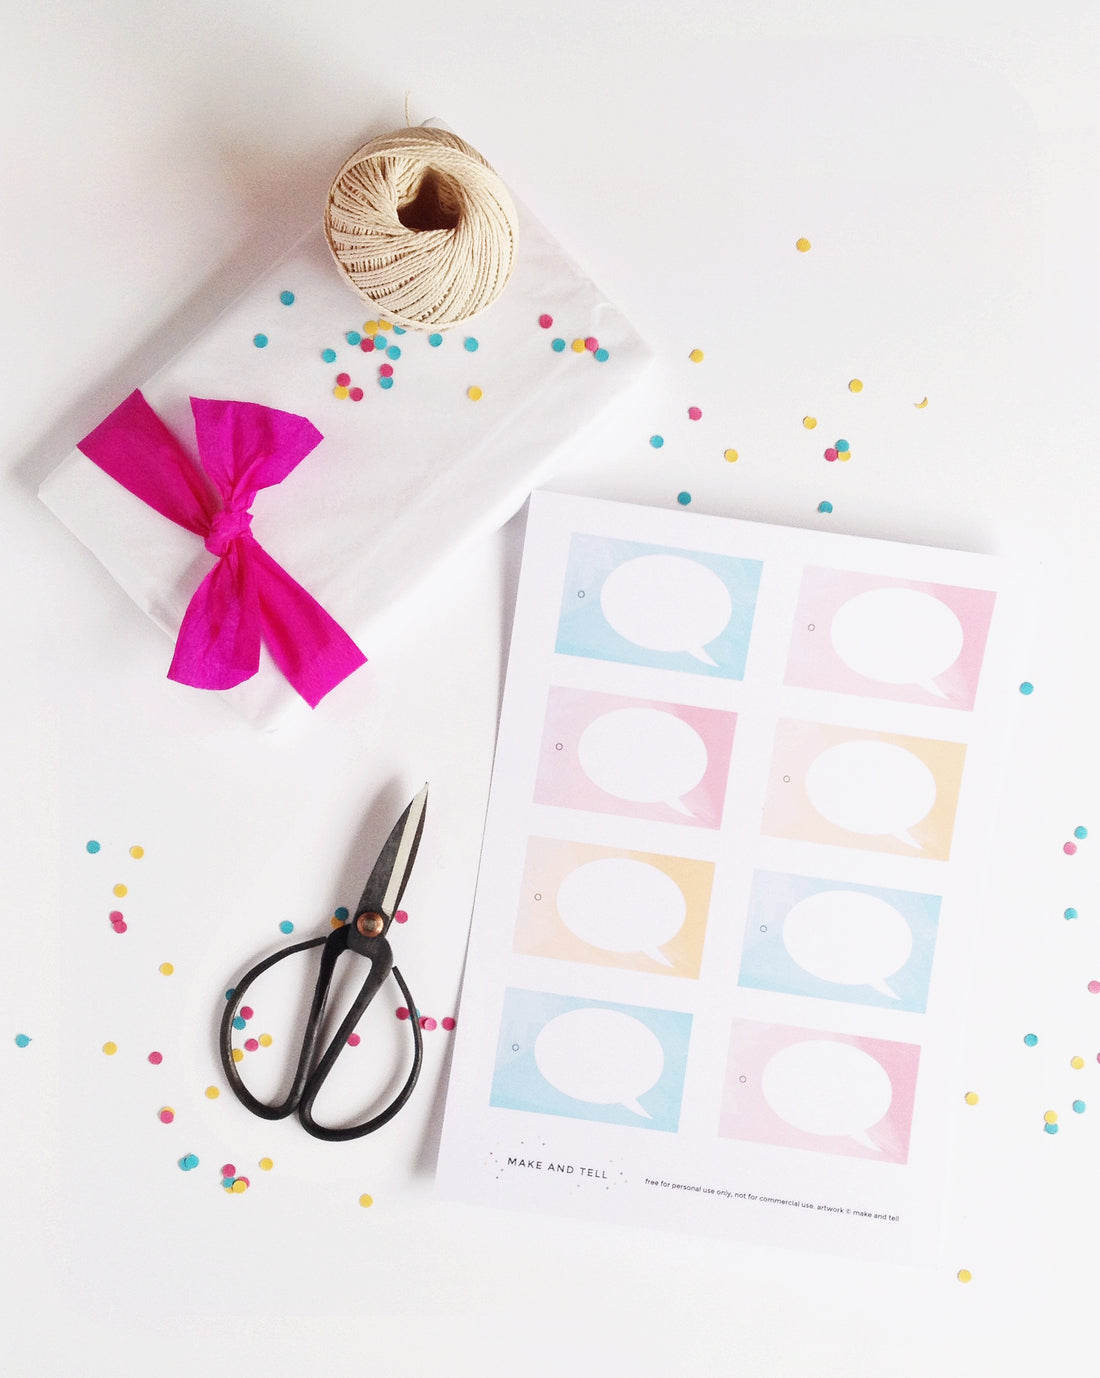
Gift tags. I can’t get enough of them, so you might find they make a regular appearance in my blog posts as I feed my addiction. These ones are particularly indulgent (for me anyway), as they’re a bit painterly, which is also something I’ve been crushing on big time lately.
These babies are super easy to DIY and make present wrapping much more interesting because they lend themselves to a bit of cheekiness. Follow the instructions below and get your wrap on!
Materials
- Good quality white cardstock
- Scissors or craft knife
- Ruler (if you’re using a craft knife)
- Hole punch
- Rounded corner punch
- Twine or ribbon for tying
Step 1
Download the printable file (at the end of this post) and print the gift tags onto high quality card stock.

Step 2
Cut out each tag using scissors or a ruler and craft knife. Once your tags are all cut out, use a corner punch to round out the corners (trust me, it’s much easier to do it this way than to try and round the corners with scissors).

Step 3
Punch a hole where indicated and thread through your twine or ribbon. Then write in your greeting and you’re good to go!


The thing I probably like least about these is that the end result includes my own handwriting. Which isn’t a bad thing if your handwriting is nice, but I don’t like mine much and I’m a bit of a perfectionist. It’s okay, I’m learning to deal 🙂

Pastel speech bubble gift tags
xx Steph

