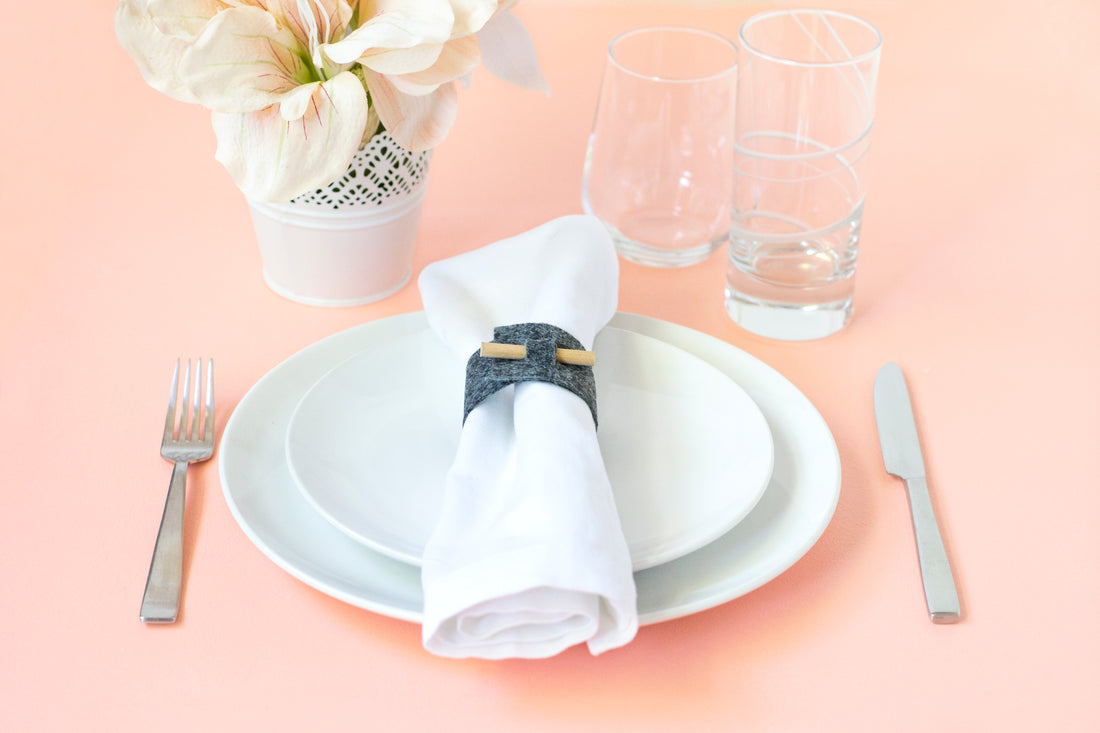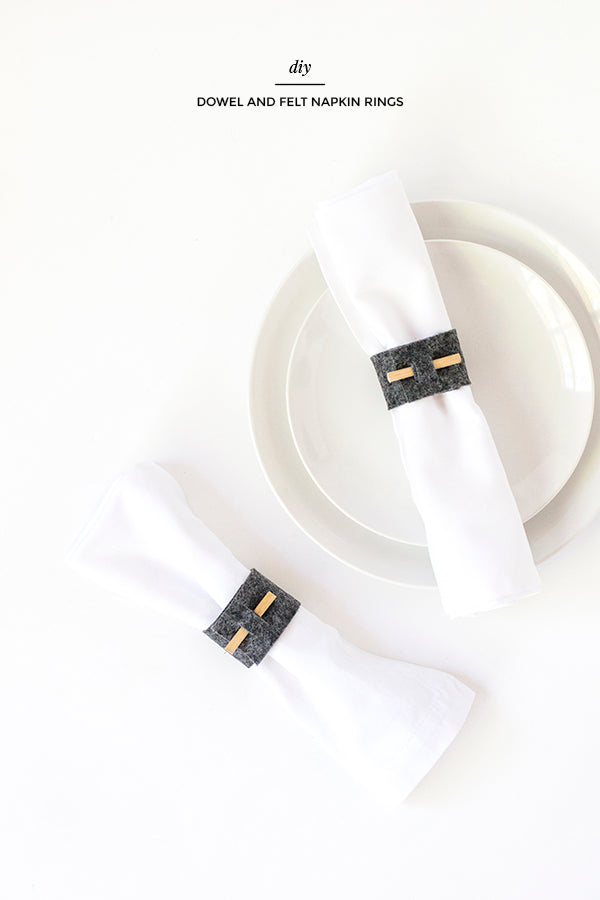
Hands up if you like a quick craft project? I hope you said yes, because I’m about to share a super easy napkin ring DIY, no sewing required!

Don’t be fooled by the number of steps in this project – they’re very easy to follow and once you’ve made one of these bad boys you’ll be such a pro that you won’t think twice about crafting many more to dress up your table.
Keen to get started? Grab some fabric and follow along!
Materials
- White napkins
- Felt, leather or other sturdy cloth (I used charcoal felt)
- Wood dowel
- Ruler
- Pencil
- Hand saw
- Fabric pencil
- Scissors

Step 1
Using a fabric pencil and a pair of scissors, measure and cut a length of felt that fits nicely around your rolled up napkin with a 3cm (1.3 inch) overlap.

Step 2
Lay your felt piece flat, then measure and draw two small lines with your fabric pen that are around 1cm (0.4 inches) from each end.

Step 3
Measure and mark another two lines that are around 1cm (0.4 inches) away from the lines you drew in Step 2. Both ends of your felt should now have 2 vertical lines drawn in as shown in the image below.

Step 4
Fold your felt piece in half lengthwise and use a pair of scissors to snip along the lines you drew in Steps 2 and 3.

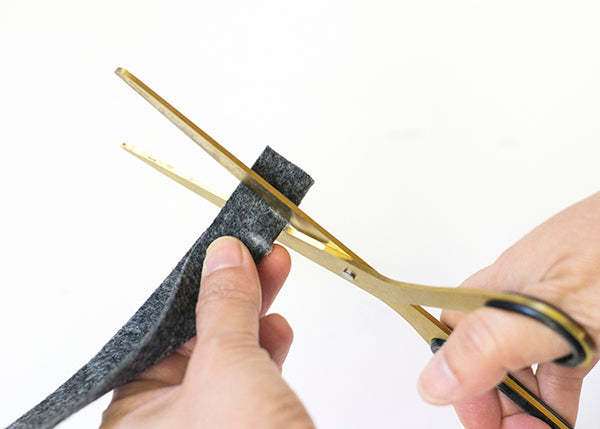
You should now have 4 slits – two at one end of your felt and two at the other.

Step 5
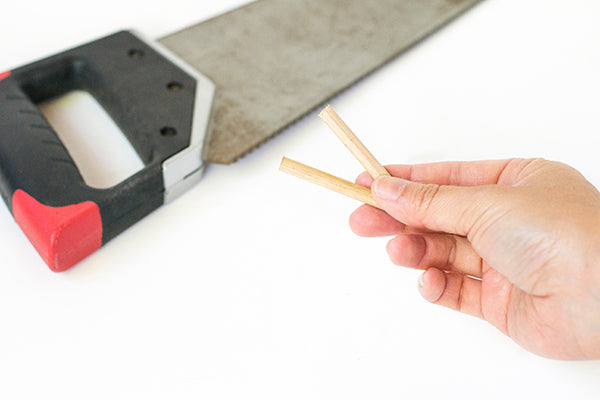
Measure and mark a 5cm (2 inch) piece of dowel.

Step 6
Cut the dowel to size with a handsaw.
Step 7
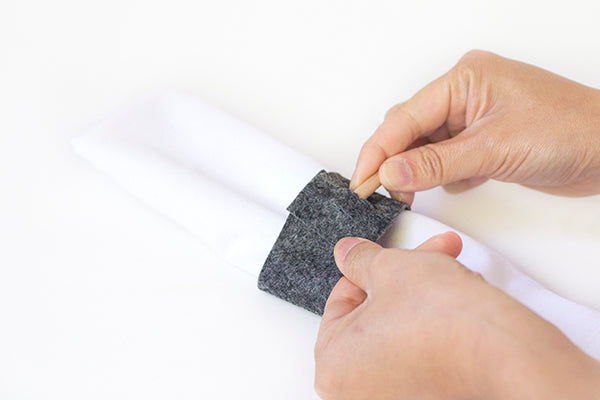
Wrap the felt piece around your rolled up napkin so that the slits line up on both ends. Then insert the dowel to hold the napkin ring together.

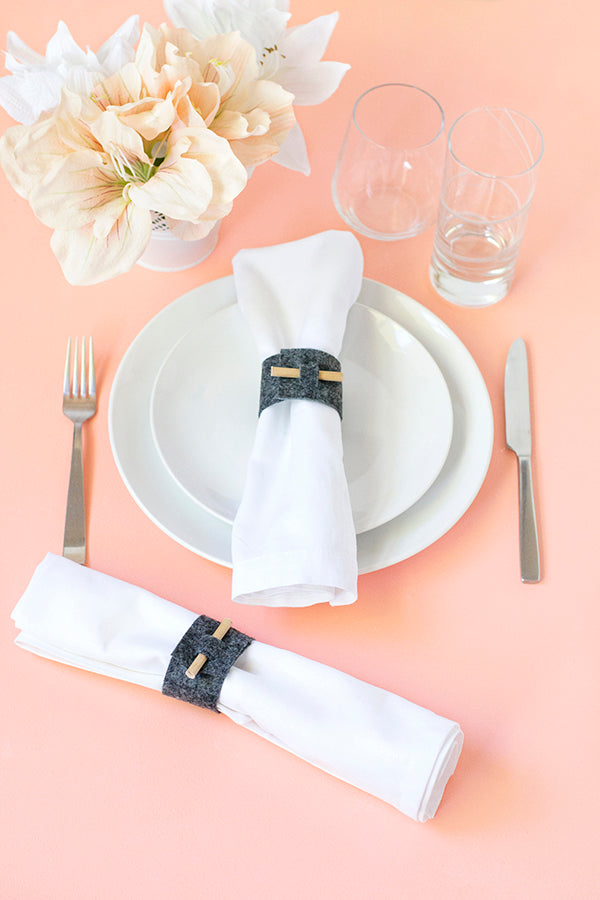

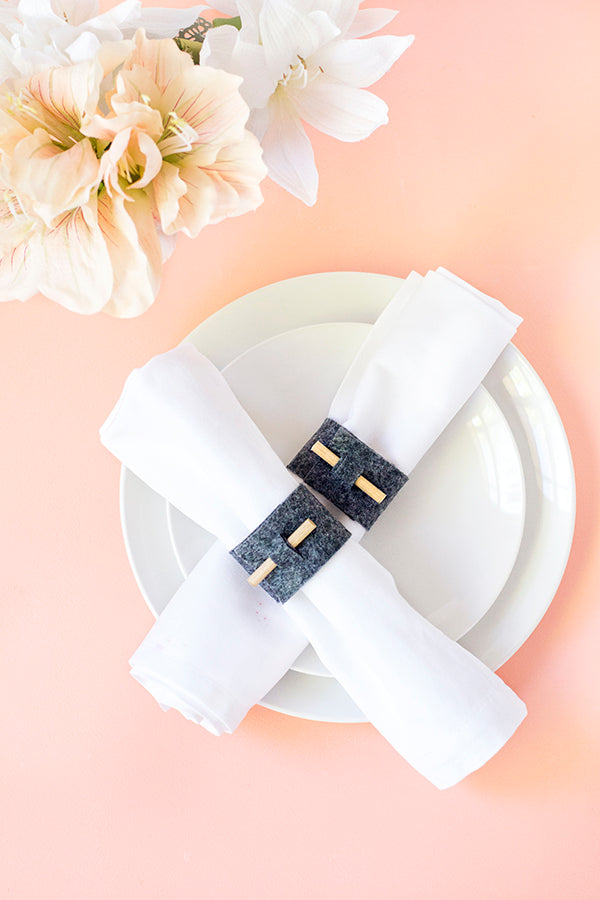
Simple right? Best of all, these napkin rings lend themselves to be styled in all sorts of fun ways.
I used charcoal felt and unpainted dowel to mimic that ever-popular minimal Scandinavian style, but why not mix things up to suit your interior decor? Try gathering different fabric scraps like leather or patterned cloth, or better yet, paint the dowel in pretty colours for a much more playful look!
xx Steph

