

Do you remember covering your books with contact paper as a kid? Maybe this is showing my age, but when I was in school, contact paper wasn’t very user-friendly and there was an art to getting it just right. If you didn’t place it down perfectly the first time, you’d be stuck with wrinkles and air bubbles for THE REST OF THE TERM. It sounds stupid, but the perfectionist side of me (yes, even as a kid) couldn’t deal!
So when my friend Audrey from This Little Street sent me some of the gorgeous removable wallpaper from her new collection, you should have seen me as I started to use it. It was a comical show of me being extra, super careful with where I placed it and how I handled it… until I made my first mistake. Once I saw how forgiving the wallpaper was, I was like a changed person!
Peel it off, stick it on, peel it off, stick it on. Guys, I LURVE this stuff.


And how much better does my grotty old desk cubby look with its wallpaper makeover!
I’ll be honest, this is probably more of a show and tell than a full-blown DIY since I’m pretty sure most of you don’t have an old desk cubby lying around waiting for a revamp. But trust me when I say that this wallpaper is just the thing for a furniture makeover project. If you’ve got an old item in need of an update, use the steps below as a guide for an instant facelift!
Materials
- Removable wallpaper
- Scissors
- Craft knife
- Ruler
- Primer
- Paint
- Paintbrush
Step 1
I knew early on that with its ridges and grooves, I wasn’t going to have a fun time trying to wallpaper the inside of the cubby. So I sanded, primed and painted it white instead.

Step 2
Once the paint had dried, I trimmed the removable wallpaper to size and started to cover the cubby.
For the sides, top and bottom, I cut pieces of wallpaper that were that were slightly too large. This way, once they were placed down, I could cut the corners off and fold the excess over the edges to create tabs. These tabs ensured that there was no wood peeking out where the pieces of wallpaper joined.
I then cut a piece that was exactly the right size for the back of the cubby to cover up all the tabs.


Step 3
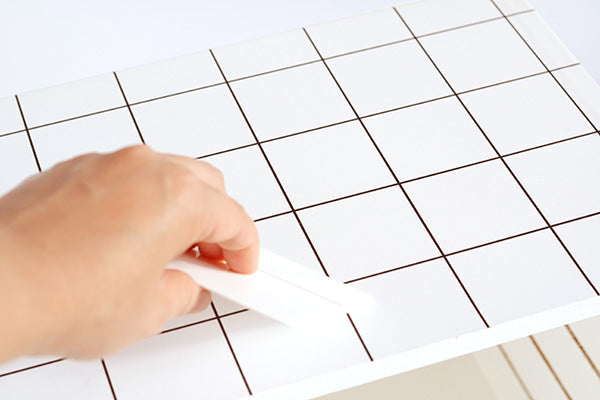
When each piece of wallpaper had been stuck in place, I used the scraper provided to smooth out any air bubbles.
This is where the ‘removable’ part of the wallpaper really came into its own – there were some pieces I completely stuffed up and when that happened I just removed it, stuck it down again and smoothed it over without any worries.
Step 4
Once the caddy had been completely covered, I moved onto the shelves. These were a little trickier because of the half moon cut-out at the front of each one; for those areas, I made a few slits so the wallpaper could be folded into the shape of the indent.

I’m sure there were many ways I could have wrapped these shelves; I chose to lay one side down first and kind of ‘wrap’ the shelf by folding the wallpaper up and over the other side. I then trimmed off the excess with a craft knife.


Step 5
Once the shelves were covered, all that was left to do was insert them into the cubby!


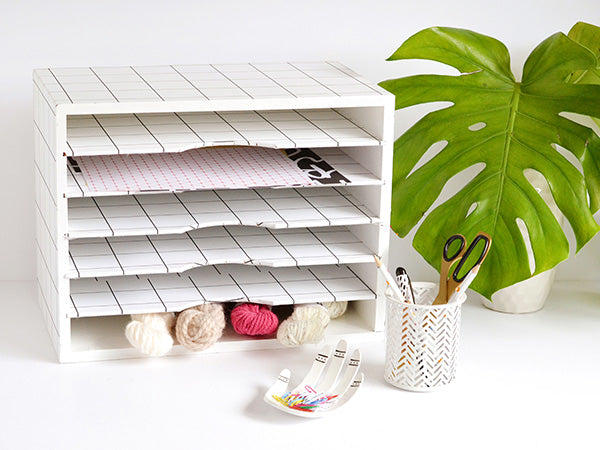

In case you couldn’t already tell, I’m pretty chuffed with the new sleek grid look. I’d been meaning to give this cubby a makeover for ages, but held off because I wasn’t thrilled with the idea of painting the entire thing. Removable wallpaper solved all of that in one fell swoop – it was so much easier than sanding and painting, and I know if I ever feel like a bit of a change, I can easily take it off and change up the pattern to suit my mood!
xx Steph