
Recently, hubby and I decided to ditch our large coffee table in an attempt to stop ourselves from creating a mini dumping ground every time we used our living room. Does anyone else have this problem where the coffee table becomes a place to ditch items that you’re too lazy to put away? That was us day in and day out!

So we switched to a small side table instead and lo and behold, it’s worked wonders! We’re forced to clean up because there’s only enough space to rest our drinks and a remote or two. Which means any clutter has to go (yes, this is what it’s come to – I have to trick myself into cleaning up. Sheesh).

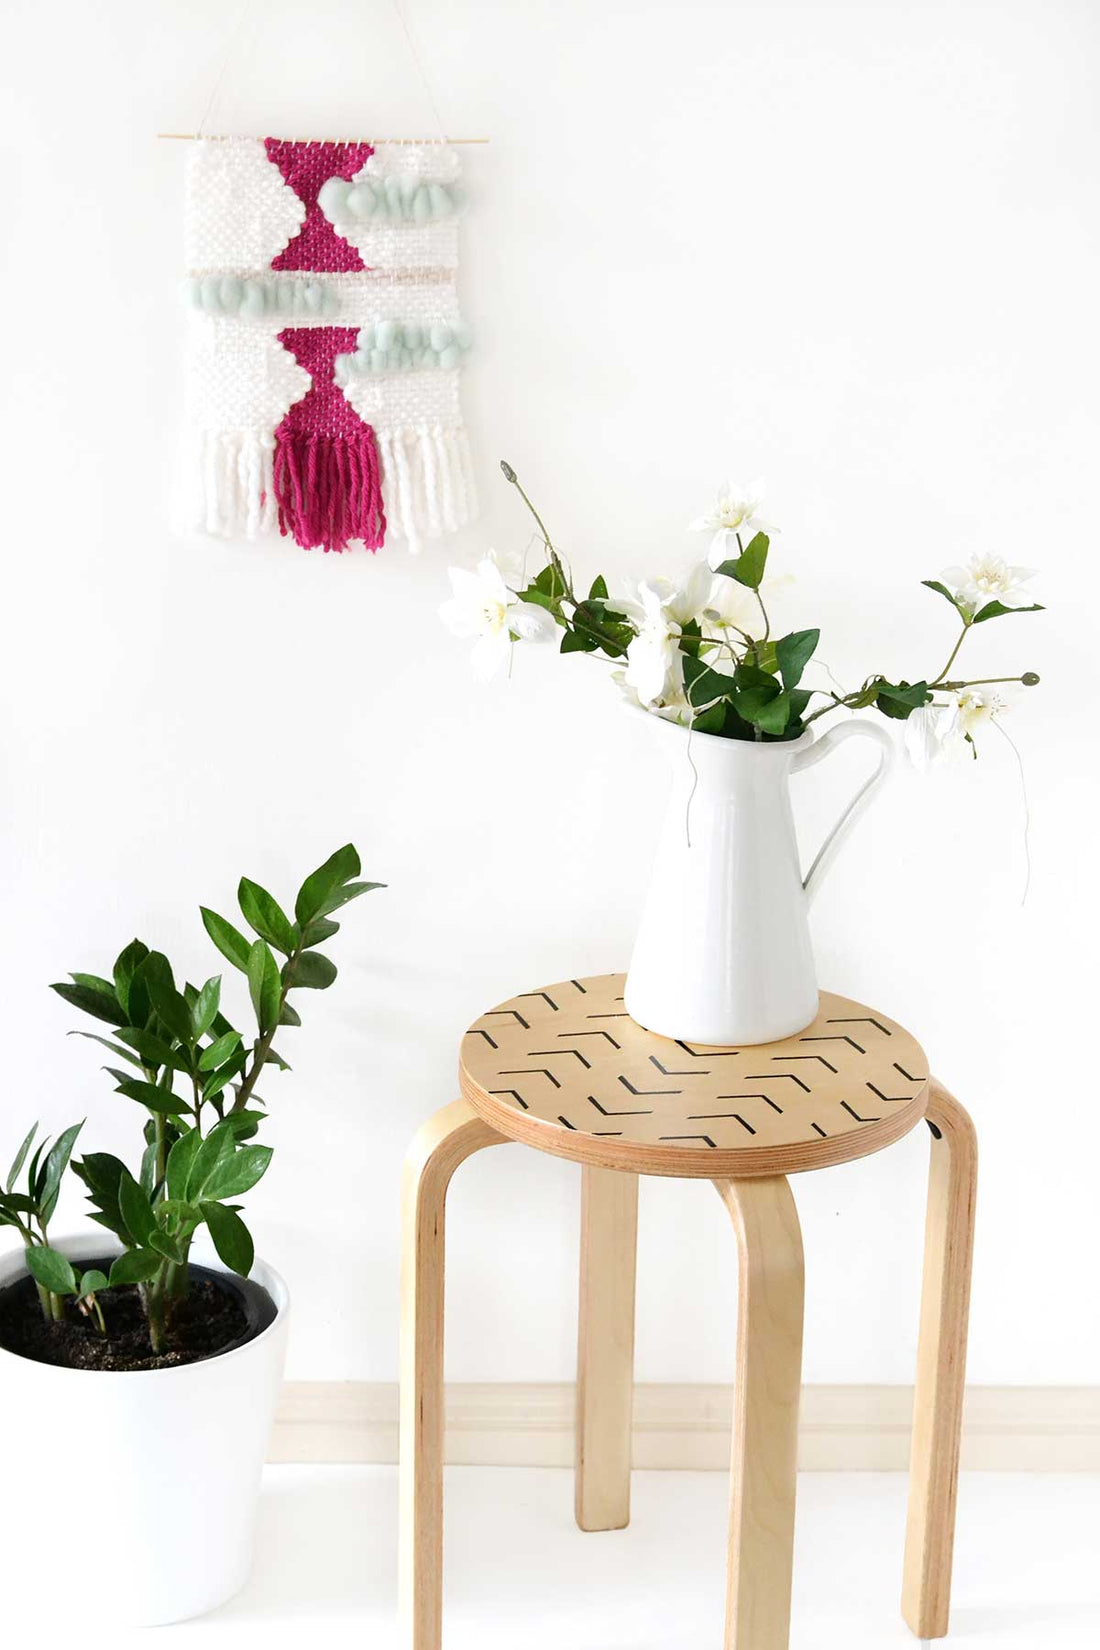
We picked up this little side table on the cheap from a furniture store down the road, but me being me I couldn’t just let it remain plain and bare. So I decided to jazz it up with a mudcloth pattern (hubby is lucky I didn’t end up painting it rainbow pastels really).
And it was super easy to do! If you have a plain wood piece that could use a bit of a facelift, bring it out and let’s makeover our furniture together!
Materials
- Small wood side table or stool
- Painter’s tape
- Ruler
- Pencil
- Black paint pen
- Eraser
- Varnish

Step 1
Give the surface of your table a good clean to remove any grease, dust and dirt.

Step 2
Mark off strips on the table with painter’s tape. You can make them any width you like, as long as they’re all equal.

Step 3
Using a ruler and pencil, draw a very faint line down the middle of each of your uncovered strips. You’ll be erasing this later, so try to make it as light as possible.


Step 4
Measure and mark out dashes on the pencil lines you drew in Step 3 (as a guide, mine were roughly 4cm/1.5 inches apart). Again, make these dashes light as you’ll be erasing them later.

Step 5
On each edge of your painter’s tape strips, measure and mark out dashes that are the same width apart as the dashes you drew in Step 4.

Stagger these so that they fall above and below the dashes you made along the pencil lines (if that’s confusing, a picture is worth a thousand words – see the image below for reference. 😉 )

Step 6
Once you’ve got all your dashes in place, it’s just a matter of connecting the dots! Use your ruler to draw 2 diagonal lines from each edge of the painter’s tape towards the pencil line you drew in Step 3. Go over the arrows multiple times if you’d like them to look a little thicker.

Don’t worry if you happen to draw on the painter’s tape a bit. Once you peel off the tape, the ends of your arrows will look nice and straight.

Step 7
When you’ve drawn one set of arrows, start on the next set, but draw them so they point in the opposite direction.
Continue drawing arrows in alternating directions until the entire surface of the table is filled in.

Step 8
Once you’ve drawn in all your arrows, remove the painter’s tape, erase your pencil lines and give your table a quick coat of varnish to protect the paintwork.


If you’re wondering why I didn’t sand the table first, ordinarily I would but it already had a lovely wood finish that I wanted to add to, not destroy. Paint pen is usually pretty good at adhering to surfaces without prior sanding so fingers crossed that this makeover stays in place for a long time to come!
xx Steph