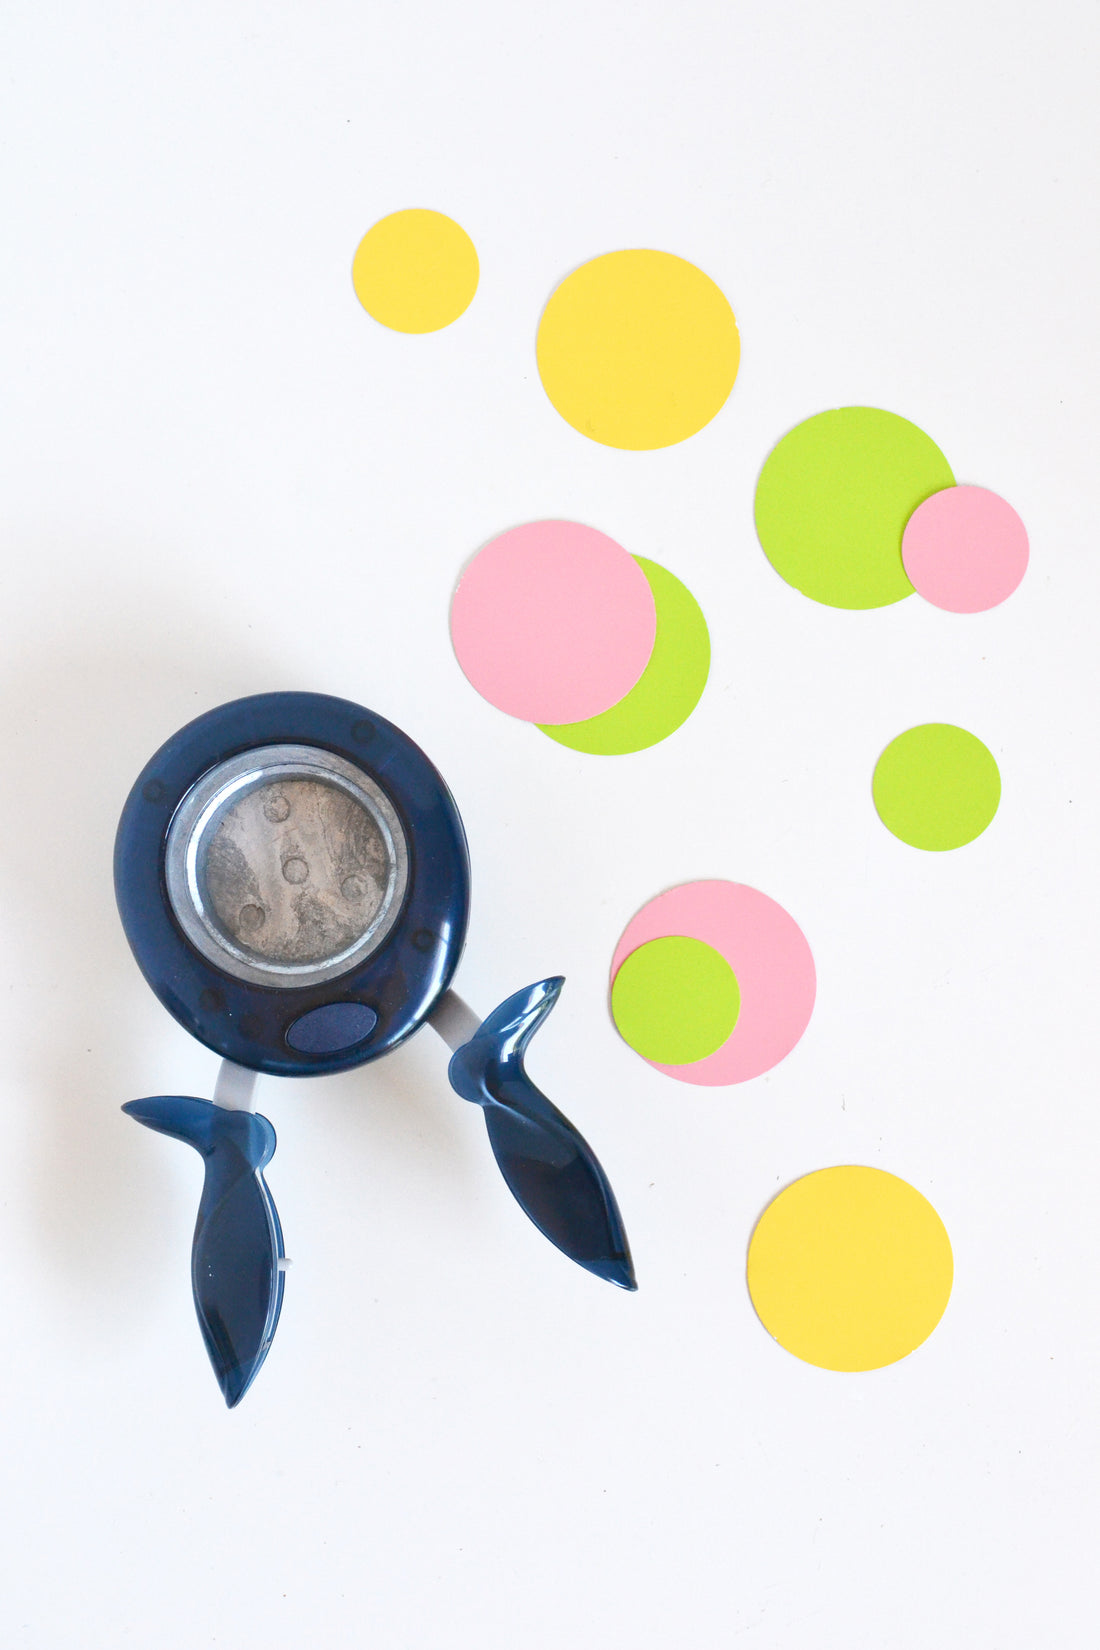
Using a paper punch is fairly easy right? Insert paper, press down and hey presto, out comes your paper shape!
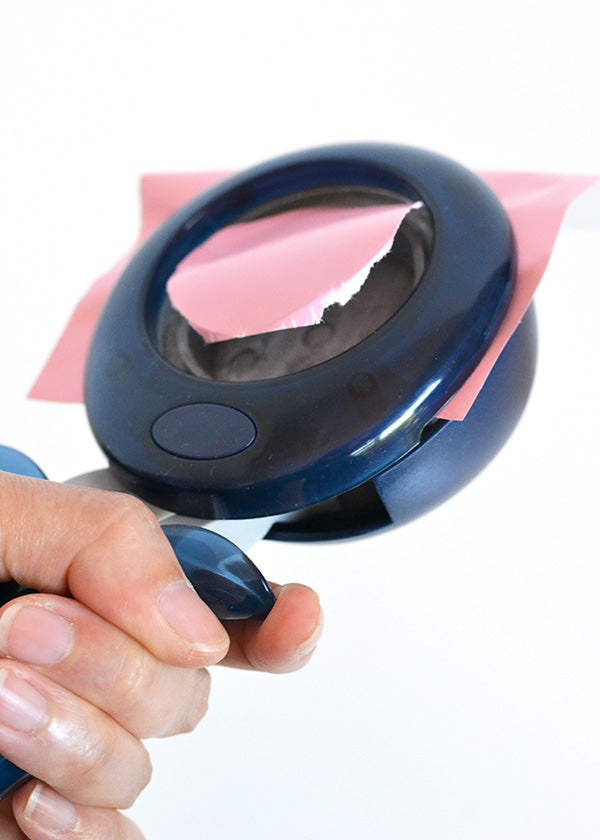
Mostly it really is that straightforward. But sometimes things just don’t go to plan, like in the pic below where you insert paper, squeeze the punch and out comes a torn, unshapely mess.
I’ve done this so many times now that I thought I’d share some pointers for getting nice clean shapes every time you use your punch. Go ahead and scroll on down for all the details!

Firstly, I’ve found that punches don’t work especially well with thin paper. The paper in the shot above was thin gift wrap but tissue paper and even some handcrafted A4 papers give the same result – when you use them with a paper punch, you end up with a mangled mess.
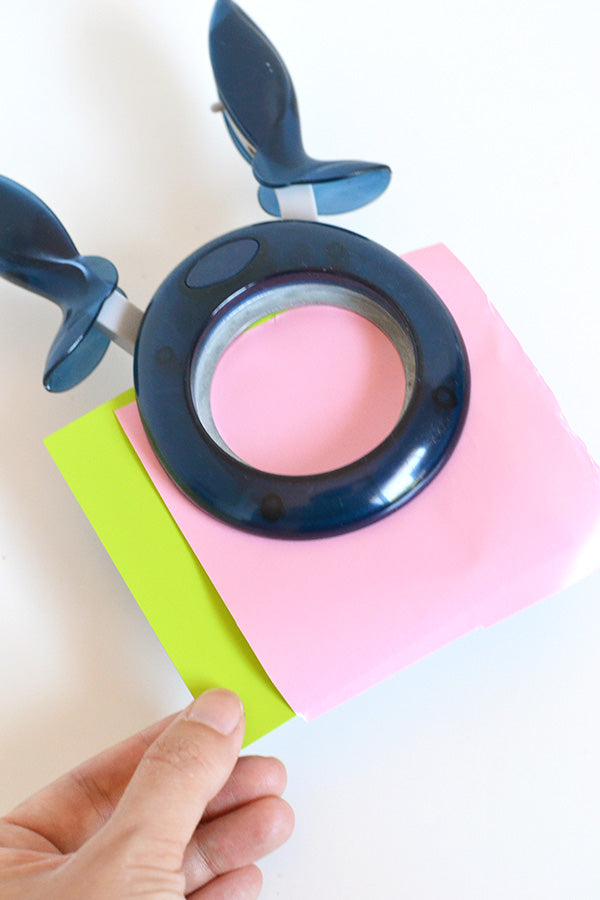
There is a way around this though! Simply add in a sheet of mid-weight card behind the paper you’d like to punch and then punch away. The card will support the paper while the punch cuts through it, leaving you with shapes that have nice, clean edges.

Another good tip to remember is that your punches are like any other blade and need sharpening once in awhile so they continue to give a clean cut.
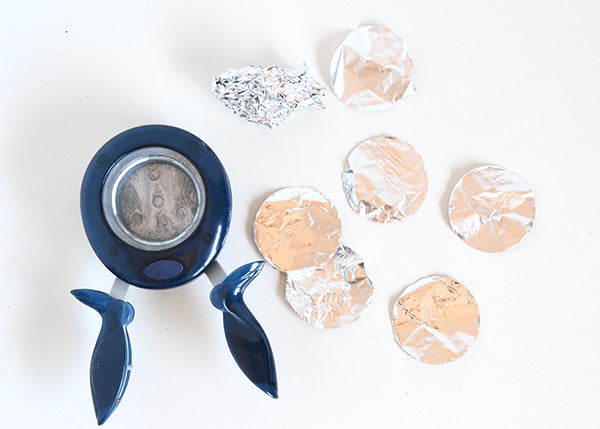
And it’s super easy to sharpen them – just get your punches out, grab some foil and start punching away. The metal on metal action will have your punches nice and sharp in no time. 🙂
Once you’ve finished sharpening, punch a few shapes out of some wax paper to lubricate your punch.

Oh, and if your punches are beyond the help of aluminium foil? Try cutting through multiple layers of aluminium foil rather than a single sheet first, and if that still doesn’t work, then perhaps enlist the help of some soda cans a la this genius trick from Linda at Where the Rubber Hits the Road! This brilliant idea will definitely have your punches properly sharp and ready for your next craft session. 🙂
xx Steph

