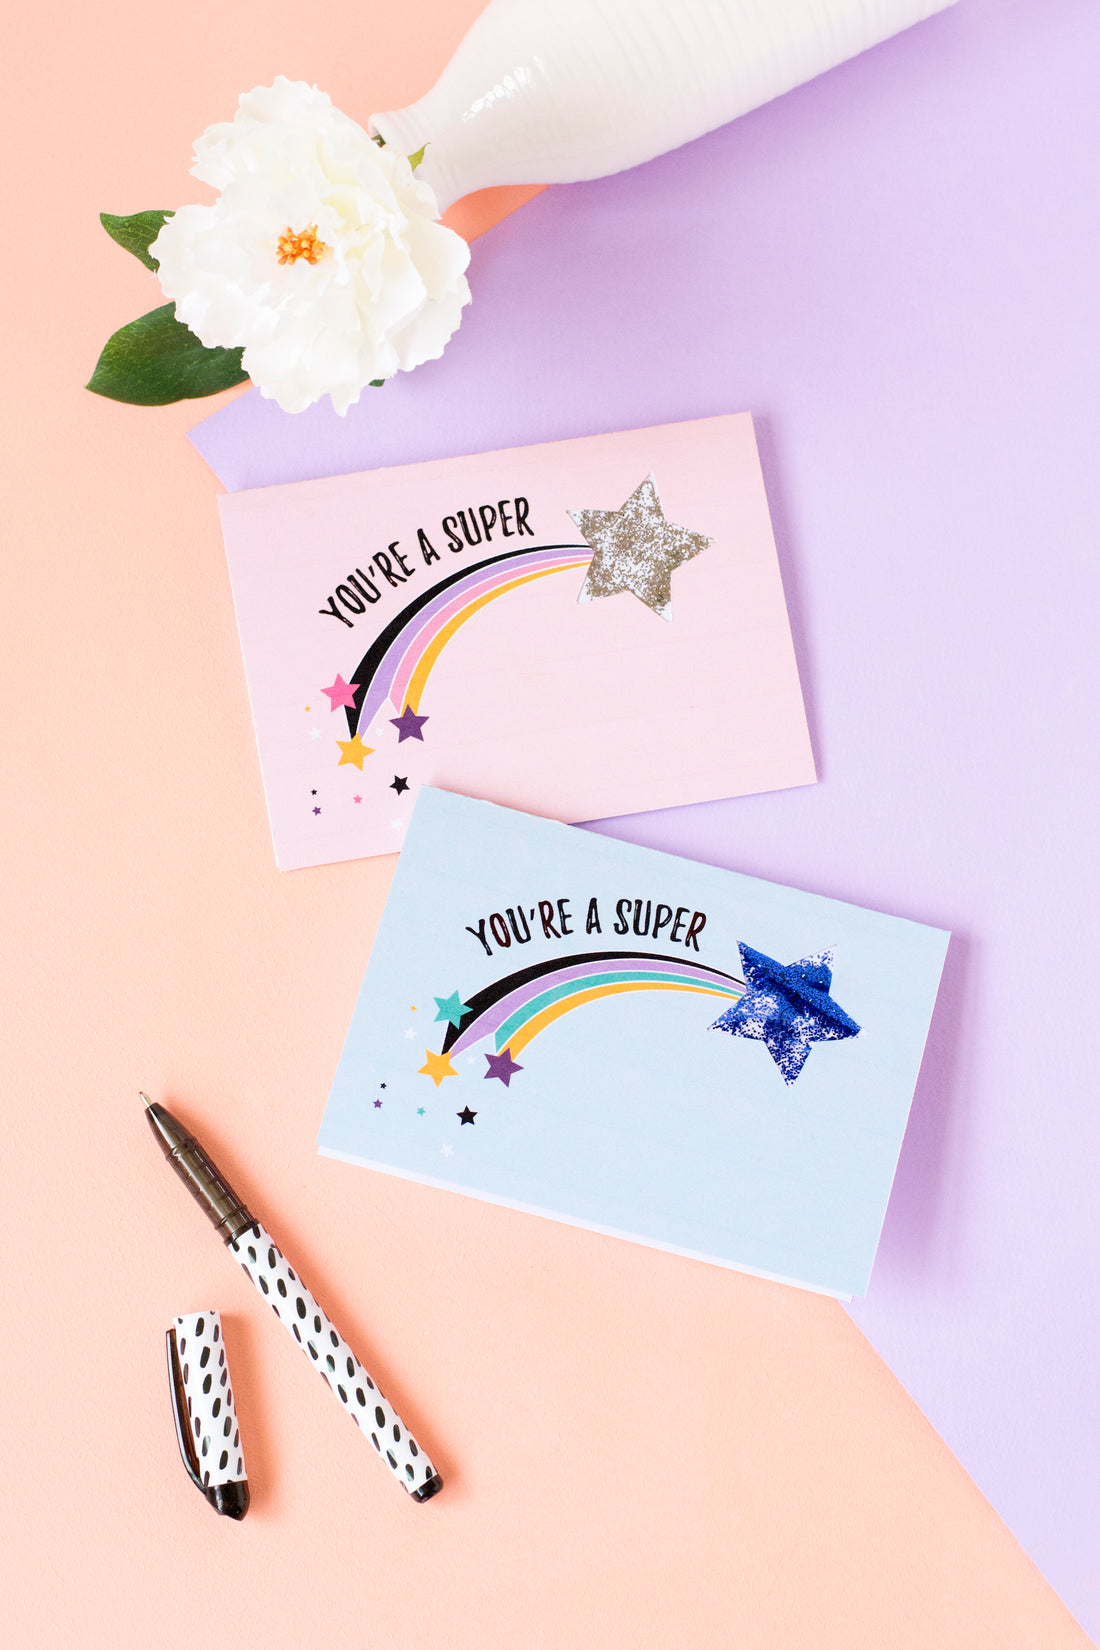
I posted on IG the other day that self doubt is one of the biggest obstacles I face in chasing my dreams. And when a few friends echoed my sentiments, I realised that sadly I wasn’t alone in this struggle.
While I guess it’s comforting to know I’m in good company, what’d be really brilliant is for NONE of us to feel this way, because there are enough challenges out there in the world without us adding our own doubts to the mix right?

So I thought it might be cool to make something fun that we can send to our friends (or ourselves haha) when they’re in need of a little confidence boost. Go on, grab your favourite pen and some cardboard, and let your besties know that they’re superstars!
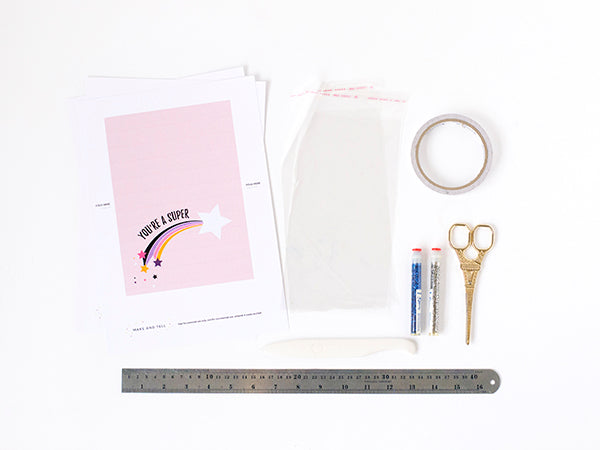
Materials
- White A4 card
- Scissors
- Craft knife
- Ruler
- Bone folder
- Double-sided tape
- Sequins or glitter
- Small plastic sheet (I used one side of a cello bag)
Step 1
Download the printable superstar card (at the end of this post) and print it onto white A4 card.

Step 2
With a ruler and bone folder, score across the middle of the card where it says ‘fold here’.

Step 3
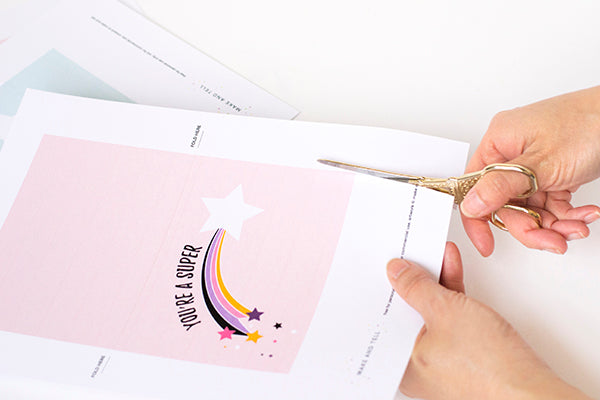
Cut out the card with a pair of scissors.
Step 4
Lay your card flat, then carefully cut out the large white star with a craft knife.


Step 5
Flip your card over so that the printed side is face down and apply double-sided tape to each edge of your cut-out star.

Step 6
Cut out a small square of plastic sheeting (I used one side of a cello bag I had in my studio) and place the plastic square over the cut-out star so that it sticks to the double-sided tape on the star’s edges.

Step 7
Reapply double-sided tape to the edges of your star, this time on TOP of the plastic square you laid down in Step 6.
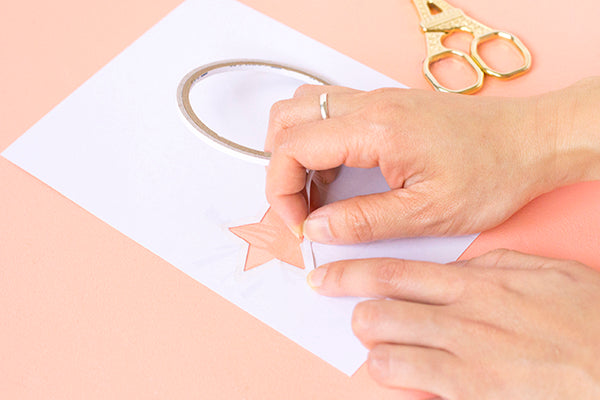
It pays to be careful at this point – make sure that every last bit of the star’s edge is covered in tape. This is the tape that will hold all your glitter and sequins in, so you don’t want any gaps or else your precious sparkles will escape!
Step 8
Place more double-sided tape all around the edges of the front half of your card.

Step 9
Pour a small amount of glitter or sequins on top of the plastic sheet in the middle of your cut-out star, taking care to avoid the areas where you laid your tape.

Step 10
Cut a cardboard rectangle that’s same size as the front half of your card (it should measure 105mm x 148mm). Slowly place the rectangle on top of the glitter, sticking it to the double-sided tape you applied in Steps 7 and 8.

After you’ve placed it down, press firmly on edges of the greeting card as well as the area around the cut-out star. Move your fingers along all of the star’s edges to fix the cardboard in place so that none of your glitter falls out from the star area.

Step 11
Fold a crease through the middle of the card along the line you scored in Step 2. Then write in a sweet message and your card is ready to pop in the post!
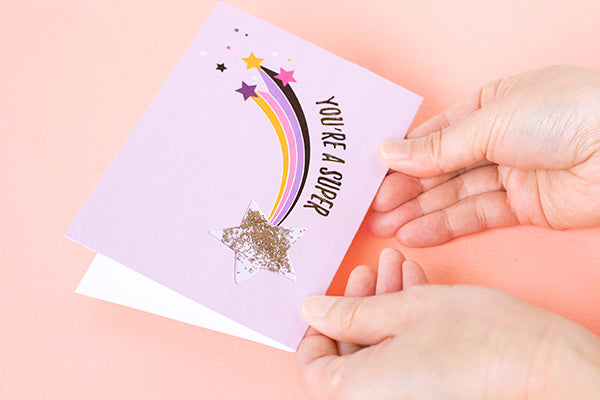


Don’t forget these cards aren’t just meant for special occasions – you can use them to send some love to your besties at any time of the year, especially if they’re feeling a little down on themselves! After all, who doesn’t love to receive a little pick-me-up in the post?

Superstar shooting star greeting card printable
xx Steph

