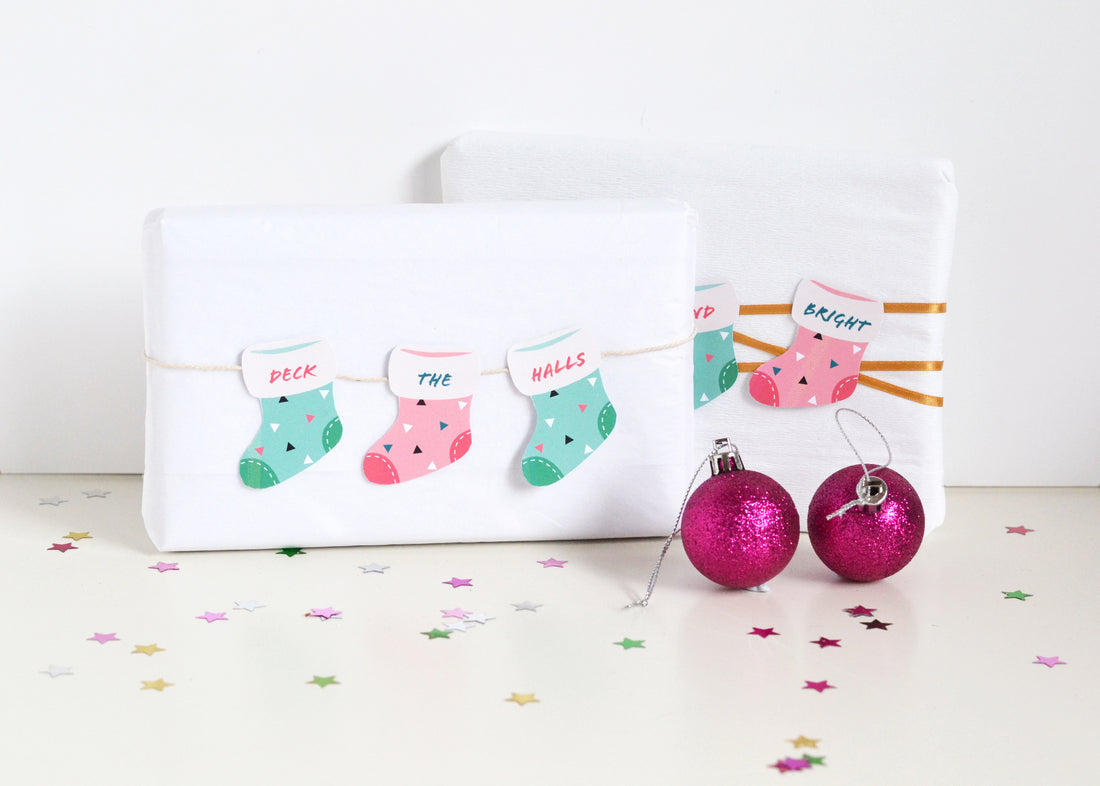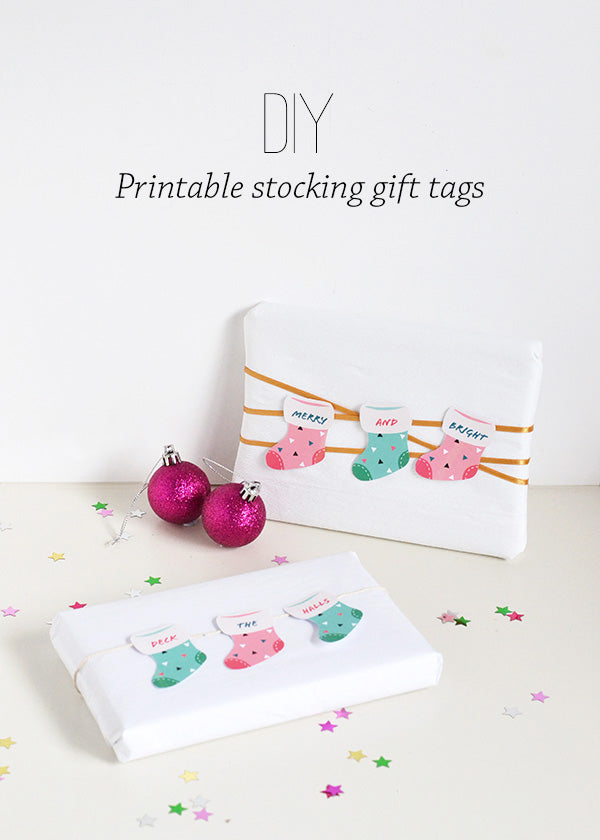
I’m a big fan of unique gift tags, so if I have the time I’ll always opt to make my own – after all, what’s more meaningful than something you made yourself?
Sadly, finding the time to do such things gets tougher as I get older, and my schedule has gotten away from me over the last few years. But no longer! This blog has put me back on track with the project making, and since I have these little babies to wrap my gifts with, I thought I’d share them with you as well!
Go on, follow along – it’s easy, I promise 🙂
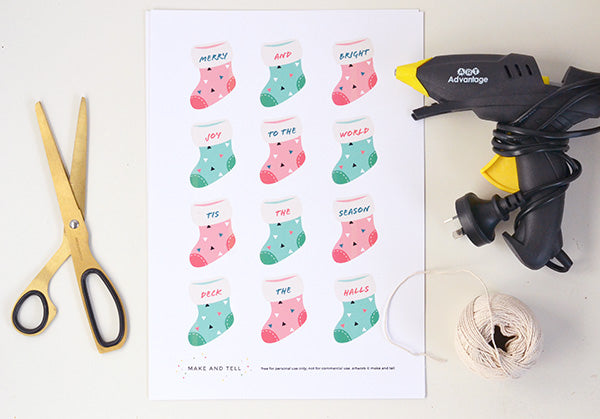
Materials
- Stocking gift tag printable (download at the end of this post)
- Scissors
- Hot glue gun and glue
- Twine
- A present! 🙂
Step 1
Print out the stocking gift tag printable onto card (see the end of this post for the download). Then cut out each of the stockings.
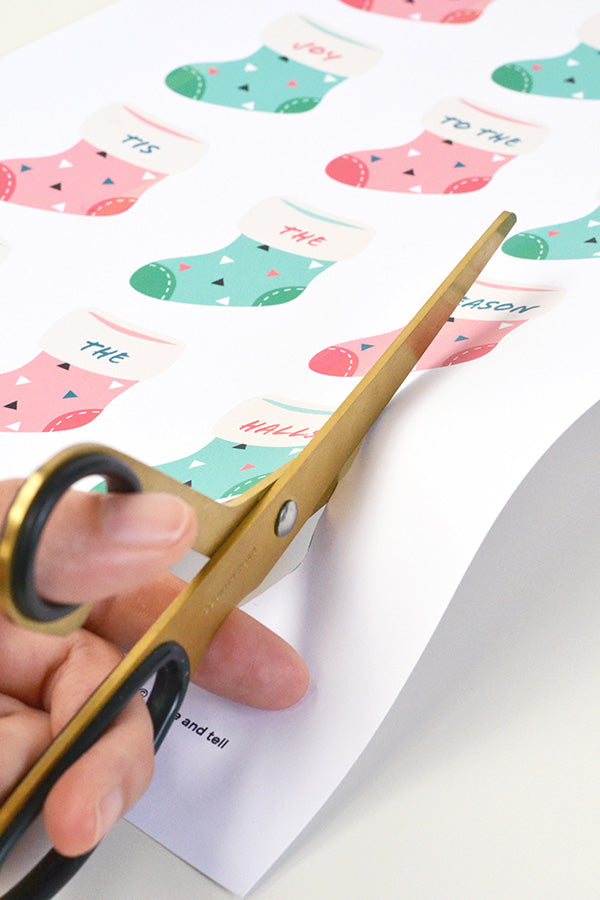
There are two files to choose from – one contains festive messages and the other contains blank stockings so you can write in your own words. If you use the blank stockings, write in your words now before moving onto Step 2.

Step 2
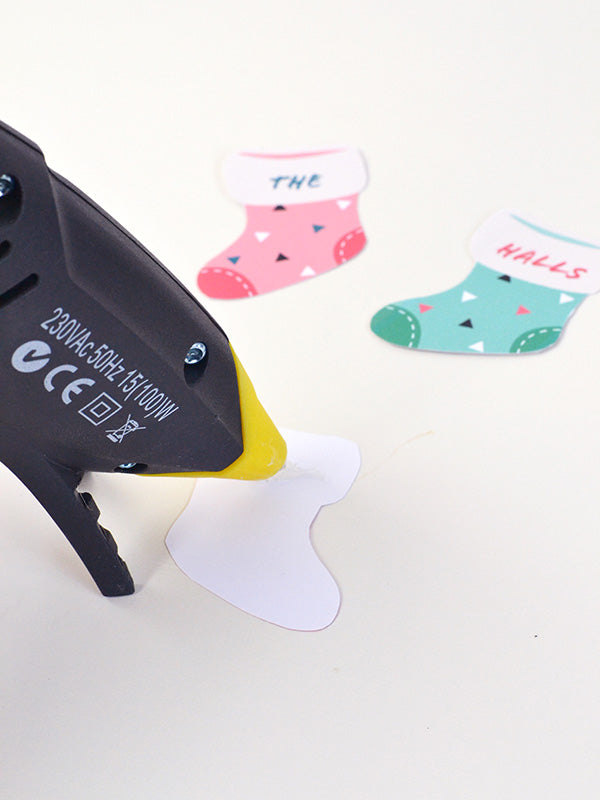
Turn over the stockings so that they’re face down and apply a bit of hot glue to the back of each one.
Step 3
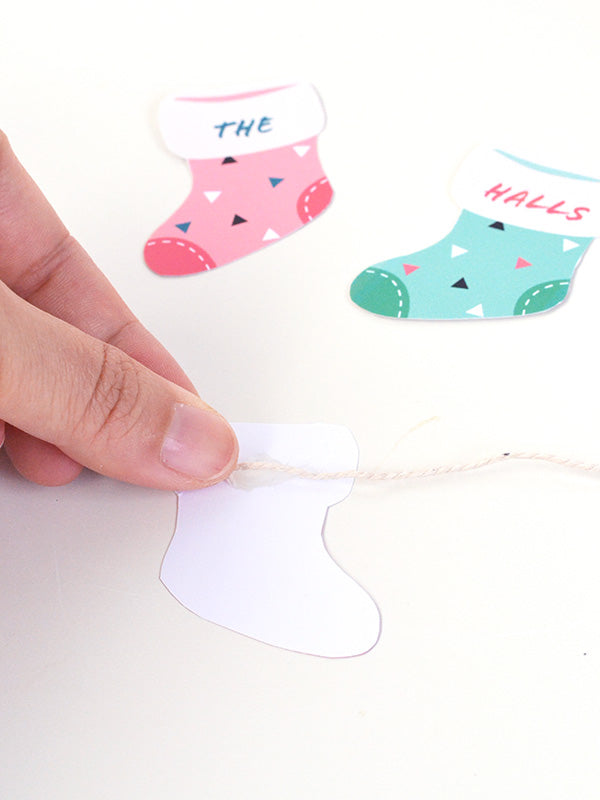
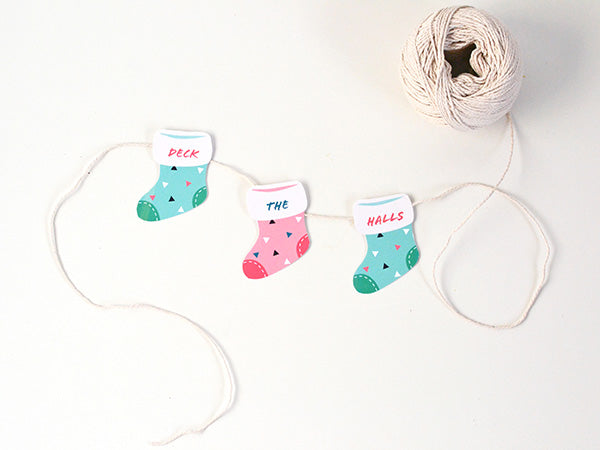
Before the glue dries, attach a piece of twine to the back of the stockings. Make sure you have them lined up correctly so that when you flip them over the words go in the right order!
Step 4
Tie the twine and stockings to your gift.
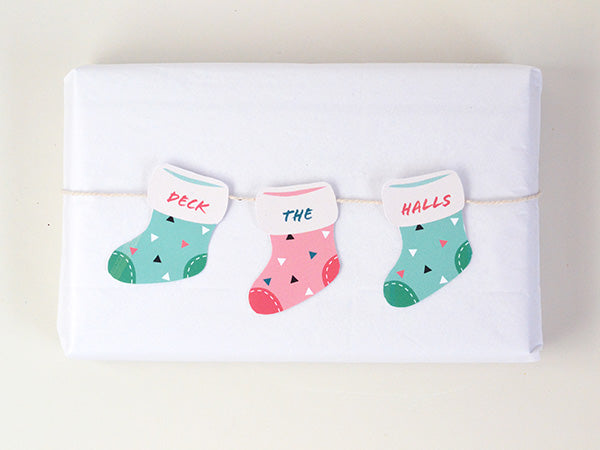
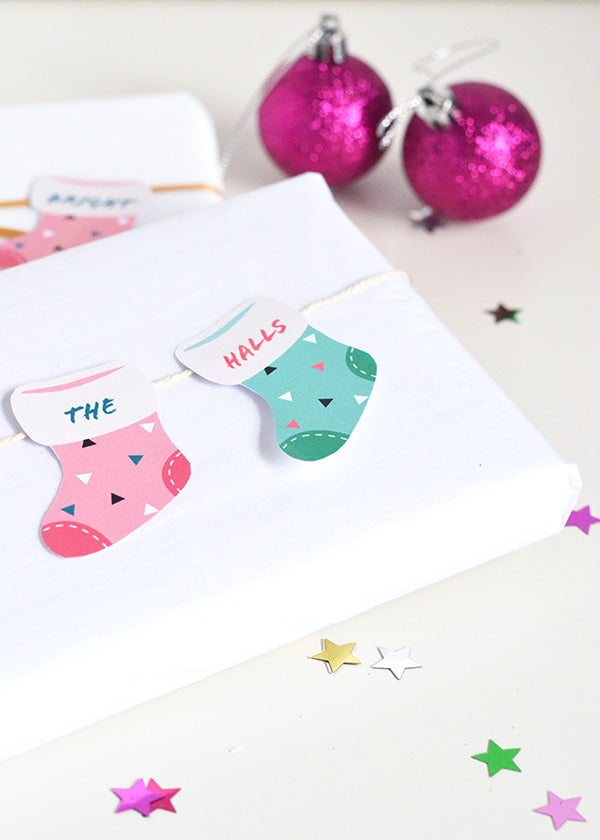

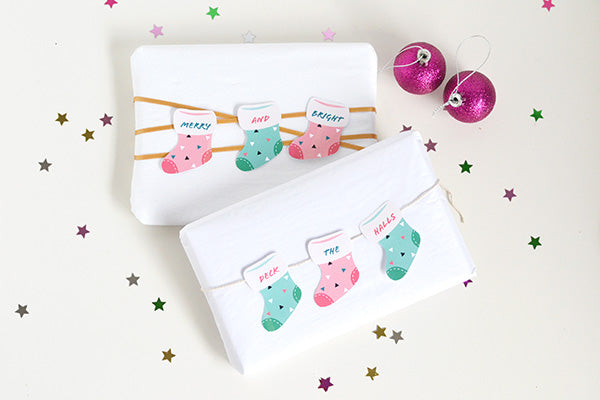
And that really is it – simple hey? And kinda cute if I do say so myself. I think I’ll be using this one for all my presents this year – I know my nieces will get a kick out of them and they can even use them to play with after they’ve unwrapped their gifts!

Stocking gift tags with greetings
xx Steph

