I should maybe start off by noting that there are a lot of wonderful chair makeovers out there in the DIY world, many of which are way more complex than this one. So this tutorial is probably something you’ve seen before in one format or another, but I couldn’t resist sharing it with you for two reasons.
The first one is that I got this stool for $10. Ten! Bargain I tell ya.
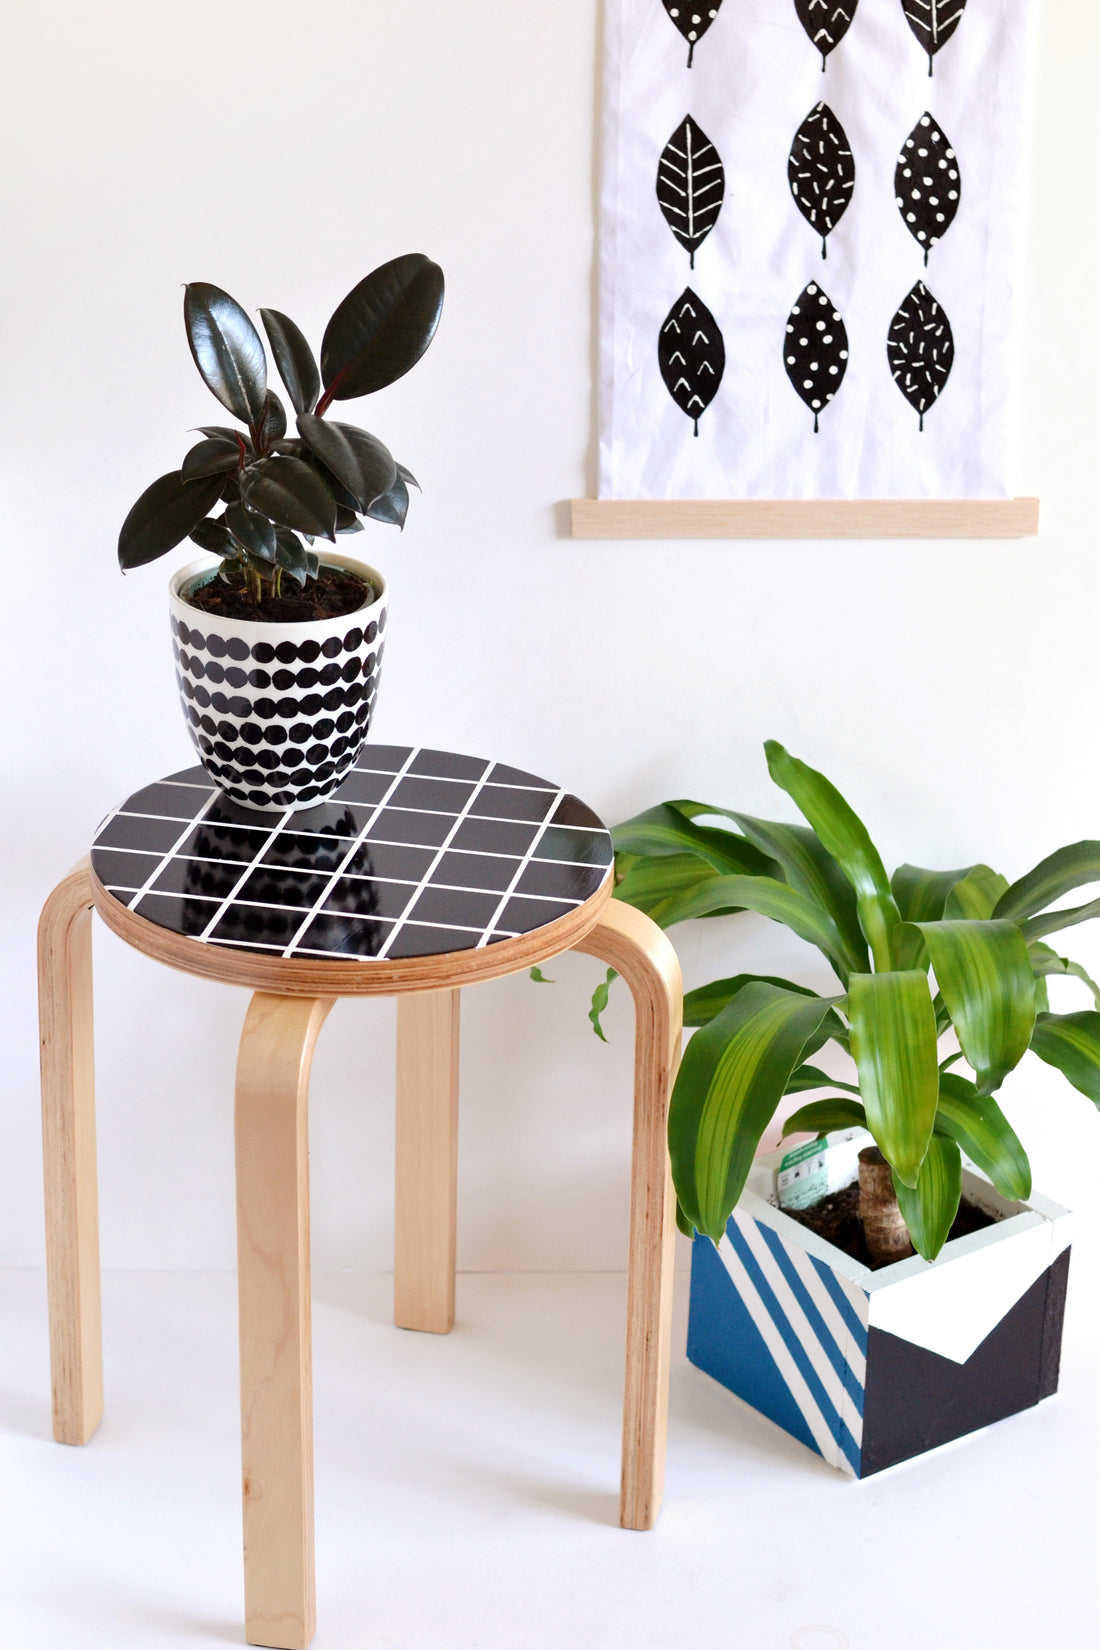
The second is… grids. I mean come on, you can’t say no to a good grid right?

There’s a third reason too and that’s that I’m not very experienced at upcycling furniture. Yet I made my way through this little facelift, which means regardless of your DIY skill level, you can too. Are you ready? Let’s get started!
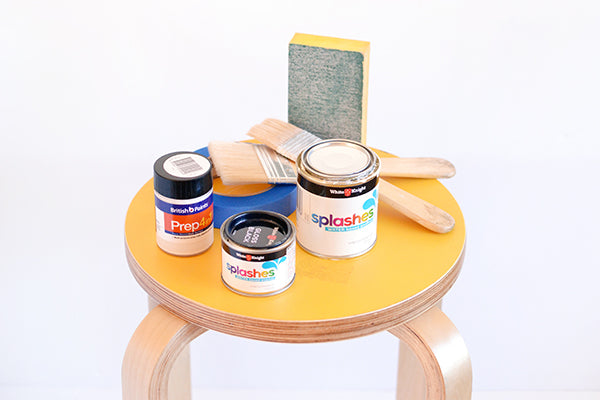
Materials
- An old stool
- Paint in two colours (I used water-based enamel, but you can use any paint suitable for wood)
- Primer
- Paint roller
- Paintbrush
- Painter’s tape
- Sandpaper
- Damp cloth
- Varnish
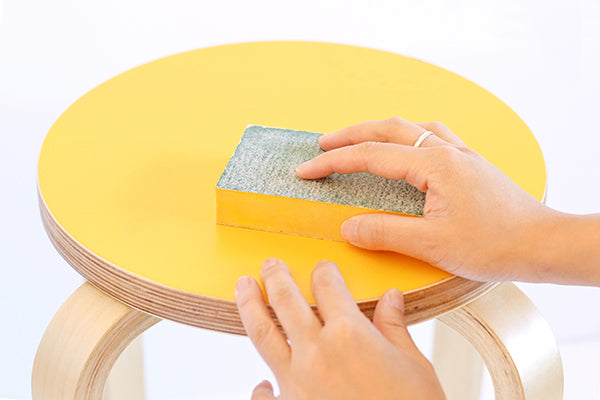
Step 1
If your stool has been painted previously or has varnish on it, give it a good sand first. You don’t have to strip the stool right back to the wood – just roughen up the surface so the paint can adhere properly.
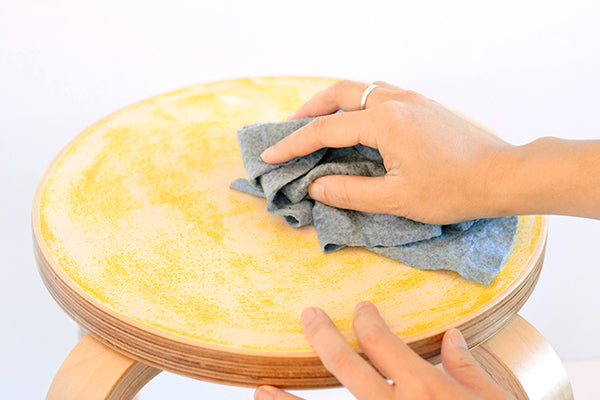
Step 2
If you made a mess like I did (my courtyard was covered in yellow dust!), give your stool a good clean with a damp cloth. If you have a tack cloth to remove all scraps of dust, dirt and lint, that’s even better.
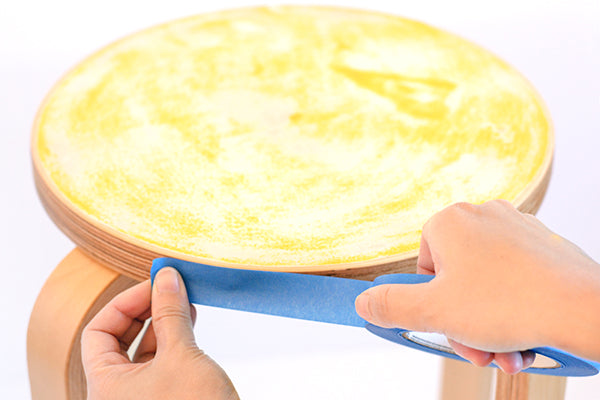
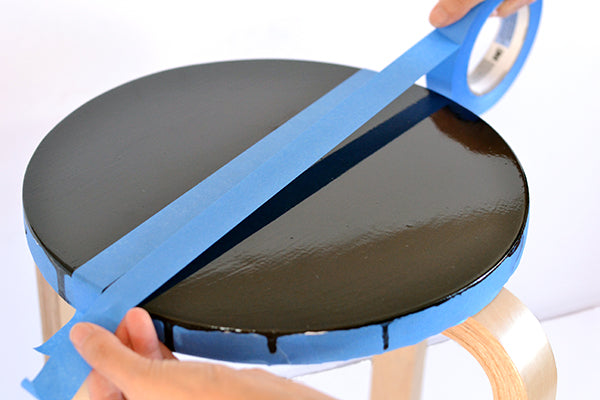
Step 3
Use painter’s tape to mark off any areas of your stool that you don’t want painted. For me, this was the edges, which had a beautiful wood finish that I wanted to keep as is.
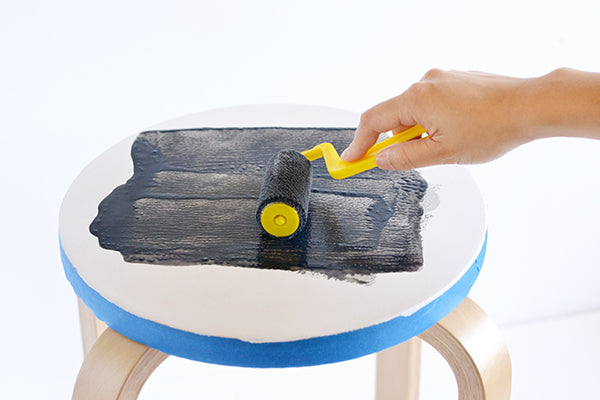
Step 4
Using a small paint roller, give the seat of your stool a coat of primer. If the original colour of your chair was dark, you might need two coats.

Step 5
Once the primer has dried, give your stool a couple of coats of paint in your chosen colour. Wait for the paint to dry completely.
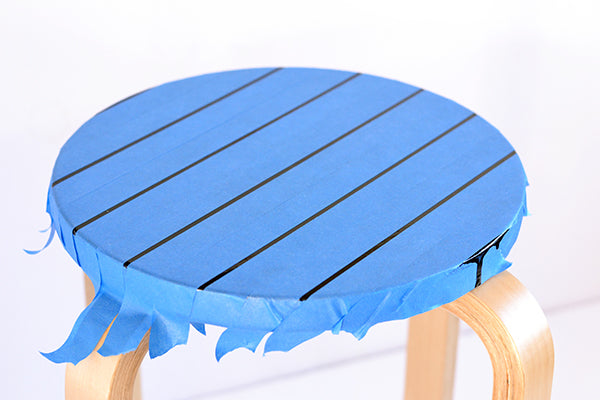
Step 6
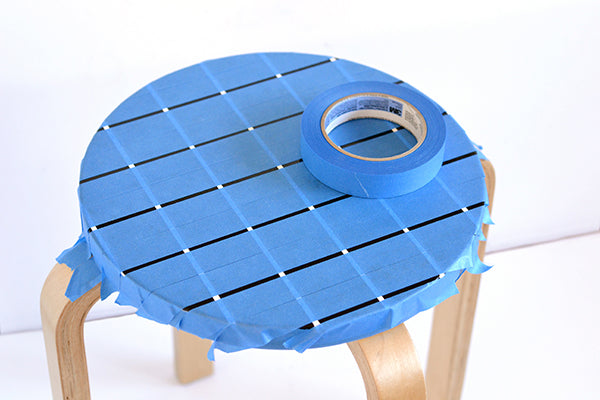
Place painter’s tape on the seat of your stool in a thin stripe pattern. I marked out lines that were around 3mm thick, and to make things easy for myself, I left gaps between the lines that were the same width as two strips of painter’s tape side by side (which meant I didn’t have to do much measuring – win!).
Pro tip: Mark your lines starting from the centre of the seat and work your way outwards. This way, you’ll ensure there’s an even number of grid lines on each side of the stool.
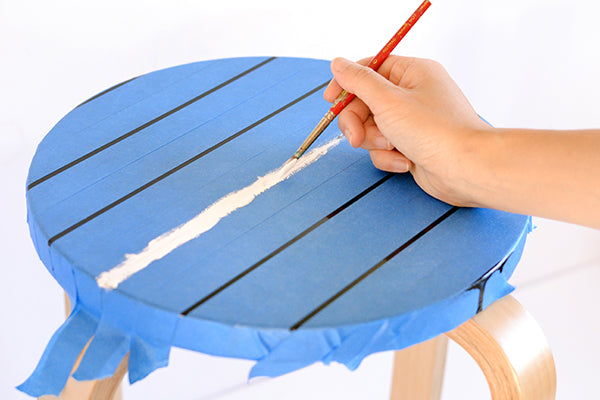
Step 7
Make sure your painter’s tape is well stuck down, then paint in the lines you marked out with a paint brush (use a paint colour that contrasts well with the colour of your stool’s seat for the best effect).
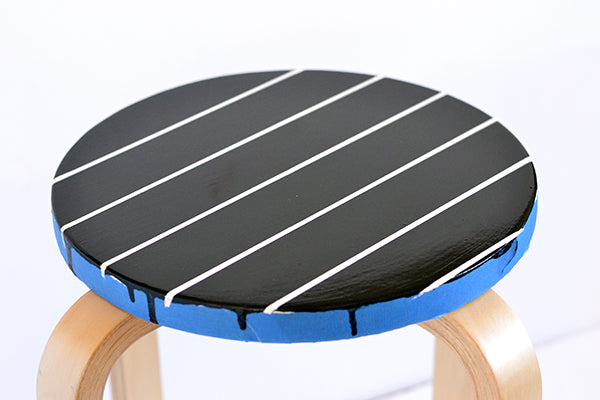
Step 8
Once the lines have dried, use painter’s tape to mark out another set of lines going in the opposite direction. Then paint in the lines.
Step 9
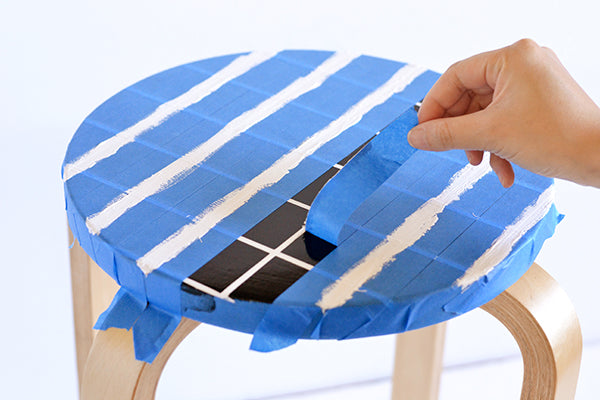
Once your second set of lines has dried, remove the painter’s tape to reveal your grid pattern. Give the seat of your stool a coat of water-based varnish to protect the paintwork.
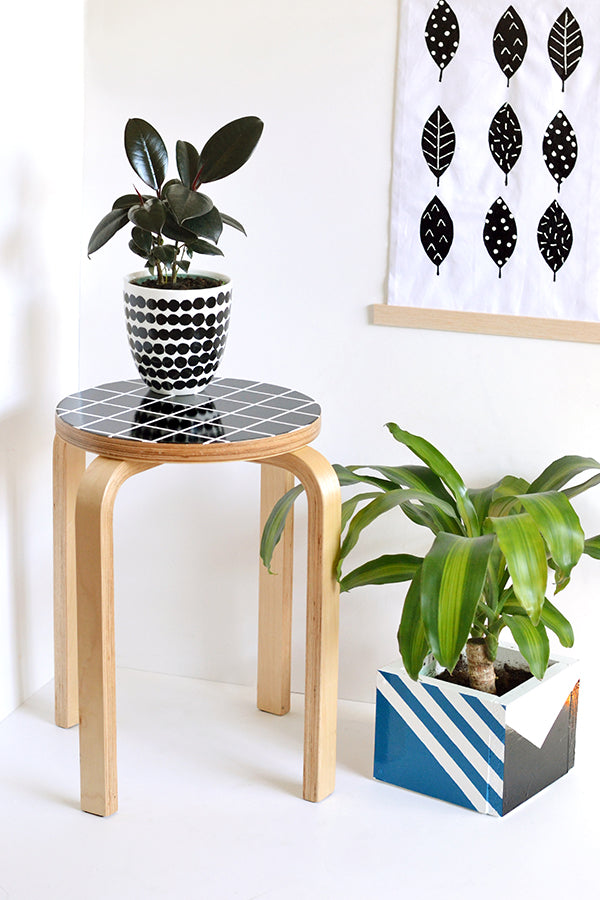
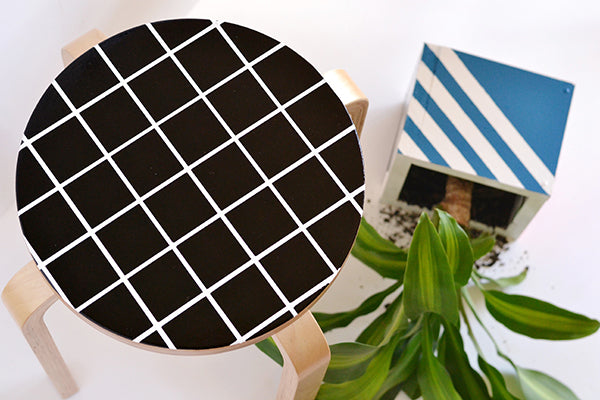
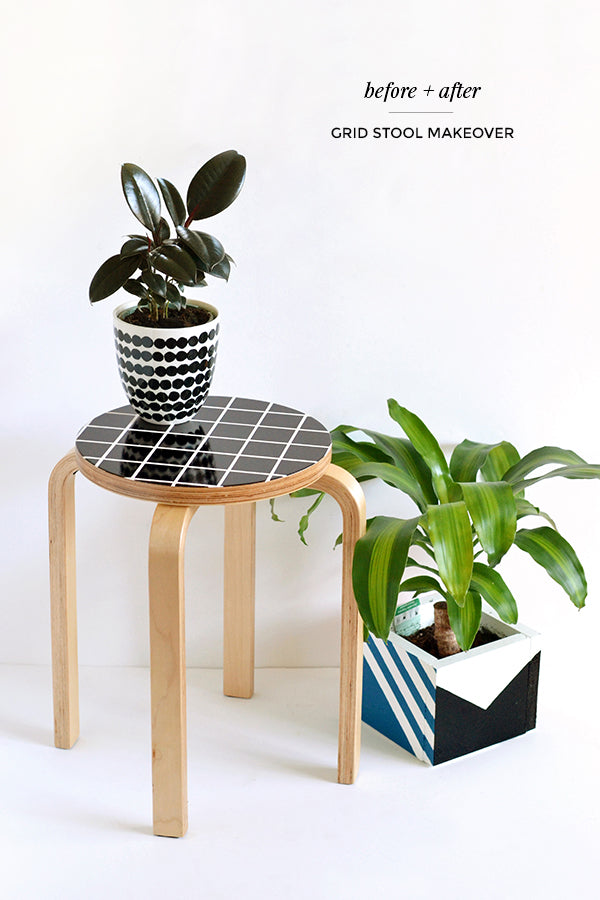
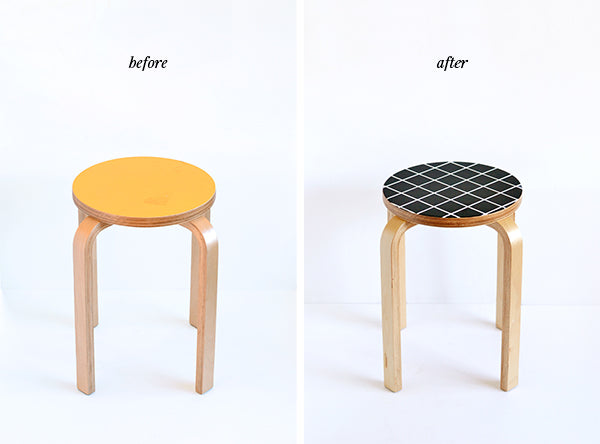
What do you think? I’m loving the difference this makeover made and I’m so glad I didn’t keep the stool its original yellow (even though I do love yellow). If you’ve got some old furniture lying around the house that could use a facelift, maybe it’s time to get out that sandpaper and give it a bit of a makeover!
xx Steph