Believe it or not, we’ve almost reached the silly season again. How did that happen so fast?! I thought that having a baby would make the days feel longer and slower (in a nice, easygoing way), but once again the December is nearly here and I’m left wondering how it came around so quickly.
On the plus side, the end of the year brings lots of celebrations, which I’m really looking forward to after 5 months of being a stay at home mum!
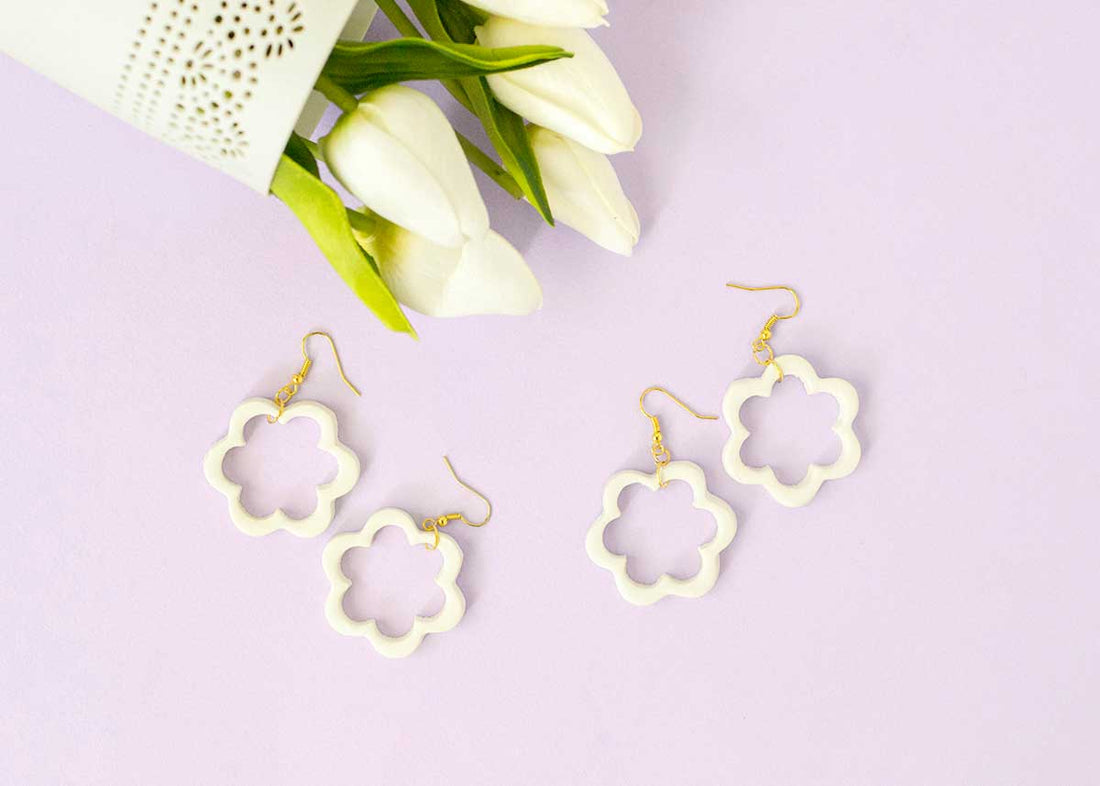
And since parties = dressing up, clearly a new pair of earrings was in order right? Which brings us to this DIY! Making jewellery couldn’t be easier, so if you’re in need of new accessories, grab some clay and follow along…
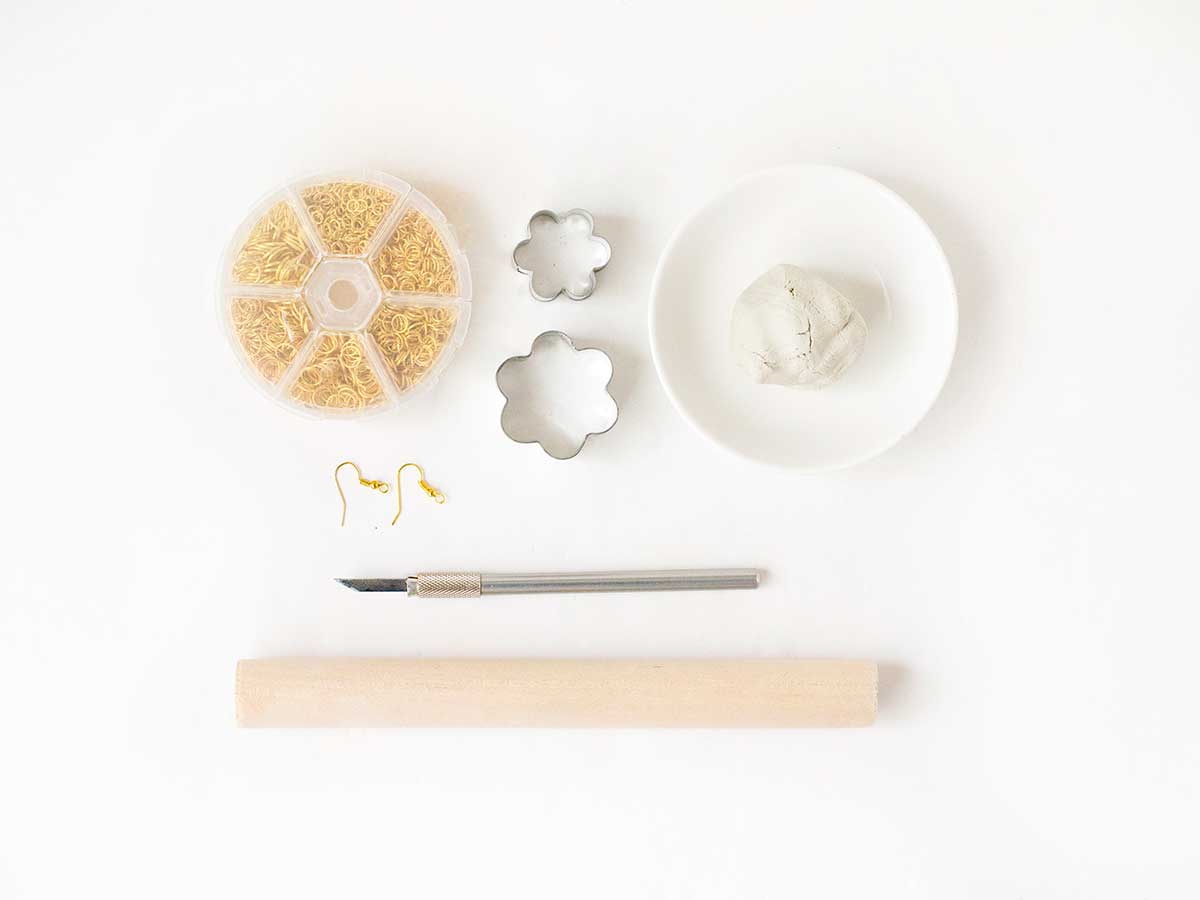
Materials
- White clay
- Rolling pin
- Flower cookie cutters (large and small)
- Scalpel
- Jump rings
- Shepherd earring hooks
- Jewellery pliers
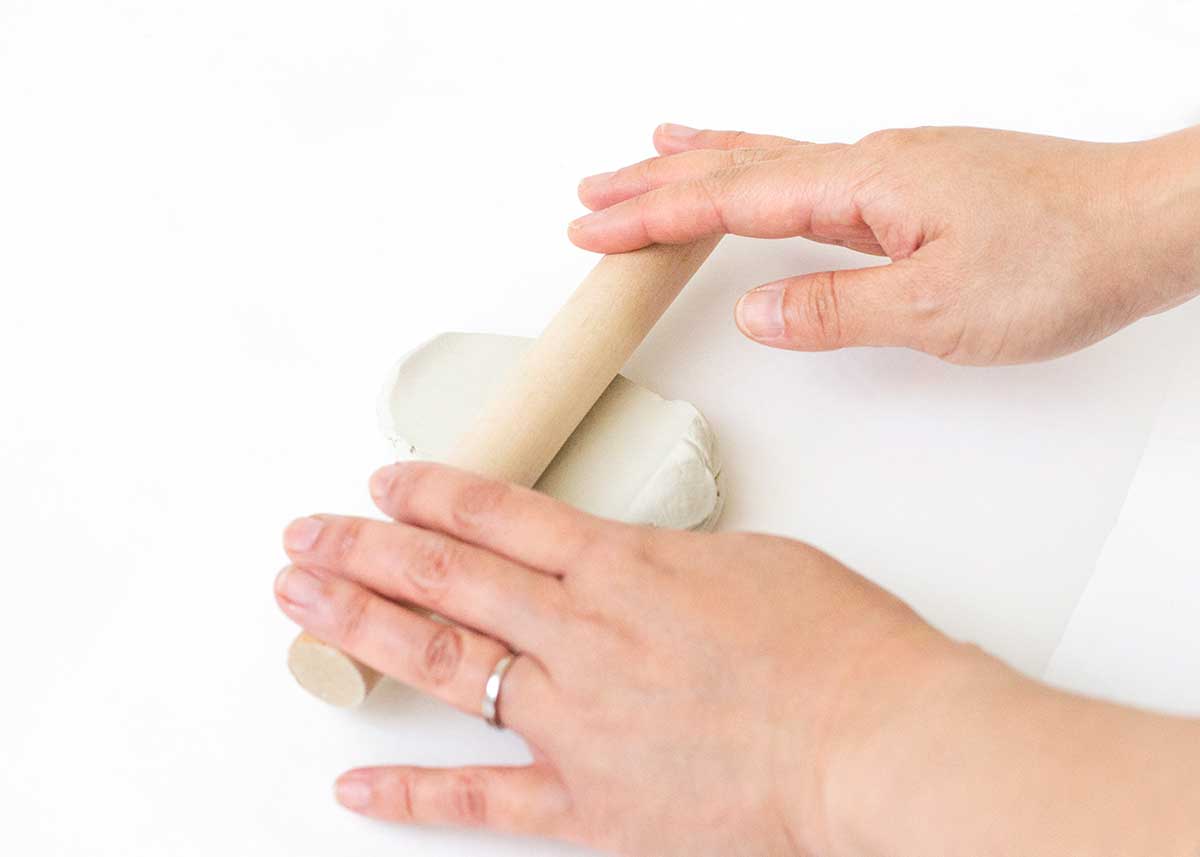
Step 1
Roll out your clay with a rolling pin until it’s roughly 5mm thick.
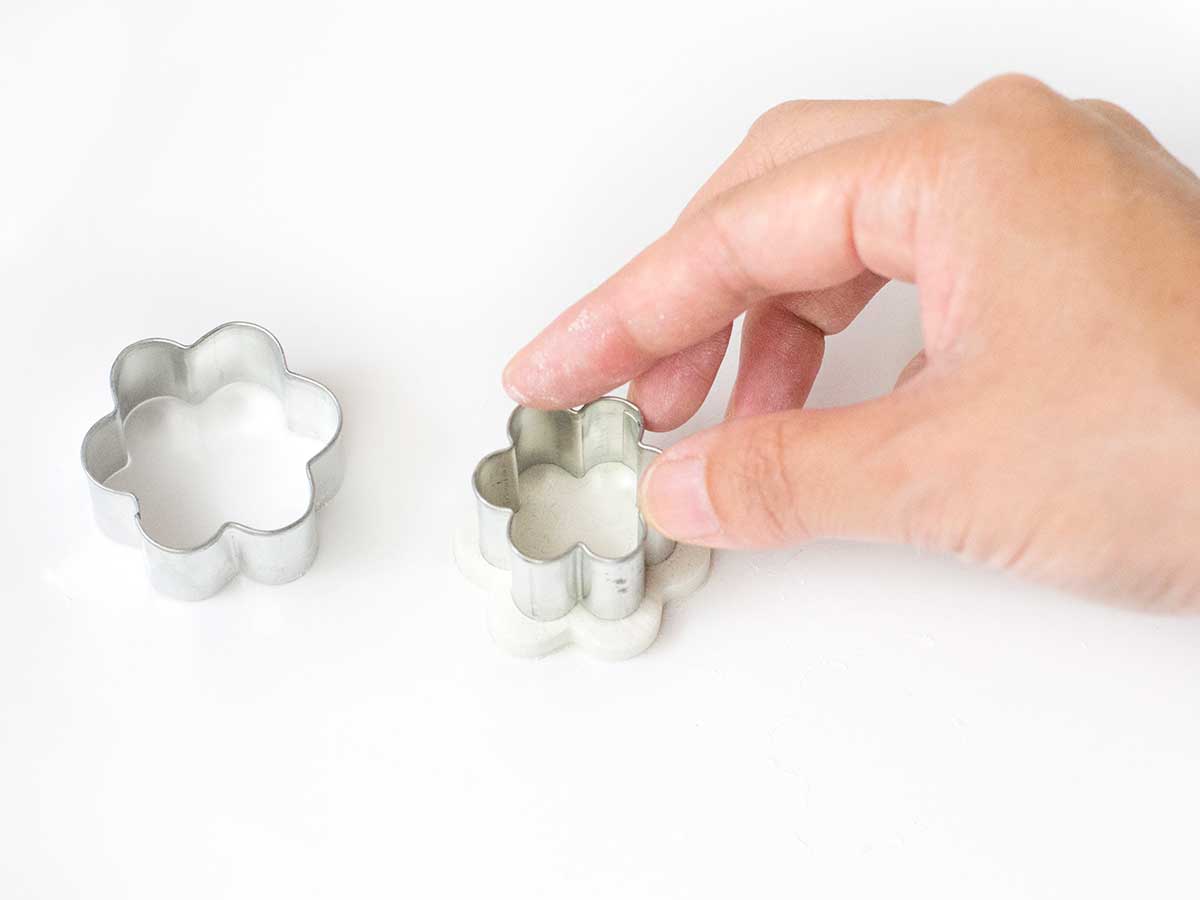
Step 2
Use your large flower cookie cutter to make a flower shape in the clay. Remove the excess.

Step 3
Use a smaller flower cookie cutter to mark out a second flower shape in the middle of your large clay flower.
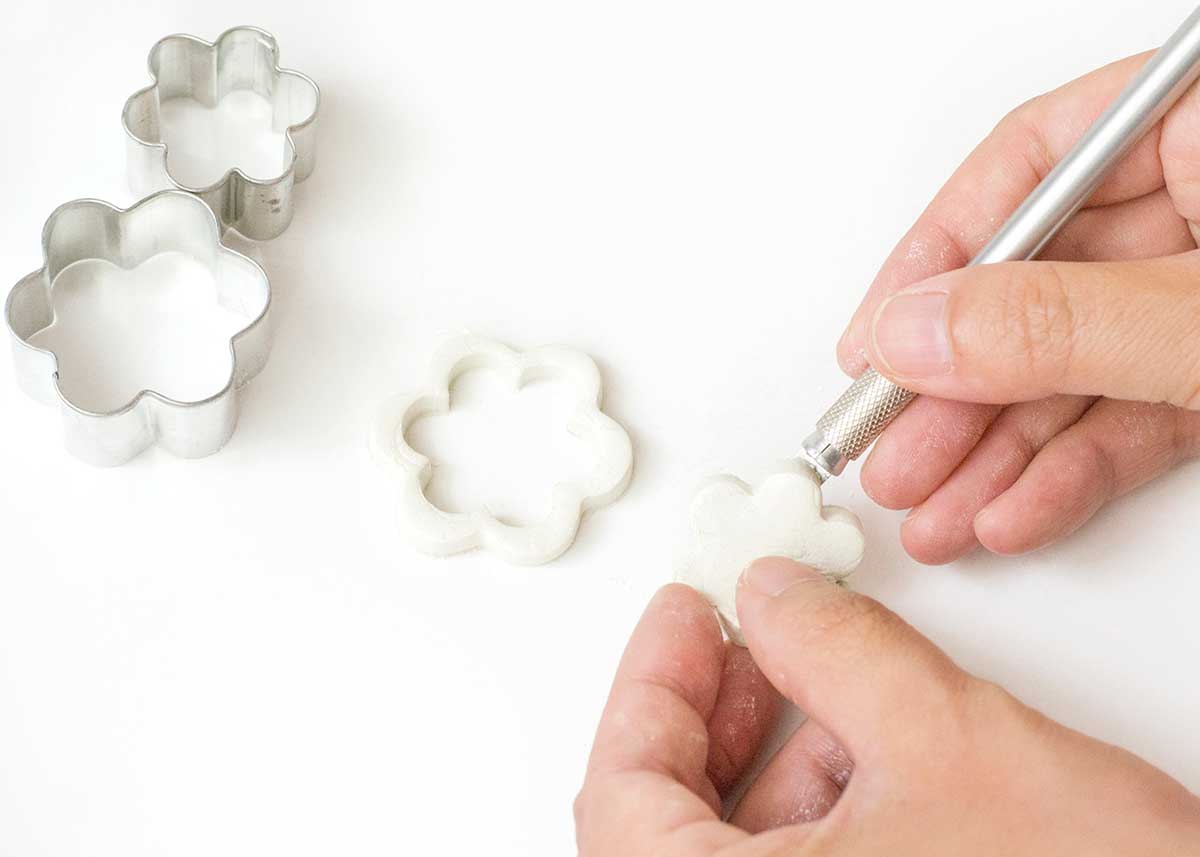
Step 4
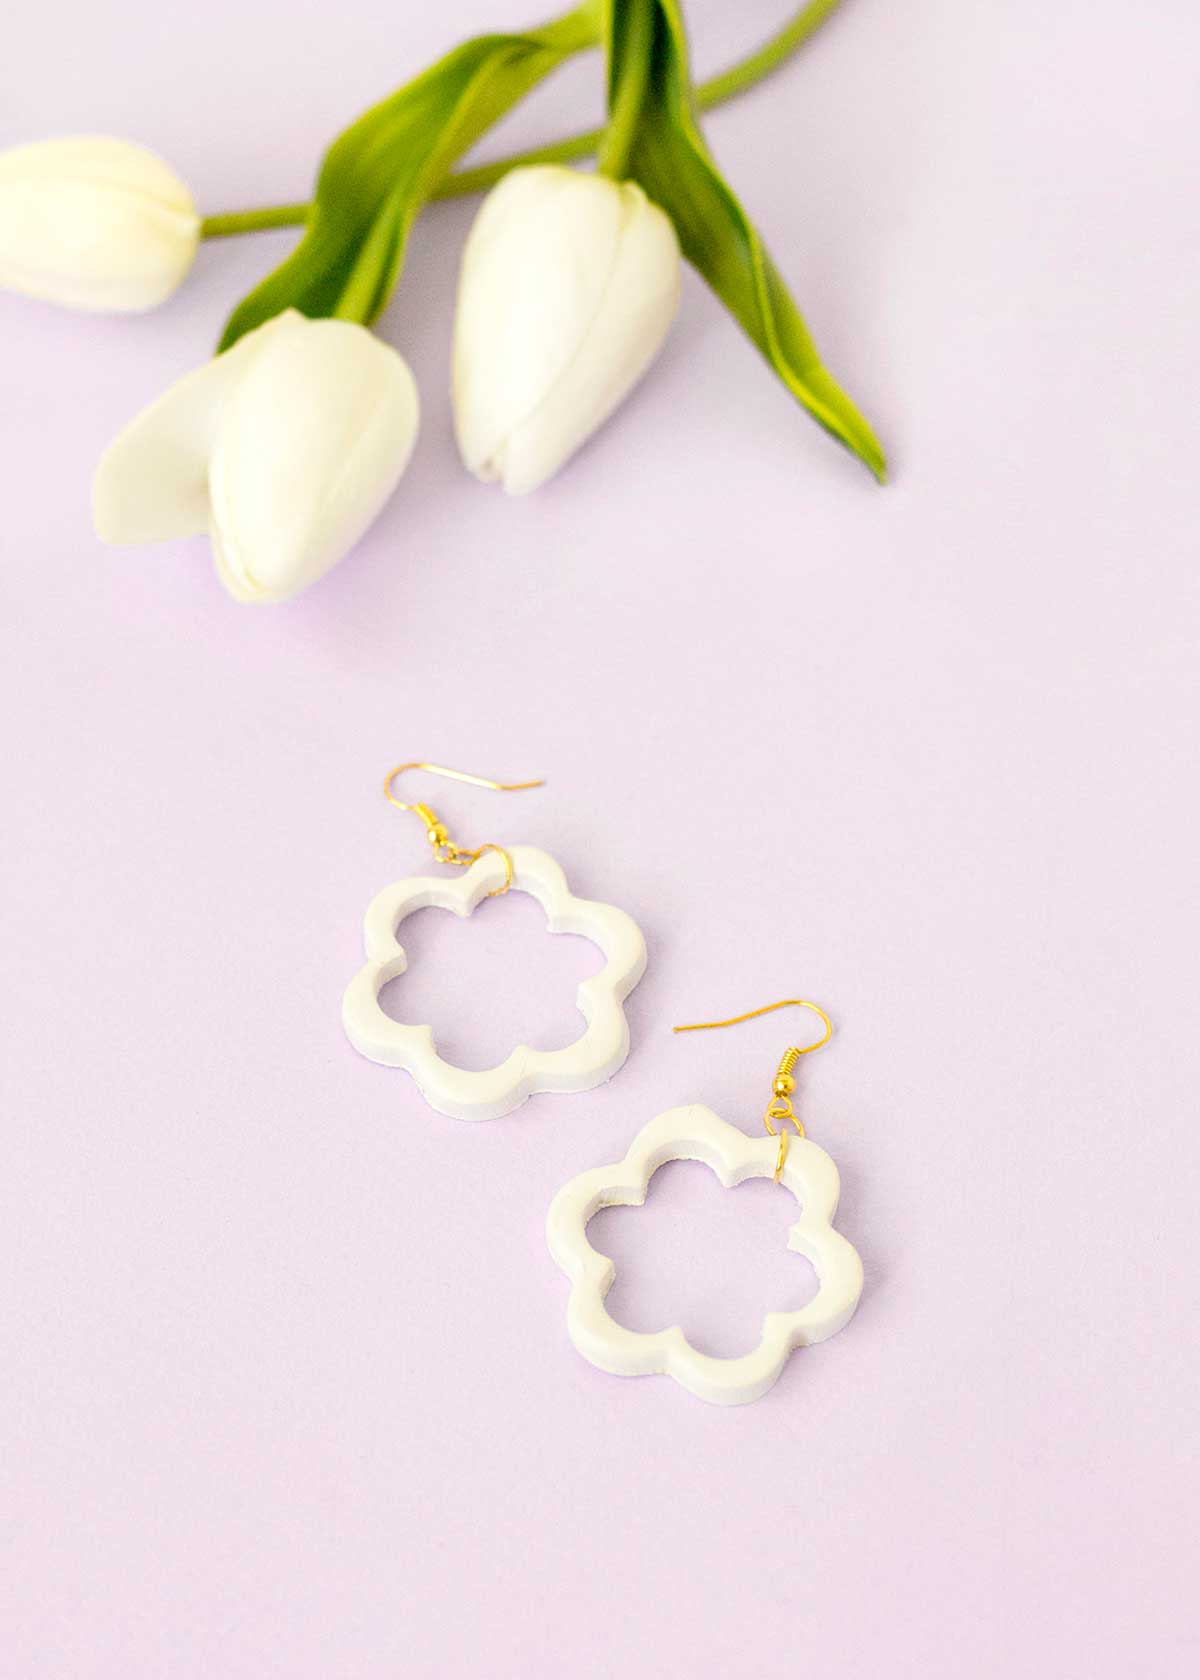
With a scalpel, carefully remove the smaller flower from the centre so only a flower outline remains.
Step 5
Leave the clay flower outline to dry (if using air dry clay) or bake in an oven until set (if using regular polymer clay).
Step 6
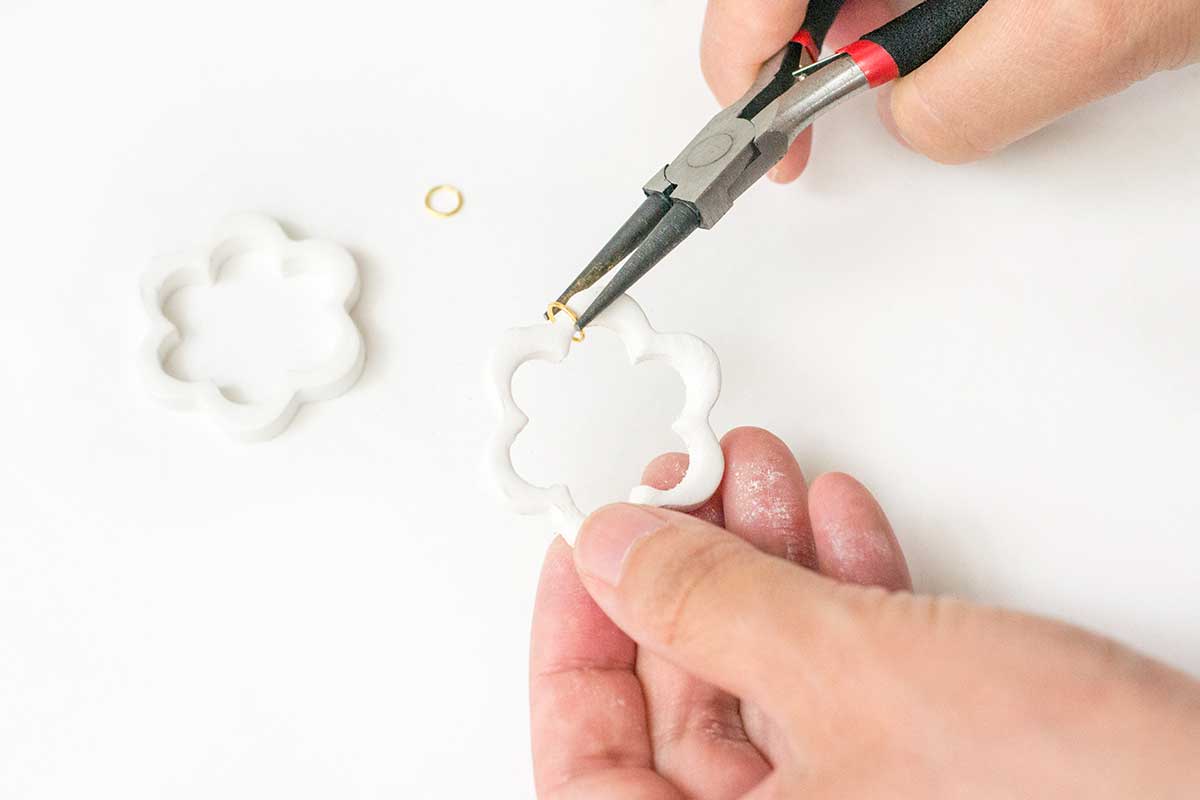
Attach a jump ring to your clay flower with a pair of jewellery pliers.
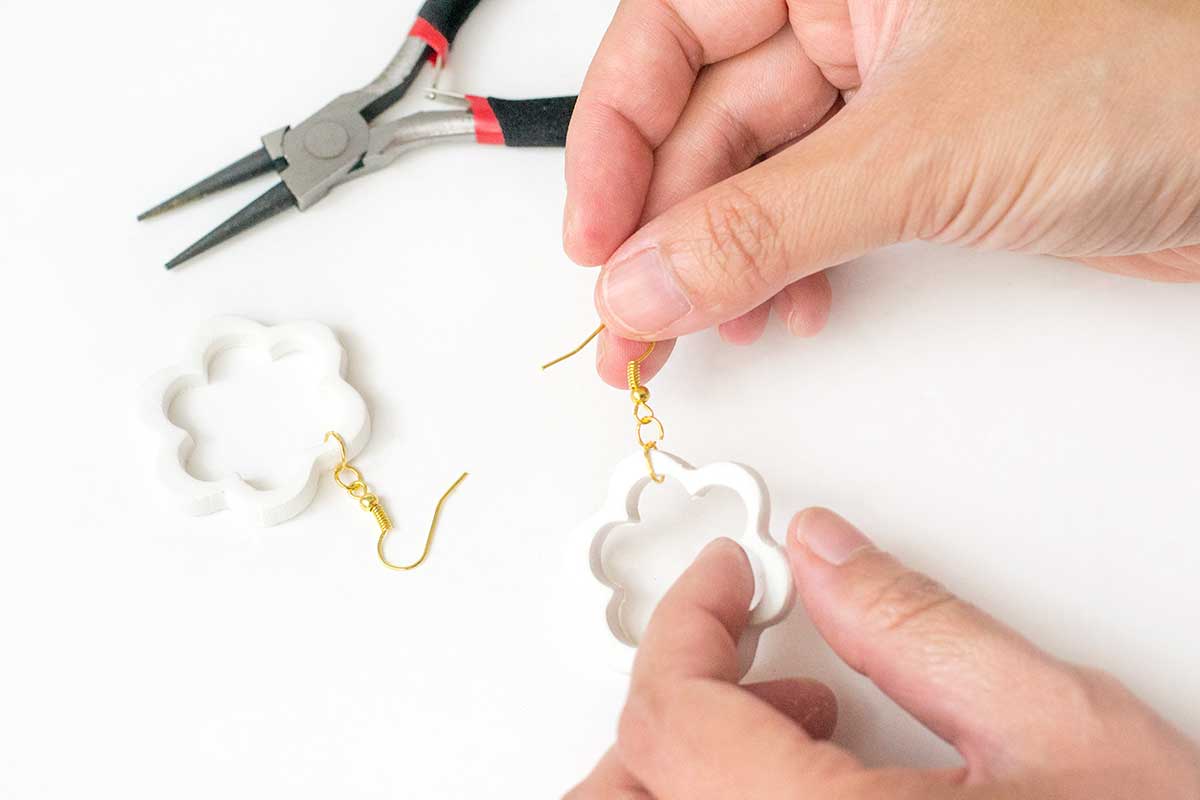
Step 7
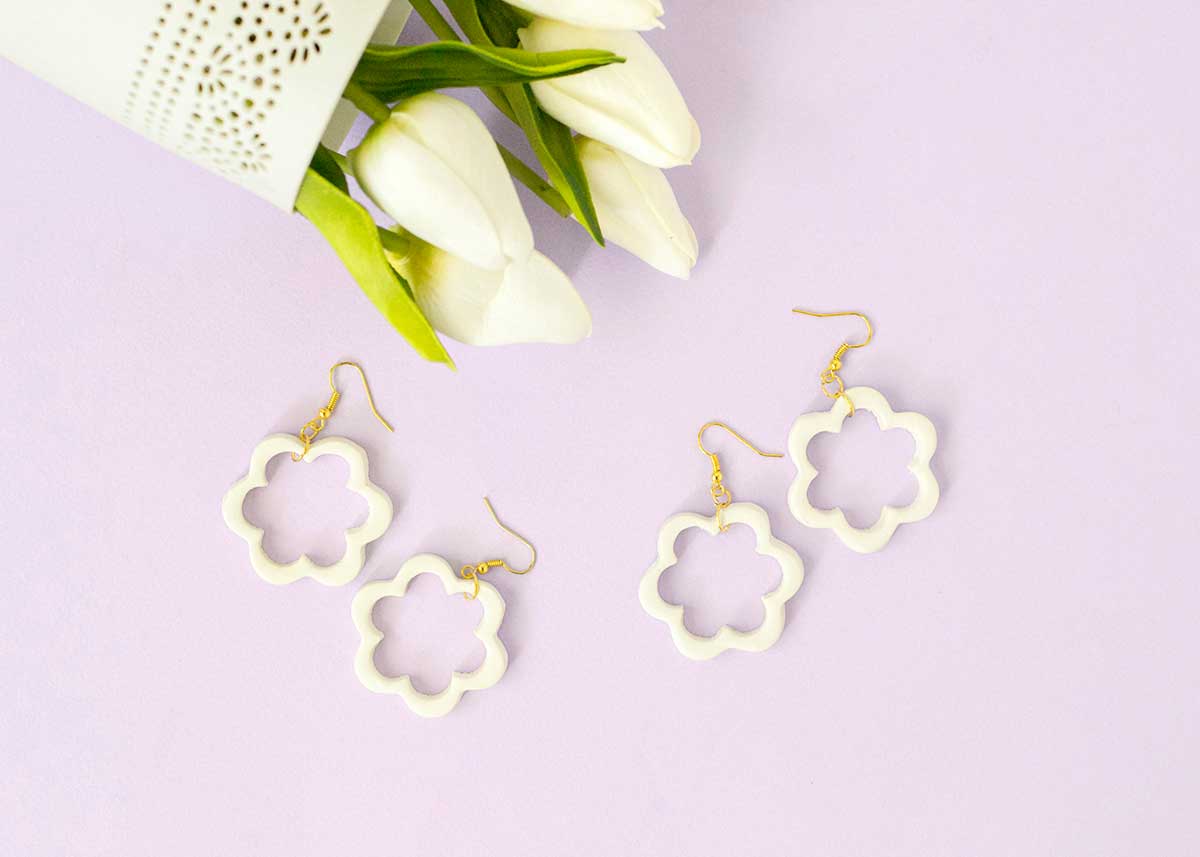
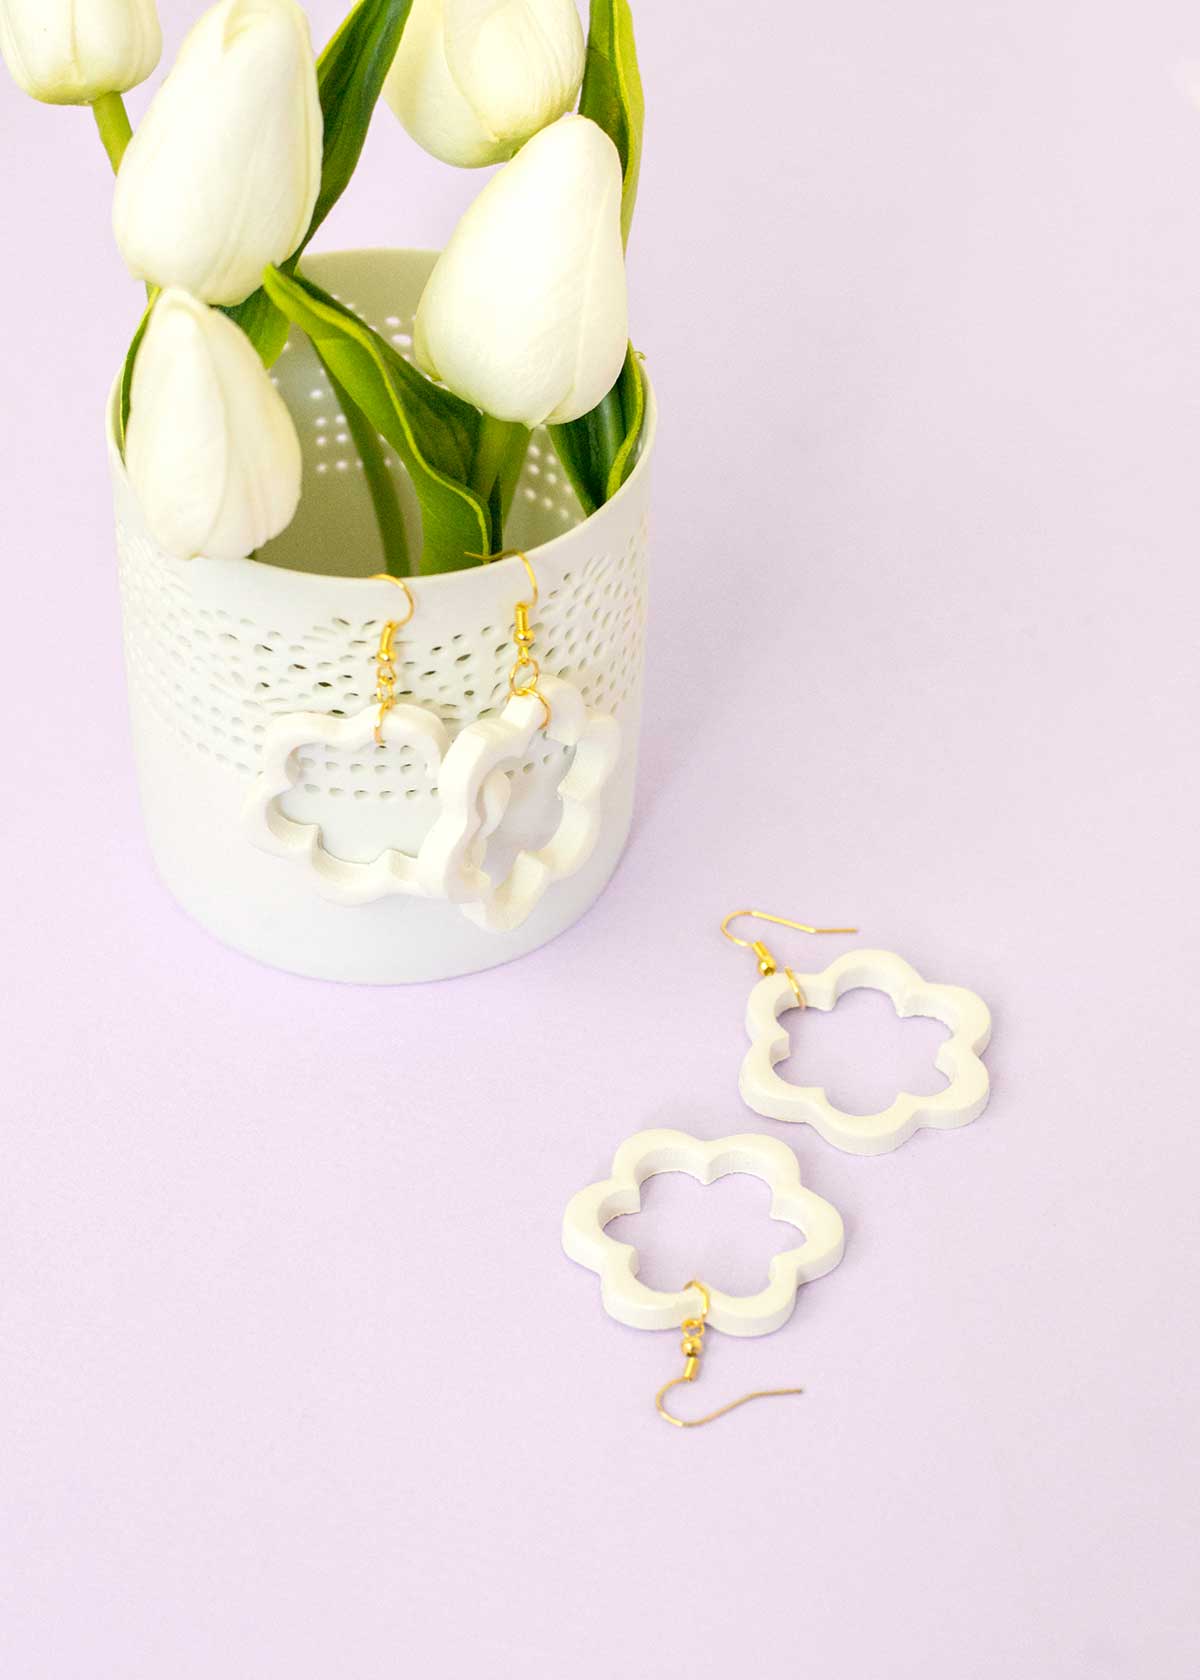
Then attach a shepherd earring hook to the jump ring to complete your flower earring.
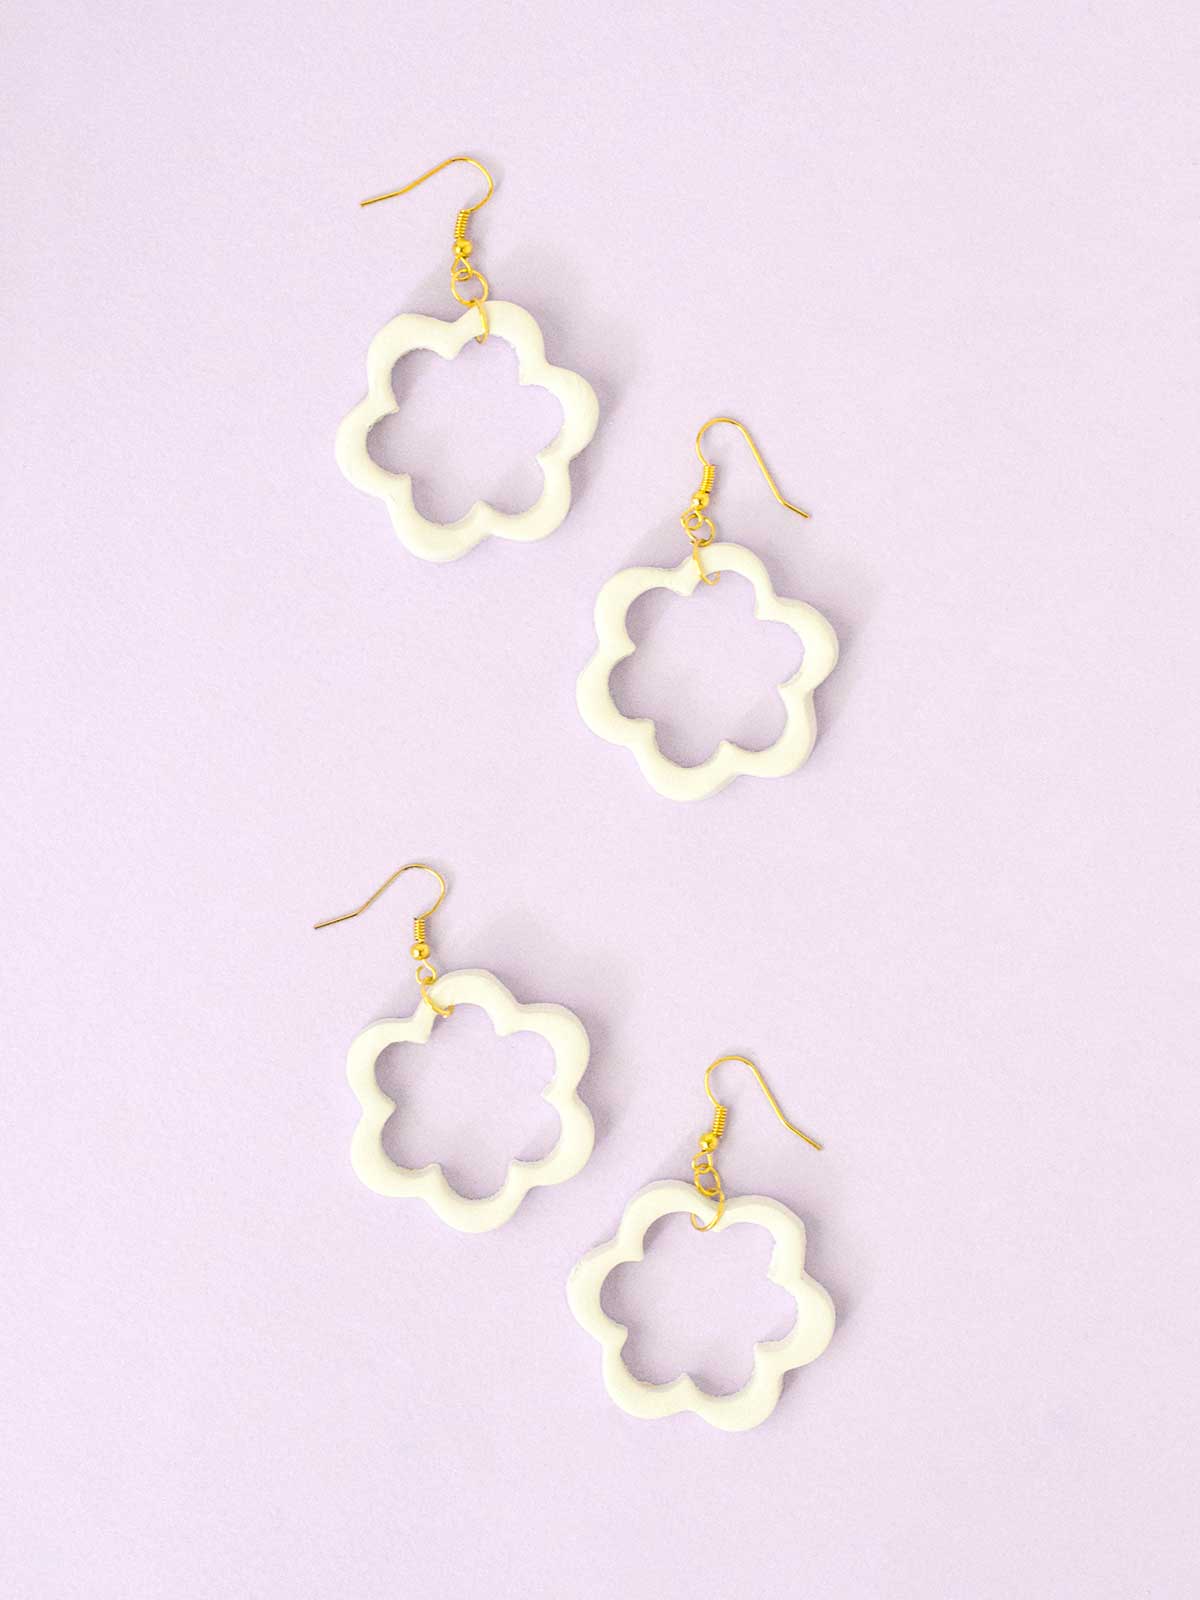
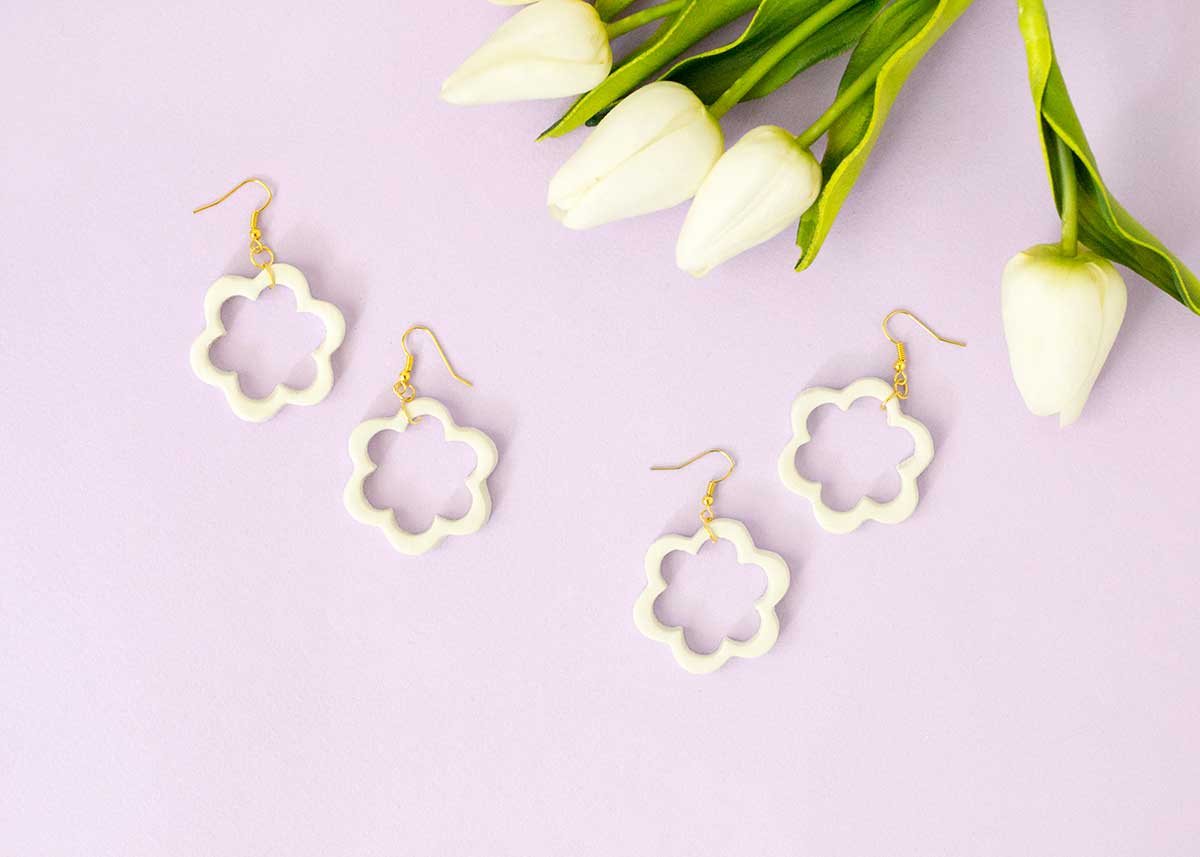
Easy peasy right? These earrings are a seriously quick DIY (minus baking time) so you could whip up a whole batch to play with in next to no time. Try using other clay colours or adding various finishes like gloss varnish or gold foil for a completely different look!
xx Steph