
I never used to be a wax seal kinda girl. It was all a bit too prim and proper and made me think of grand balls in ye olde England (which wasn’t necessarily a bad thing, it just wasn’t very me). But then I ended up working with wax quite a bit when designing wedding stationery and found out that it can be used in wonderfully modern ways. Especially when the seals are done in bright colours. Or white.
If using wax sounds a bit daunting though with all the heating and the melting and whatnot, don’t despair – I’ve got some handy little tips to help you along. So if you’re game, get out those wax sticks and let’s get sealing!

First off, you’ll need to get yourself a wax seal. You can find ones with nice designs at specialty stationery stores (usually they’ll have letters or a little symbol). If you’re after your own custom seal though, there are places like Notemaker that will make a bespoke one for you.
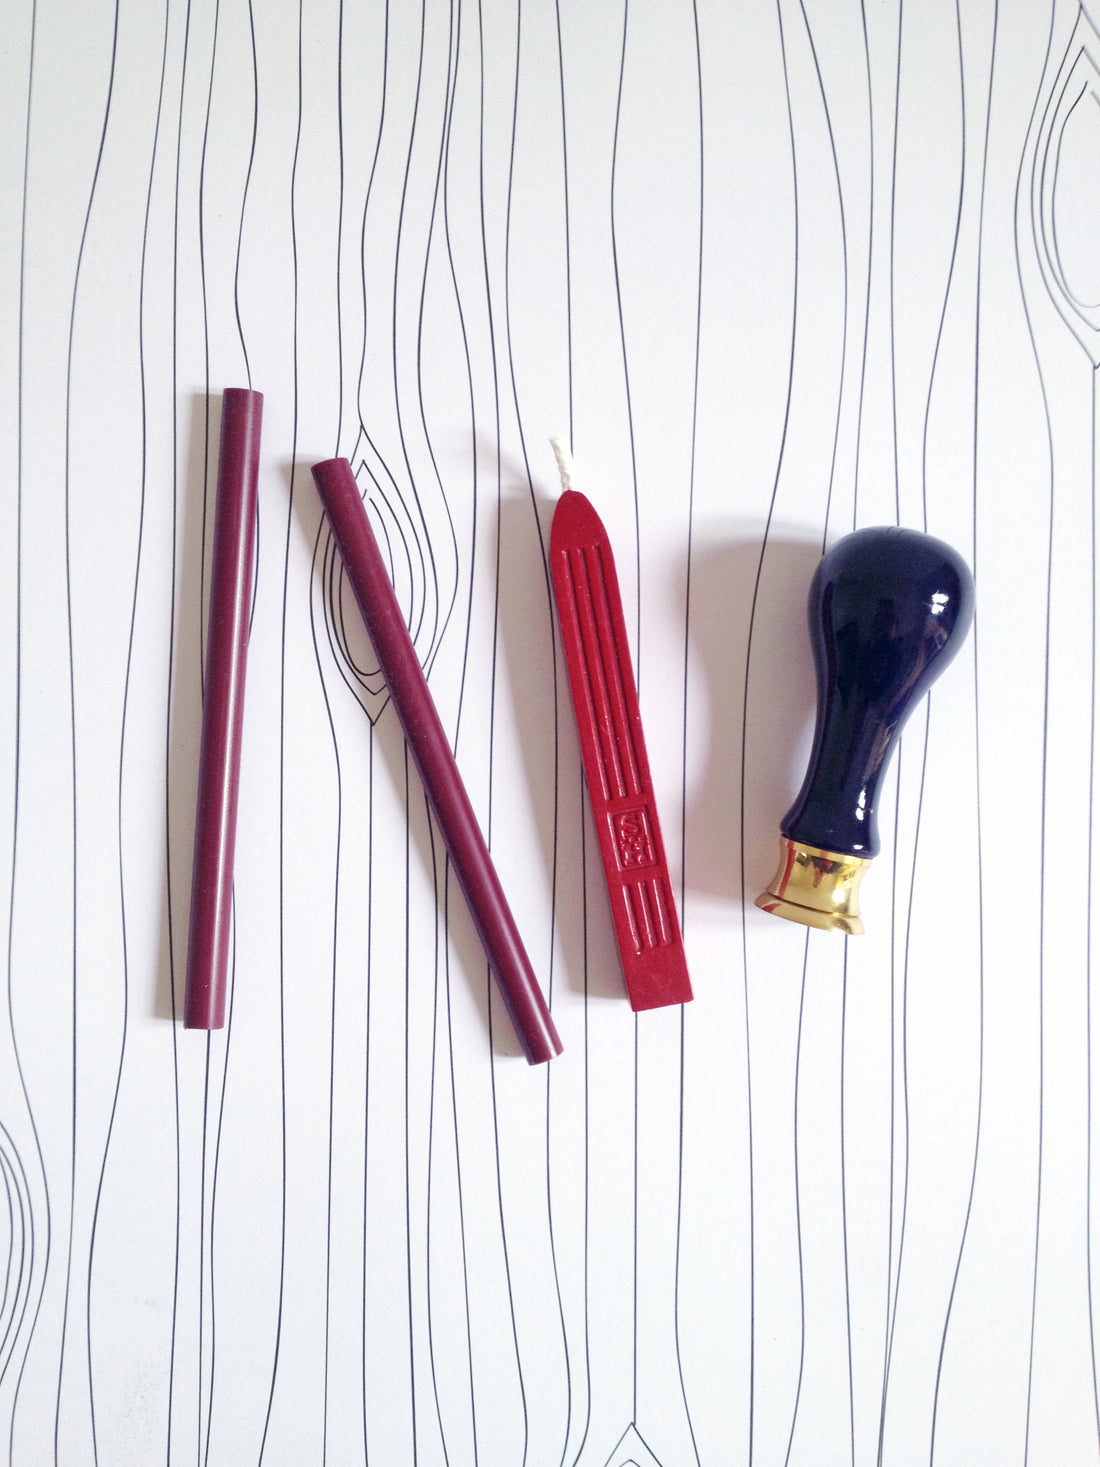
Once you have your seal, it’s time to pick out your wax. Wait up a bit though! Before you rush out to buy any old stick, it pays to have a think about what you’re using it for. There are two kinds of wax sticks that you can get – the kind you choose depends on where you’ll be placing your seal:
Traditional wax – once applied, this stuff is designed to crack easily. It was originally used to show evidence of tampering on important documents which is why it’s brittle when cooled down. This is pretty important if your seals are on the outside of envelopes because there may not be much seal left by the time it gets through our postal system!
Flexible wax – in contrast, this stuff is good for mailing. It’s been made to stick well to paper and doesn’t crack like traditional wax so it’ll handle the post much better. I generally choose flexible wax over traditional when making wax seals.
One more thing to consider is how you’d like to apply your wax. If you’re only doing a few seals at a time, a wax stick with a wick running through the middle will do just fine.
But if you’re sealing many envelopes, you might want to consider using a wax gun as it’s much easier to apply the wax. I’ll give you an outline of both methods below.
Using a wax stick and a match/lighter
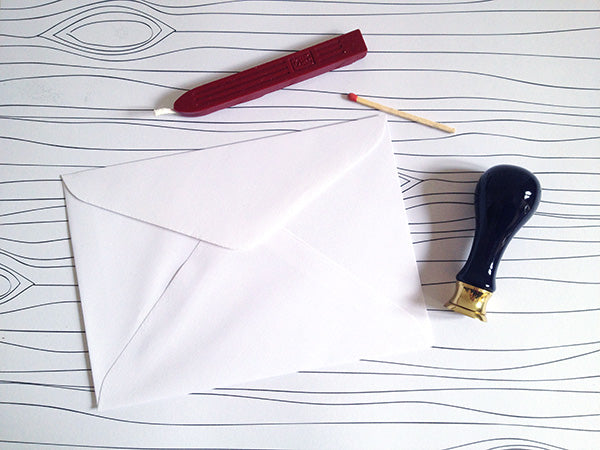
This may be a slow way to apply wax, but it’s pretty fun! All you need to do is light the wick in the centre of the wax stick and wait until the wax starts dripping from the tip.

The key here is to make sure you have enough wax on the paper before you press your seal in – as you can see below, I got impatient and didn’t have enough wax to properly make my seal! If you’re using an average-sized round seal like the one in my pictures, you’ll need a circle of wax around the size of a 10 cent piece.
Once you have enough wax, simply press your seal in nice and firmly, and then remove.

Using a wax gun
The wax stick with a wick isn’t great for doing a lot of seals because the drip-drip-dripping of the wax is SLOW. If I had to do 100 seals this way, it’d take me forever. And we’ve already established I have no patience, so let’s move onto applying wax with a gun!
To use the gun, you’ll need to buy differently shaped wax. You can get wax in round sticks (with no wick in the centre) that are specifically designed for these guns.

Insert your wax stick into the back of the gun and wait for the gun to heat up. Once it’s hot, squeeze the trigger and the wax will come out of the nozzle.

Then simply press down your seal to make your imprint.

One more tip!
If you’re doing a lot of seals at the one time, make sure you have an ice-pack or some ice in a bowl nearby. Your seal will get increasingly hot as you keep putting it in hot wax so you’ll need the ice to cool the seal down in between imprints.
If you don’t cool your seal down, it won’t come away cleanly from the wax, leaving a messy imprint.


And that’s all I got, I hope it’s been helpful! If you’ve got any extra tips for working with wax, leave a comment below – I’d love to hear from you! 🙂
xx Steph