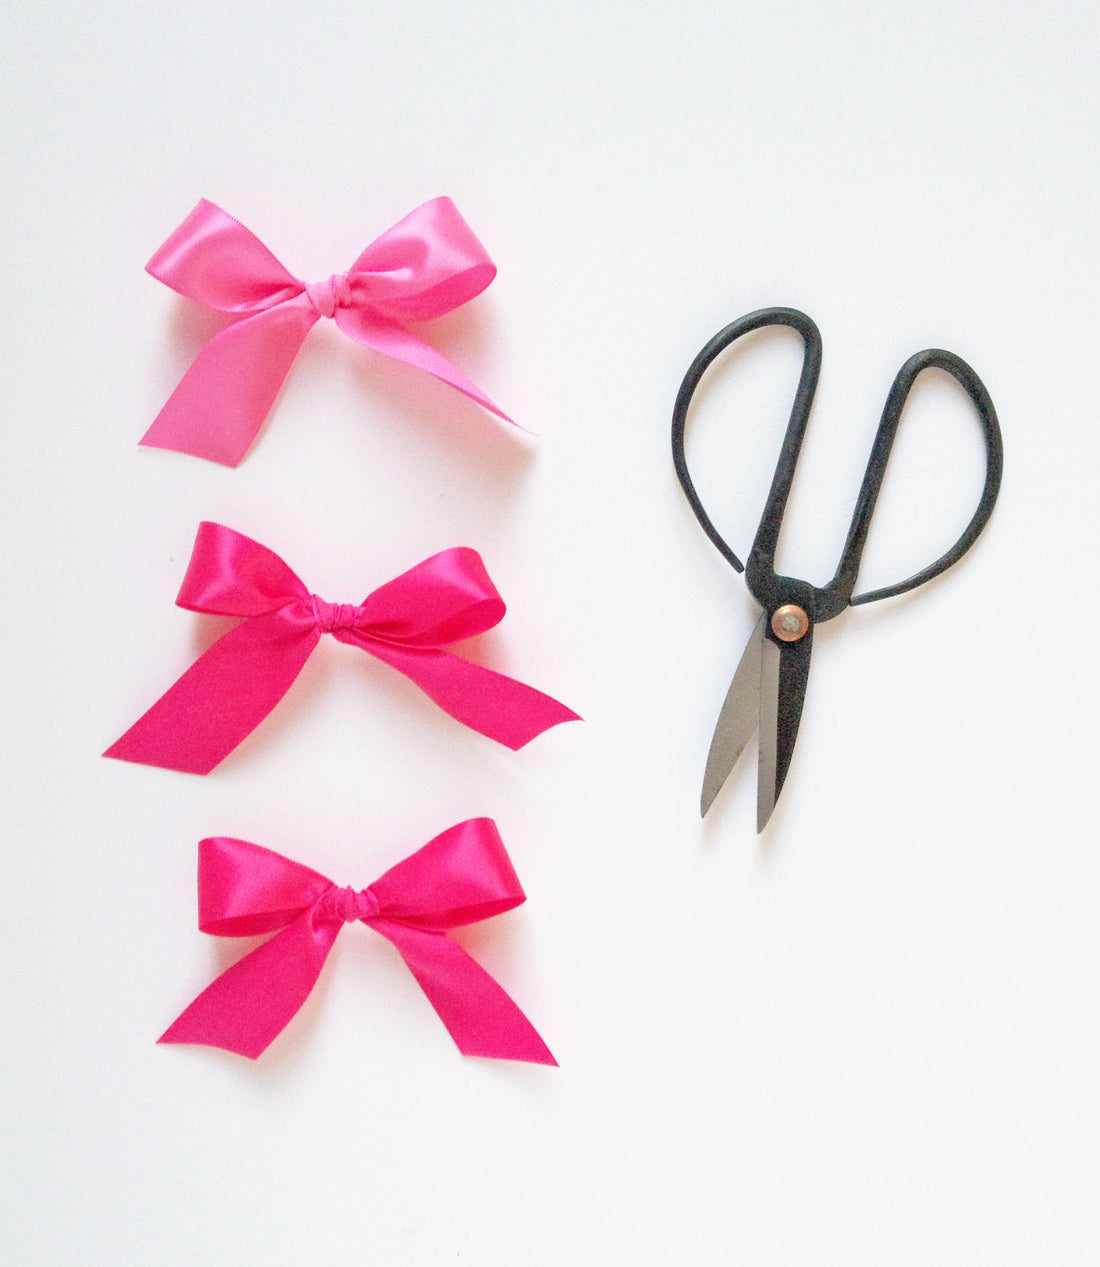

A DIY-loving girl can never have too much ribbon right? Well at least I can’t – there are so many different types and colours that if I had endless money and time (yep, keep dreaming right?), I’d spend all my days just playing with the stuff!
And while that sadly isn’t the case, I did get to use ribbon quite a lot when I worked in weddings. Which means I’ve got a few tricks up my sleeve to stop the ends getting ratty and I’d love to share them with you!
As with a lot of things, there’s more than one way to skin a cat (gosh that’s a horrid saying – why would anyone want to do that?). So feel free to pick and choose from the methods below and if you have any awesome tips to add to the list, leave me a note in the comments!
Tip 1: Sealing the ends with a flame
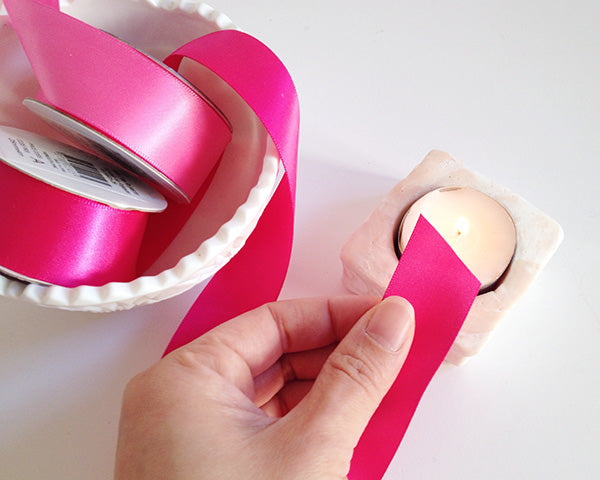
Even though this method might be a little daunting (it was for me before I tried it the first time), I really like it because it’s so permanent. Basically, all you need to do is hold your ribbon near an open flame and the heat will melt the end.
You don’t need to stick it directly in the flame for this to happen – just hold it near and watch the end carefully. The ribbon will start to slightly change appearance in colour and shape as it melts. As soon as it starts to change, take it away from the flame. The ribbon edge where it has melted should be hard to the touch.
The best thing about this method is that there’s no glues involved so the sealed end is clean with no residue. The one downfall is that the edge may look a little wonky if you don’t move it evenly across the flame.
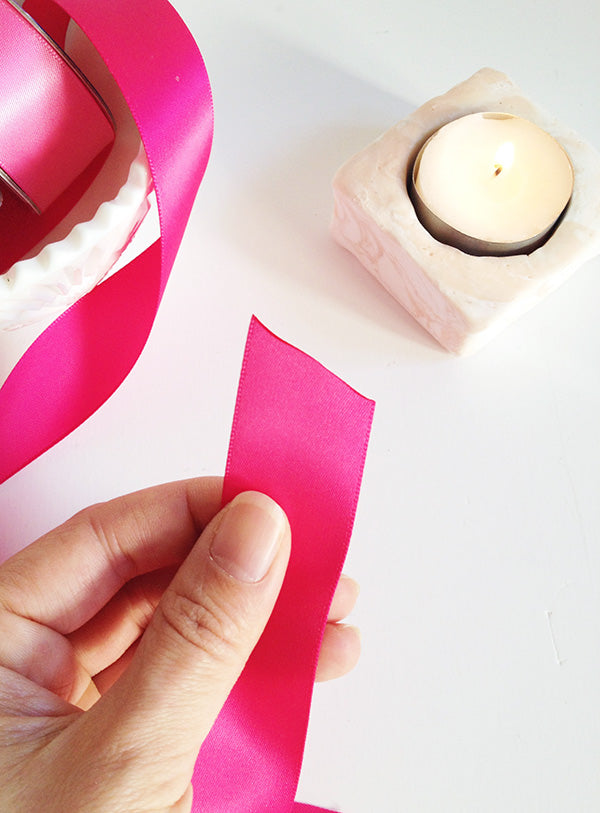
Tip 2: Sealing the ends with clear nail polish

Do you remember getting ladders in your stockings at school and applying clear nail polish to stop the run from getting worse? Well this is the same deal – simply apply a little clear nail polish to the cut end of your ribbon and once it dries it’ll stop the ribbon from fraying. Easy, and cheap to boot!
I found the polish leaves a slightly shiny mark on the end of the ribbon, but if you apply it lightly in a thin line, it’s barely noticeable.
Tip 3: Using specialty ribbon glue
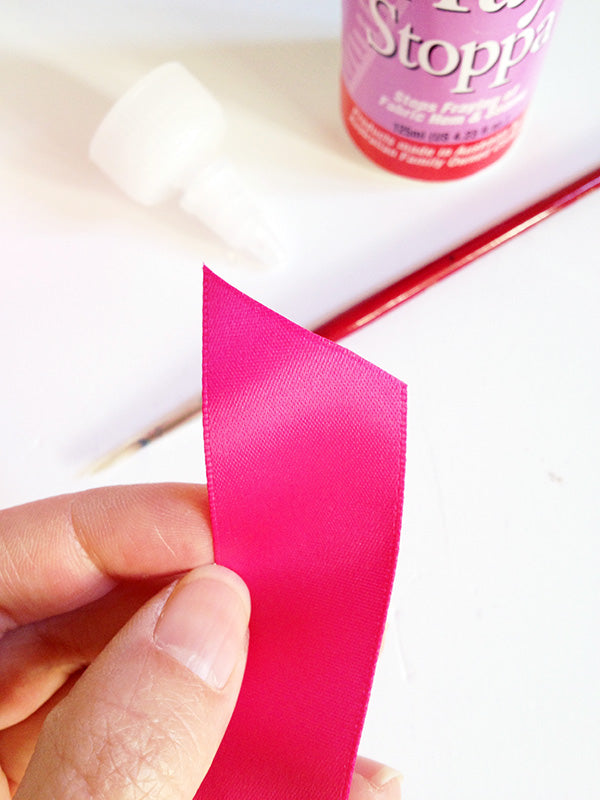
This one requires you to actually go out and buy specialty craft supplies, but Fray Stoppa, Fray Check and other ribbon glues may just be worth it as they’re pretty good at keeping ribbon ends from fraying.
The tip here is to avoid using the nozzle and get a fine paint brush instead (if you’ve got an old nail polish brush, that’ll work well too). I’ve found the nozzle isn’t controlled enough for application and I usually wind up getting the product all over the ribbon instead just on the edge.
This isn’t great because even though ribbon glues are clear, you can still see where they’ve been applied. The end result isn’t shiny like nail polish, but it can leave the ribbon a slightly darker colour so you want to make sure you’ve really only applied it to the edge.
There you have it, three pretty nifty ways to stop your ribbon from fraying at the ends. I’m sure there are loads more ways to achieve the same result – if you know of any I’ve missed, leave me a note below!
xx Steph