
Guess what guys? Do you remember those little succulent babies I got last month? Well they’ve grown!
If you’re tuning into this blog for the first time, haha yes I know plants tend to do that, but under my ‘gentle loving care’ my leafy friends don’t often have a life-span of beyond a few weeks. So you can see why no one is more surprised than me that they’re getting bigger. In fact, these little fellas have grown so large they no longer fit into their teacups – they’re not just surviving they’re thriving!
After doing a bit of a happy dance to celebrate my newfound role as fabulous earth mother, I decided I’d better give them a new home before by brown thumb rears it’s ugly head. And I’ve really been loving the scallop patterns I’ve been seeing around lately, so I thought that’d be the perfect way to decorate my new plant pot! For all the details, just follow along below…
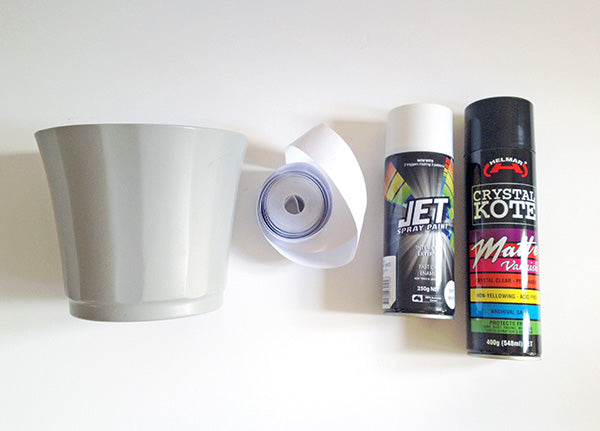
Materials
- Plant pot
- Circe adhesive labels (I used ones measuring 32mm in diameter)
- Spray paint
- Varnish
- Scissors
Step 1
Cut each of your circle labels in half so that they become semi-circles, or ‘scallops’.

Step 2
Adhere your labels to your pot. I made a pattern by placing the scallops in vertical lines – if you’d like to create the same pattern, stick your first scallop at the lip of your pot and then continue sticking more scallops underneath that one until you’re about two thirds of the way down.
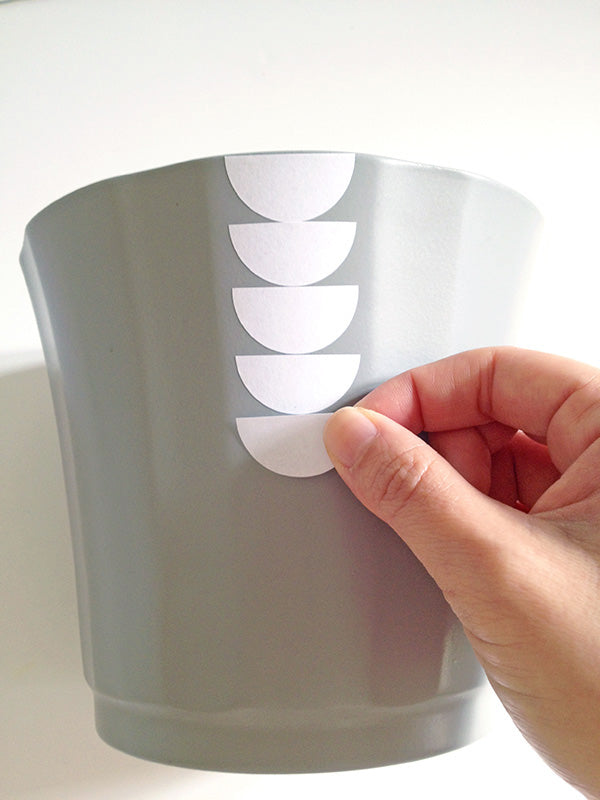

Repeat the process from the bottom up so you have alternating lines of descending and ascending scallops.
As you can see in the pictures, my pot came segmented which made it easy to know where to place my scallops. If yours isn’t broken up like this, make sure you mark out some segments with painter’s tape or a pencil first before sticking on your scallops. If you don’t, you might find your lines are unevenly spaced when you get to the end!
Step 3
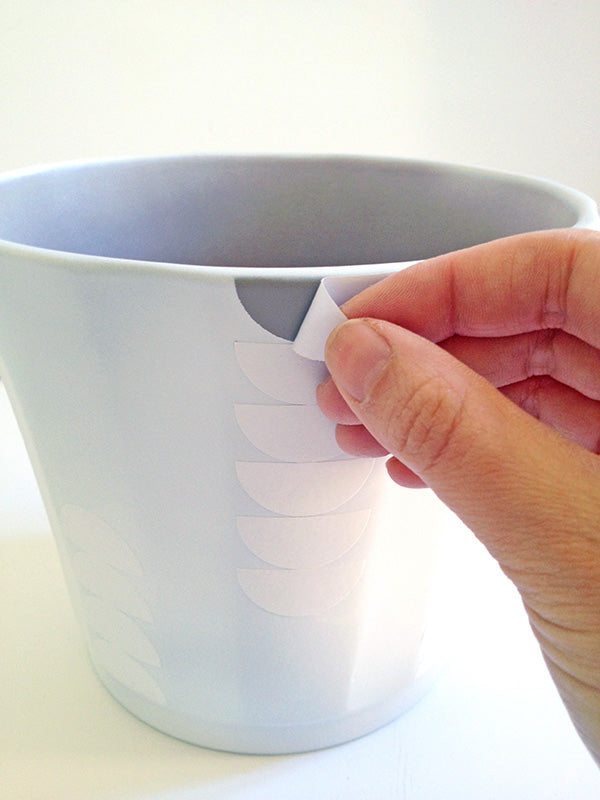
Take your pot outside and spray paint it white (or any colour you like). Depending on the original colour of your pot, you may need to do two or three coats.
Once your pot is dry, carefully remove the scallop labels. Use a craft/x-acto knife if you’re finding it difficult to prise them off with your fingers alone.
Step 4
Spray your pot with a couple of coats of varnish to protect it from the elements. This is particularly important if your pot is going outdoors.
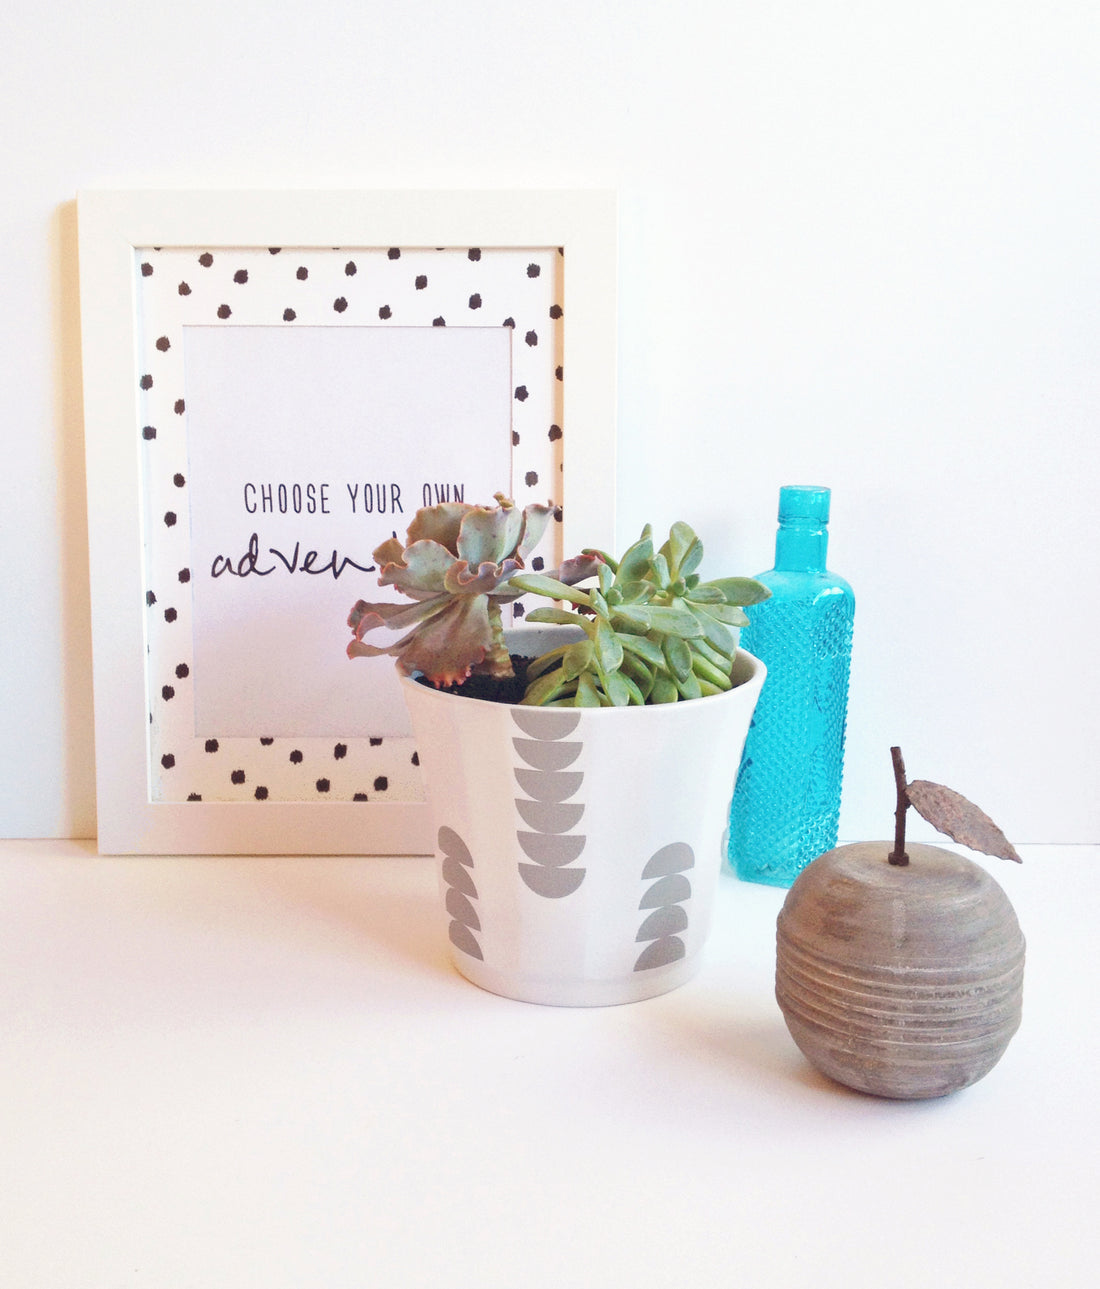
After the varnish has dried, your new pot will be ready to fill with soil and new plant friends!


I’m so excited about this project – I love the way the scallops look in our bedroom and I’m still on a high about having my little succulents grow so well! Oh, and now that these not-so-little ones are out of their teacups, I’ve put some new tiny succulents in to replace them… the next generation 🙂
If you’ve got any plant success stories (or tips for my new brood), I’d love to hear them!
xx Steph