After making an eye print cushion cover earlier this year, the eye craze has totally taken over my life (and possibly my sanity) to the point where I can’t stop wanting all the eye-printed things.
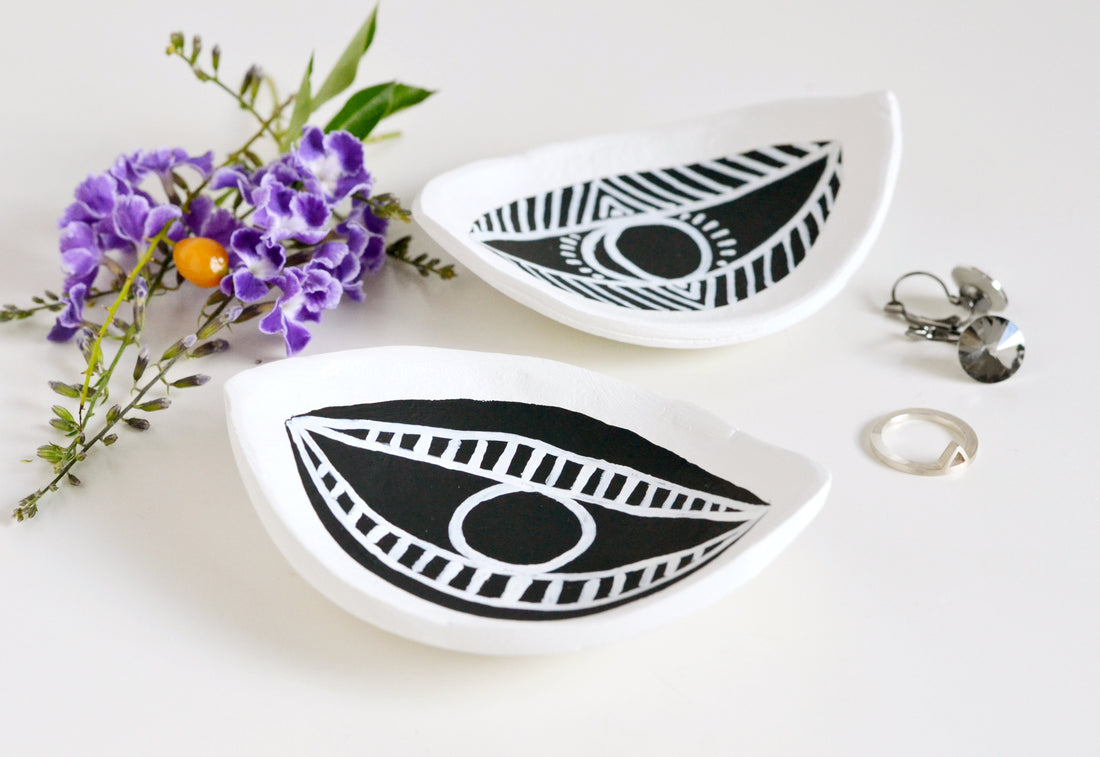
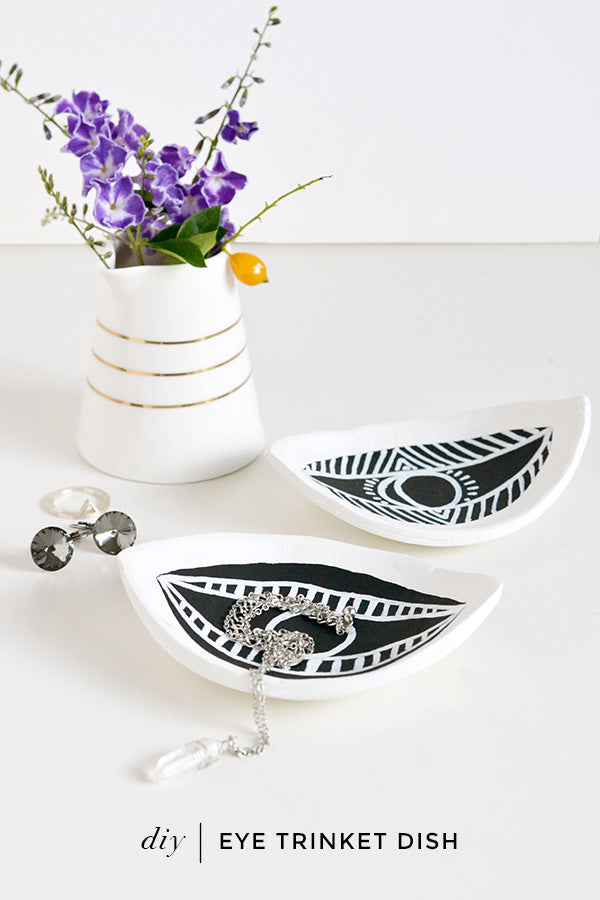
So you won’t be surprised to learn that the latest must-have items on my home decor wish list are the gorgeous eye-shaped clay trinket dishes I’ve been seeing lately in stores. And while I openly admit I have more than enough dishes floating about my house at the moment, I just couldn’t resist making a couple of these little guys anyway – I’m sure I’ll find somewhere to put them!
If you’ve got some clay and paint handy you should try crafting some of your own – they’re pretty easy to make and lots of fun!
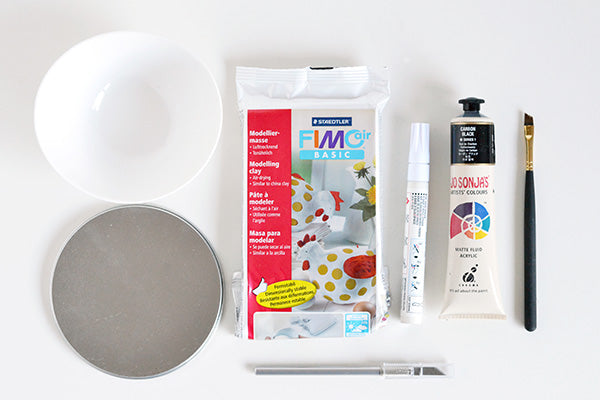
Materials
- Air dry polymer clay
- A shallow bowl
- A scalpel or palette knife
- A circular object for creating the eye shape
- Sand paper
- Black acrylic paint
- White paint pen
- Varnish
Step 1
Roll our your clay until it’s between 3-5mm thick.

Step 2
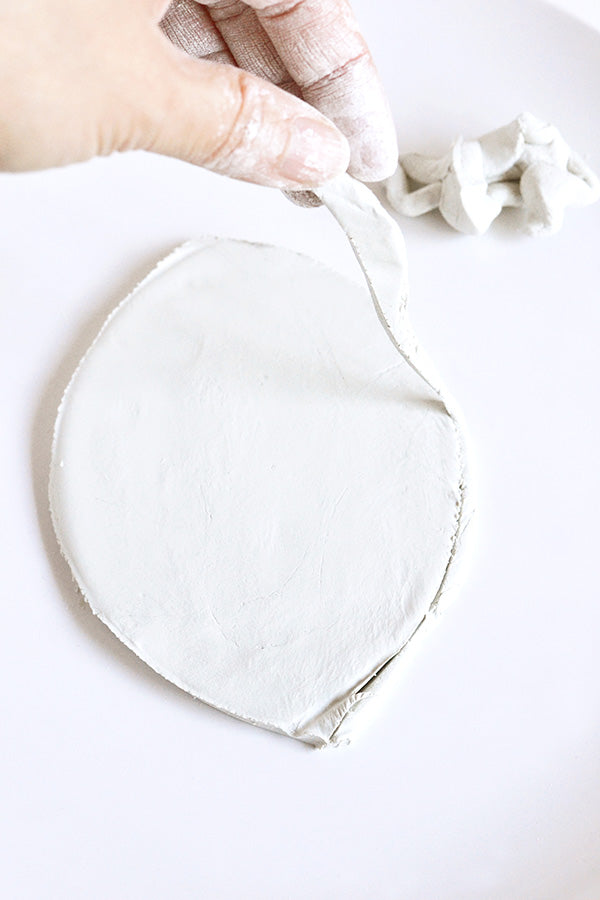
Using a round object and your knife, cut out an eye shape from your clay. The easiest way to do this is to cut around the top of your circular object (I used a container lid) so you create a curved top on your piece of clay.
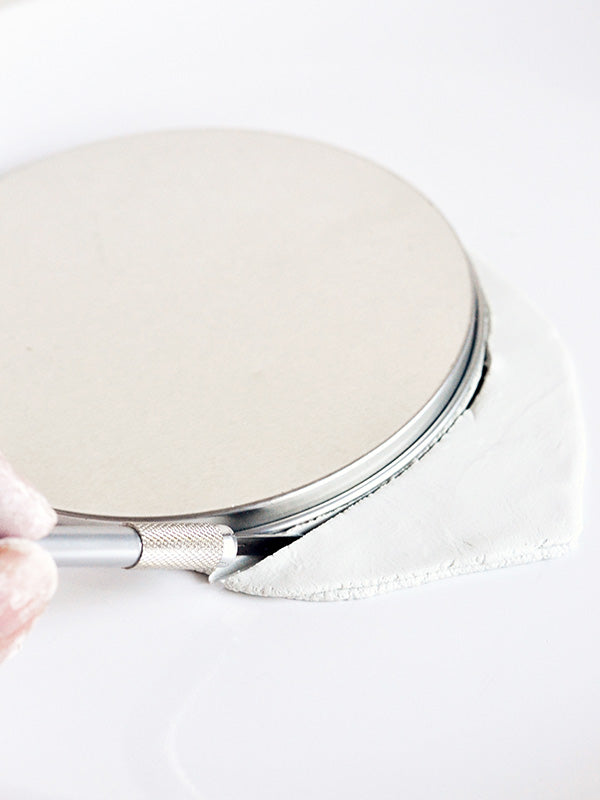
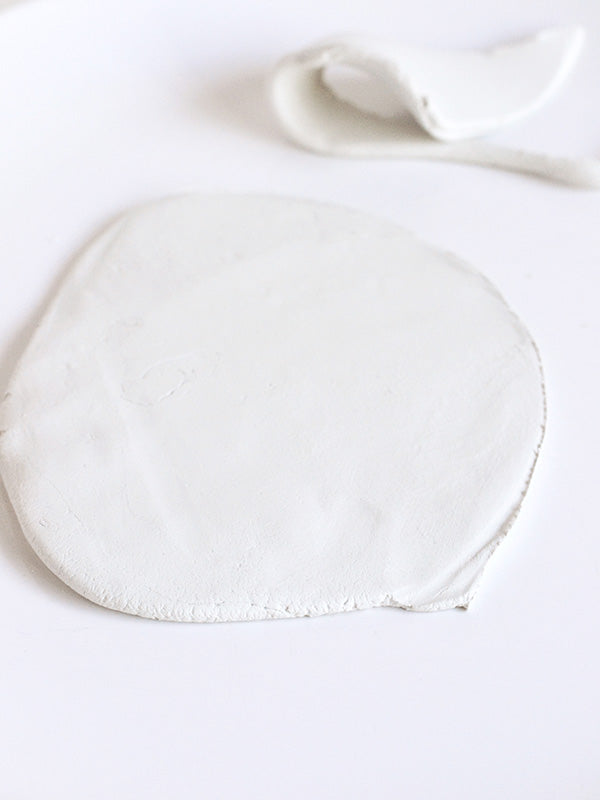
Then turn your clay around and do the same to the bottom half.
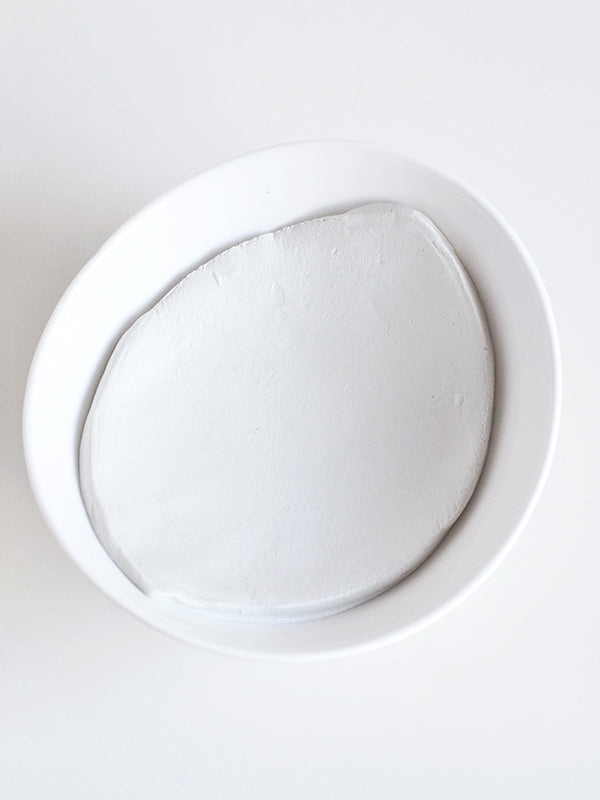
Step 3
Place your eye-shaped clay pieces into shallow bowls. The bowls will help to add a curve to the base of the eye, turning it from a flat eye shape into a dish. Leave your clay to air dry in the bowls.
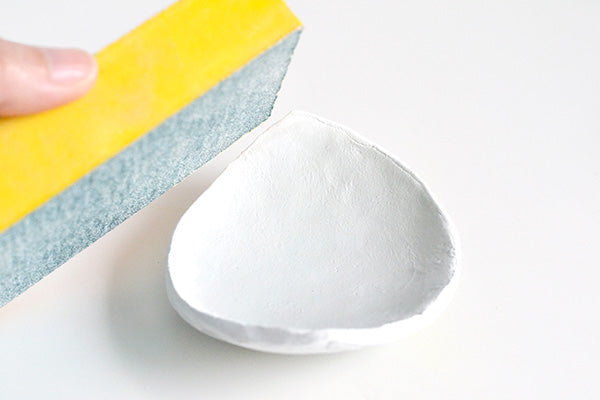
Step 4
Once your clay has dried completely, give it a bit of a sand if required to smooth out the surface.
Step 5
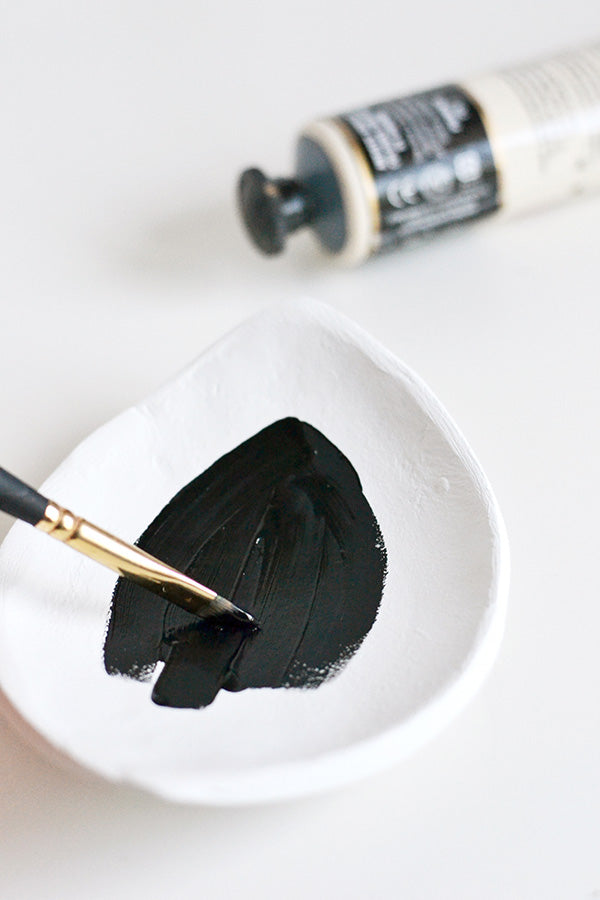
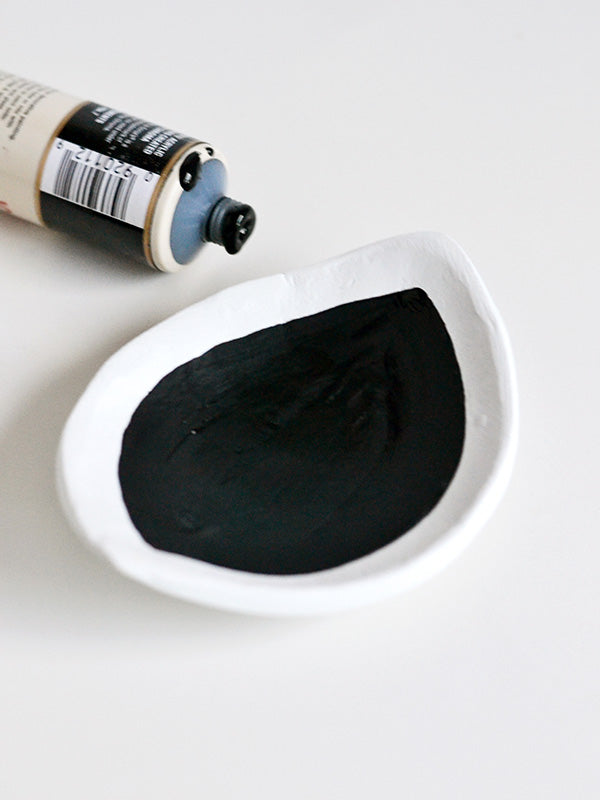
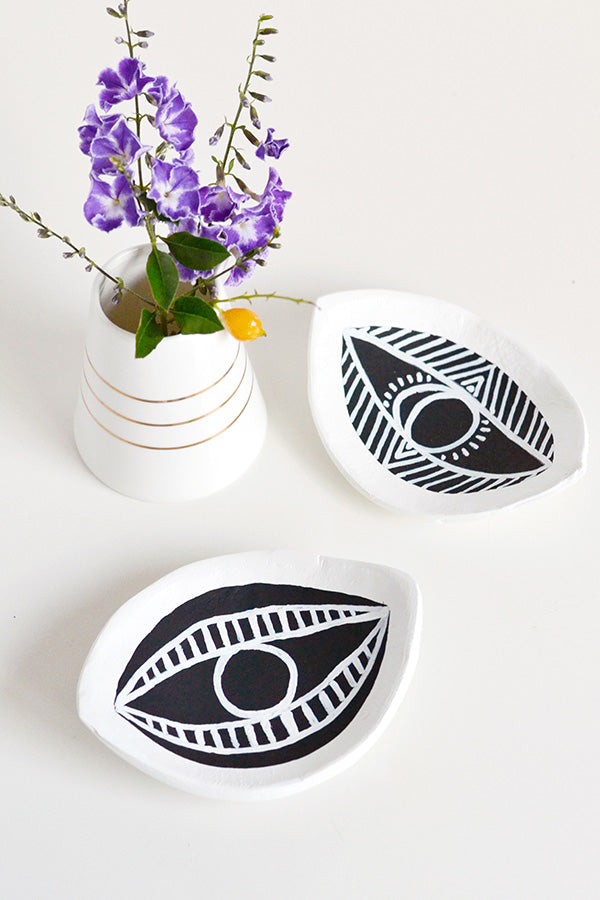
Get out your paints and start decorating! I painted the centre of my dishes completely black, leaving a thick white border around the rim of each dish.
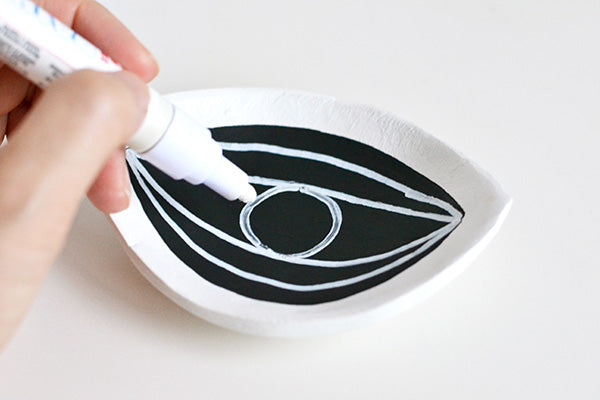
Then, once the paint had dried, I used my white paint pen to draw in the pupil of the eye plus any additional patterns that took my fancy.
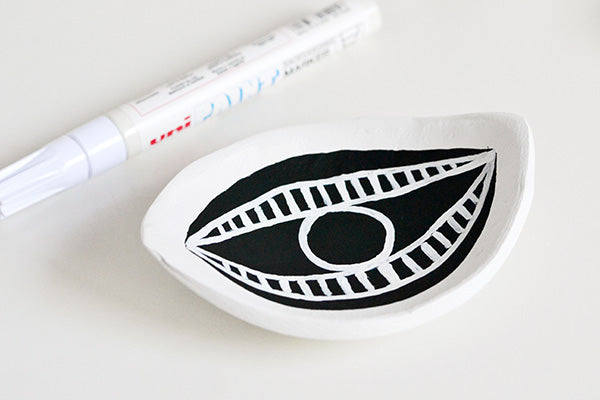
You can get creative with this part and draw pretty much anything you like – lines, dashes and zig zags are all good ways to start. The idea is to make it look a little rough and child-like, so don’t worry too much if your marks don’t look perfect.
As a guide, try drawing one or two eye outlines first.

Then add in the pupil of the eye.
Lastly, fill in the gaps with lines, zig zags and other patterns.
Once your patterns have been drawn on, give your dishes a coat of varnish to protect the clay and paint work.
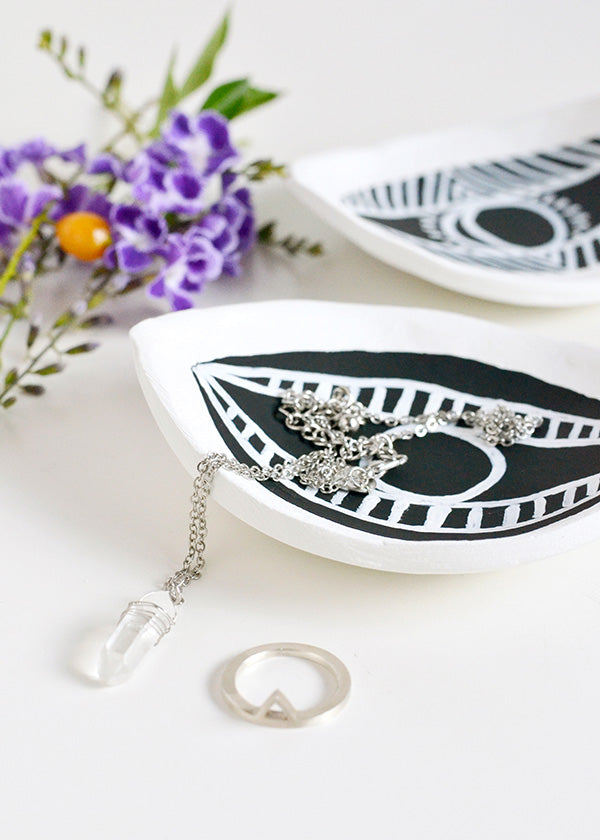

Although I know the finished product isn’t quite as glamorous as the glazed and deeply coloured dishes I’ve seen online, it’s fairly good second place, especially considering how little they cost to make. Pretty eye-deal if you ask me (ha!) 😉
xx Steph