
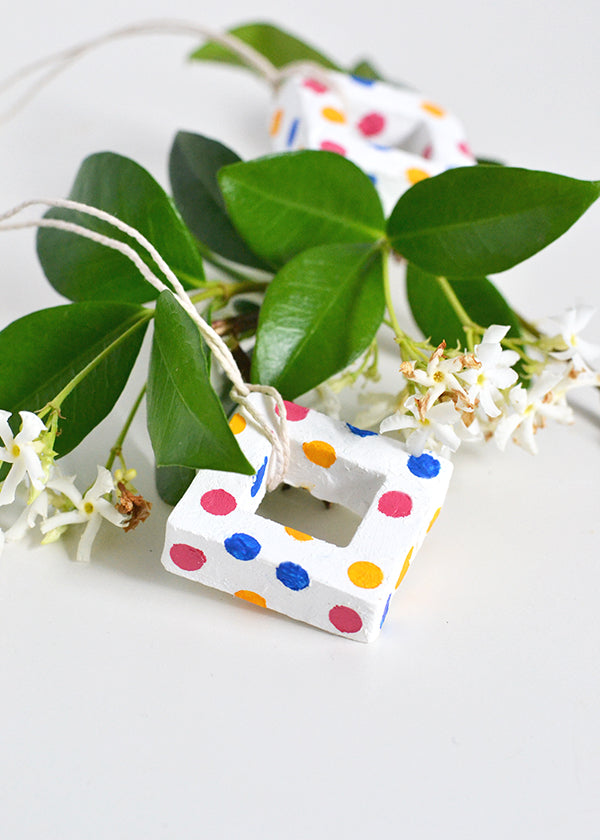
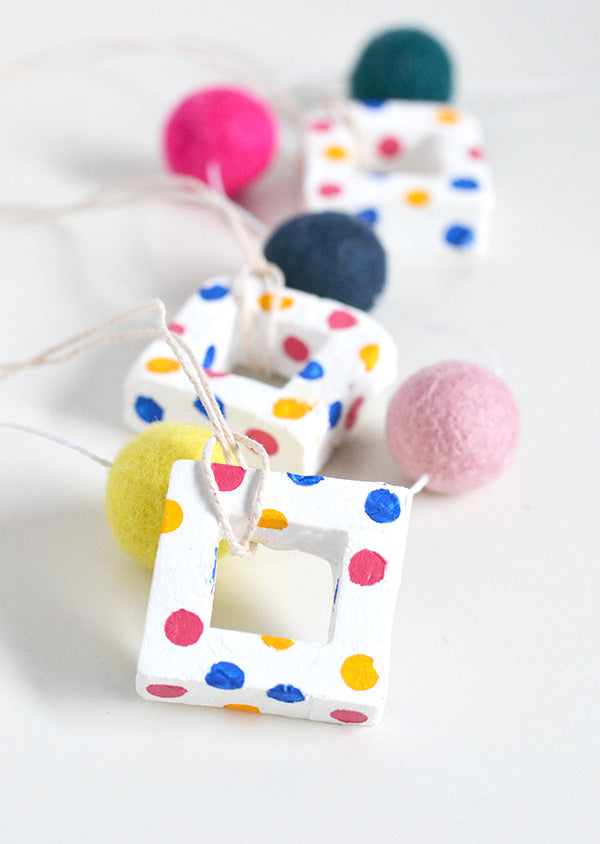
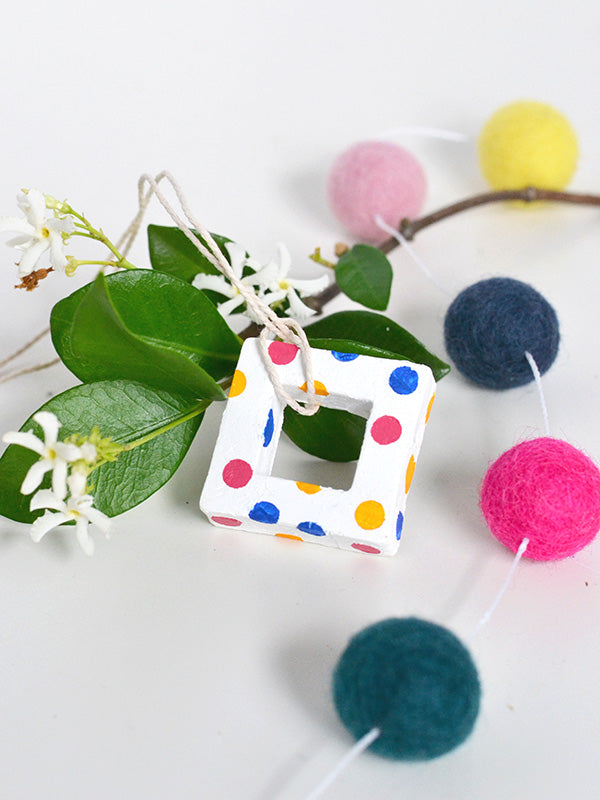
So it seems I’m not quite over the whole confetti thing yet… in fact I plan on it being a key feature in this year’s holiday decorating. After all, who says that festive decorations have to be red and green, or silver and gold? I’ve always loved the look of not-so-traditional Christmas colours and when you put little pops of pink, blue and yellow amongst leafy green it equals instant pretty!
The only problem is that when I decided this, I had a sum total of zero confetti decorations. Nothing a little DIY with some air dry clay couldn’t fix though! This project’s a cinch to DIY and uses the same simple technique as the confetti pencils I made a couple of months ago, so if you’re keen, get yourself some clay and let’s get making!
Materials
- Air dry clay
- Hole reinforcement stickers
- Small and large cookie cutter (any shape will do)
- Paint
- Paint brush
- Twine

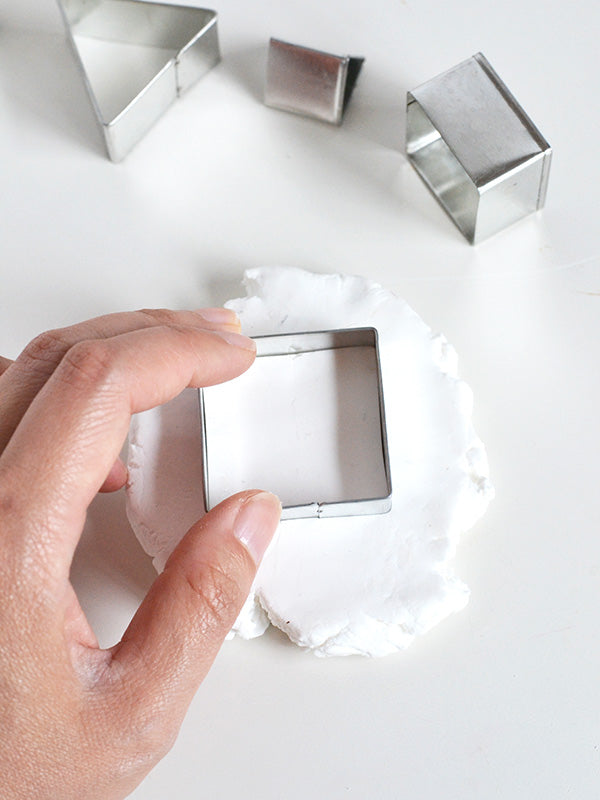
Step 1
Roll out your clay until it’s around half a centimetre thick and cut out a square using your larger cookie cutter.
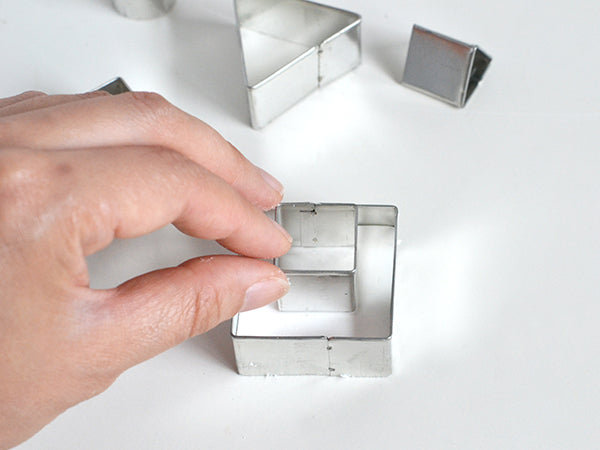
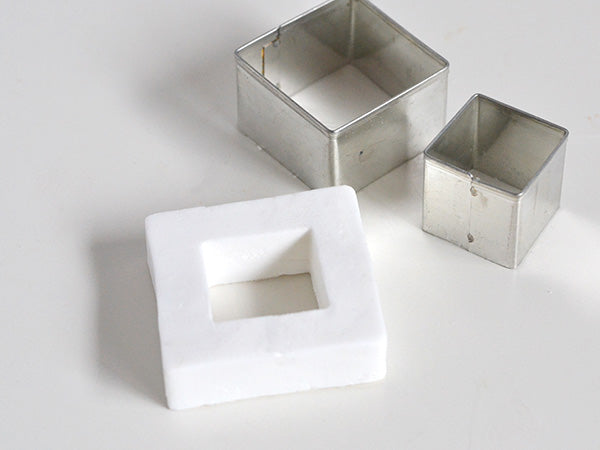
Step 2
Use your smaller cookie cutter to cut a hole out of the square. Then let your clay ornament air dry until it’s hard.
Step 3
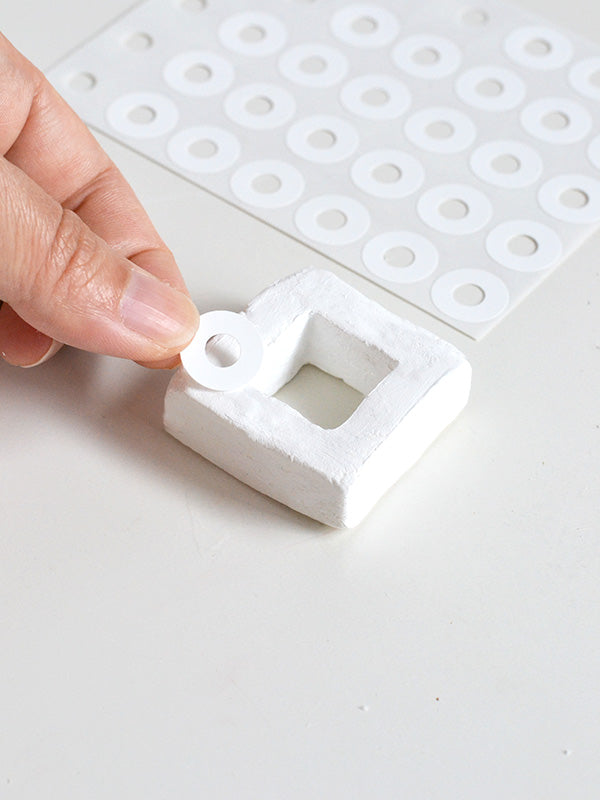
Once your clay has dried, stick on your hole reinforcement stickers.
Step 4
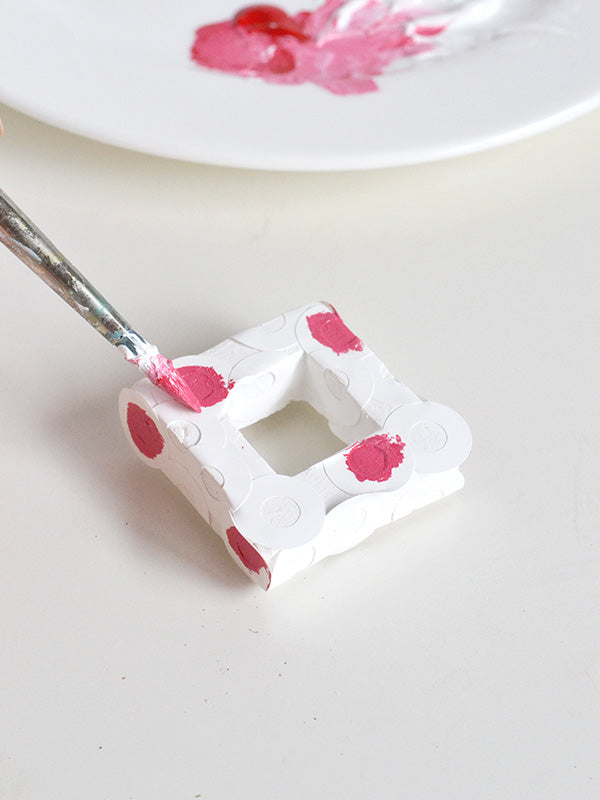
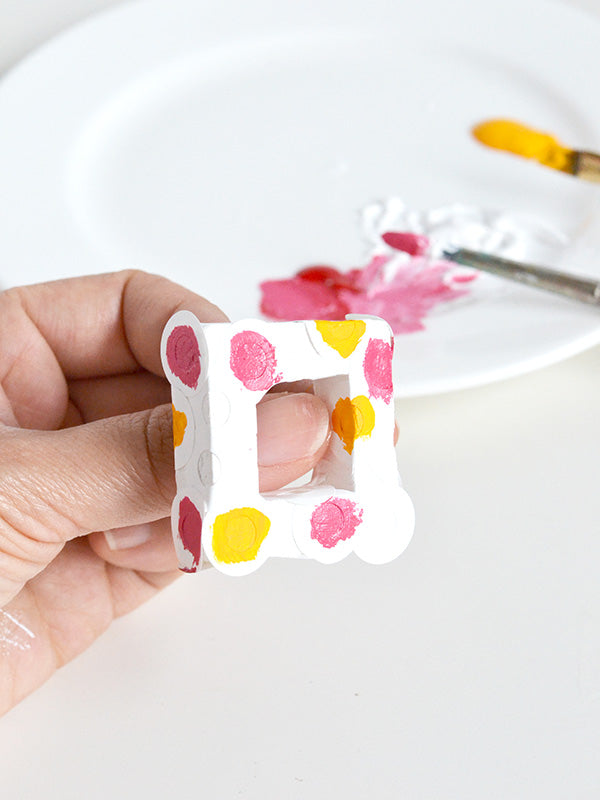
Using a small paint brush, paint the holes marked out by your stickers in different colours – I used a deep pink, blue and yellow.
Step 5
When your paint has dried, remove the stickers and attach a piece of twine to your decoration.
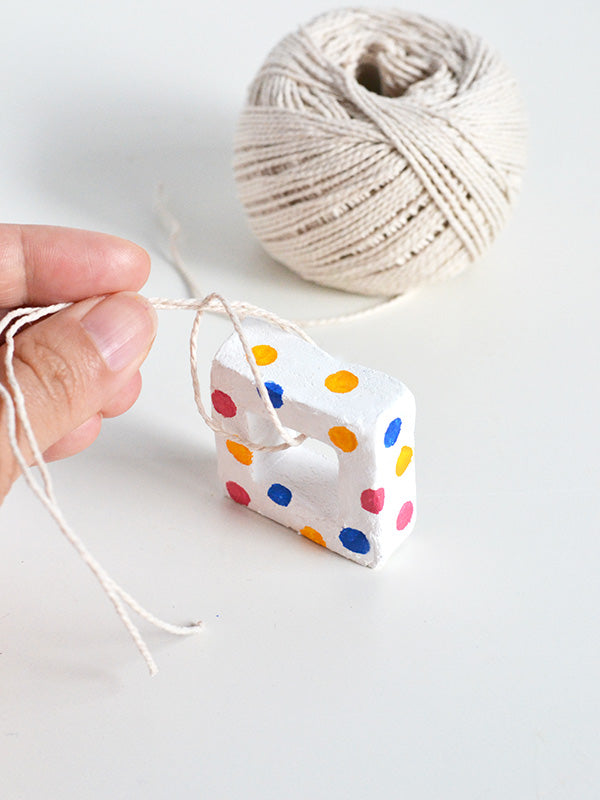
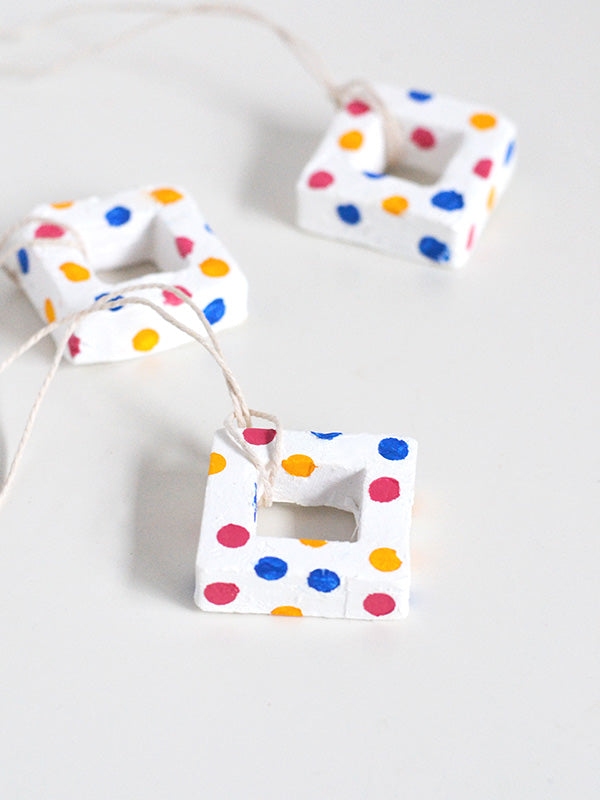
And there you have it, your confetti ornaments are good to go! You might want to give these babies a bit of a varnish before hanging if you’d like to protect the paint work, but other than that, all you ned to do now is sit back relax and soak in that brightly coloured goodness 🙂
xx Steph