
It seems to have gotten quite festive over here hasn’t it? I’ll be the first to admit I started on the Christmas projects a lot earlier this year, which has been wonderful for my holiday planning but probably not so great if you guys aren’t quite yet in the mood for Christmas… we’re still only in November after all!
So I thought it might be nice to take a bit of a break today and make something that you can use at all times of the year. And surprise, surprise, it involves leather. What can I say? It’s so easy to work with that I just can’t stay away from the stuff. If you feel the same way, read on below for a super simple leather napkin ring DIY that you can pull out to wow your guests at your next party.

Materials
- Leather scraps
- Scissors
- Pencil
- Ruler
- Black acrylic paint and/or acrylic paint pen
- Painter’s tape
Step 1
With a ruler and pencil, measure and mark out rectangles on your leather scraps. The rectangles should be long enough to wrap around your rolled up napkins with a fair amount of overlap (as a guide, mine measured around 4cm/1.6 inches by 23cm/9 inches).

Step 2
Once you’ve marked out the rectangles on your leather, cut them out with a pair of scissors. As you can see, you don’t need to stick strictly to rectangles – I got a bit experimental and decided to cut the ends at an angle for a geometric look instead.

Step 3
Using painter’s tape, section off areas of the leather that you’d like to keep paint-free. Then start painting the untaped areas with acrylic paint.

Once your paint has dried, remove the painter’s tape to reveal your patterns. I painted simple stripes to keep with the clean, geometric look and I also added a line of dots using an acrylic paint pen.

Step 4
Cut two slits in your leather rectangle that go about halfway through the strip (make sure you don’t cut all the way through!).

Important note: The slits will eventually slide together to hold the ends of the napkin ring in place. So they’ll need to be positioned on opposite sides of the leather rectangle as shown below (i.e. if you make the first slit by cutting into the leather from the right-hand side then make sure the second slit cuts into the leather from the left-hand side).

Step 5
Fold the leather piece into a loop and slide the two slits together to close the napkin ring.


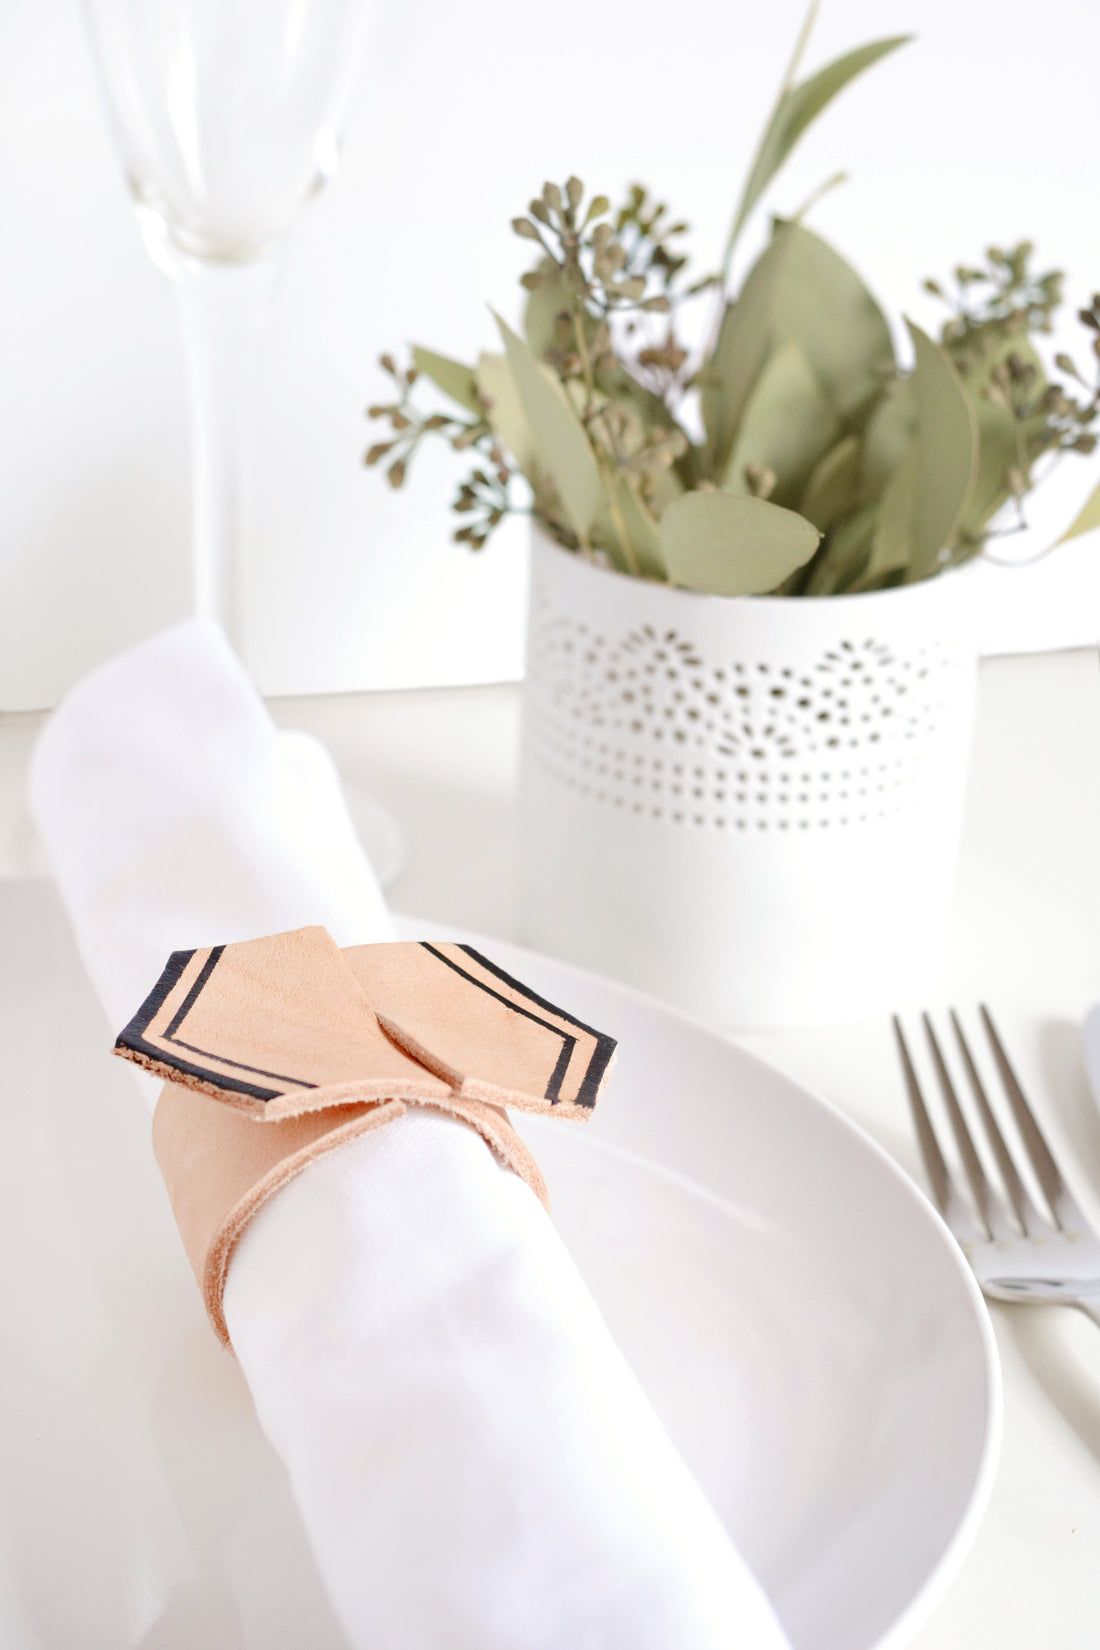
And that’s it, project complete! These napkin rings are so quick to whip up that you can easily make them the day before (or heck even the morning of) your party to jazz up your place settings. And don’t be afraid to experiment with colours – for example, tan or black leather and paired with white or gold paint would make for a very pretty and completely different look don’t you think?
xx Steph