
The other day, my niece showed me a project that she’d made at school where they’d painted with crepe paper. Uh WHAT? I didn’t know that you could do that! Mind. Blown. And by a seven-year-old no less (although to be perfectly fair, she’s one super bright seven-year-old that one).
Anyway, my head was spinning with possibilities since like any self-respecting crafter, I have buckets of crepe paper collecting dust in a corner. So I rushed back home and dragged out all my scraps to make this garland. If you’re curious to know just how you paint with crepe paper, follow along below…
(oh, and if you’re a teacher or avid crafter who’s already known about this fact for decades, please excuse the over-enthusiasm of a crazy novice with evidently too much time on her hands!)
Materials
- Crepe paper
- Paintbrush
- Water
- Scissors or a craft knife
- Hole punch
- Twine
Step 1
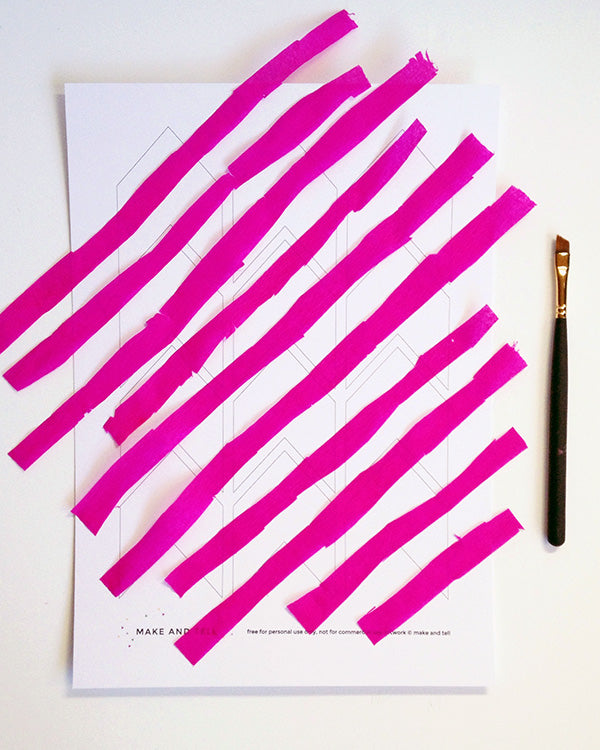
I made a template for this project so you don’t have to try to cut your arrows free-hand. So pop on down to the end of the post and download the arrow template. Print it out onto card stock. Then cut up your crepe paper and place it on top of the template.
I chose to paint in stripes for my garland, but if you’re more of a splodges kind of gal (or guy), try cutting up the crepe paper into small bits before laying it over the template.
Step 2
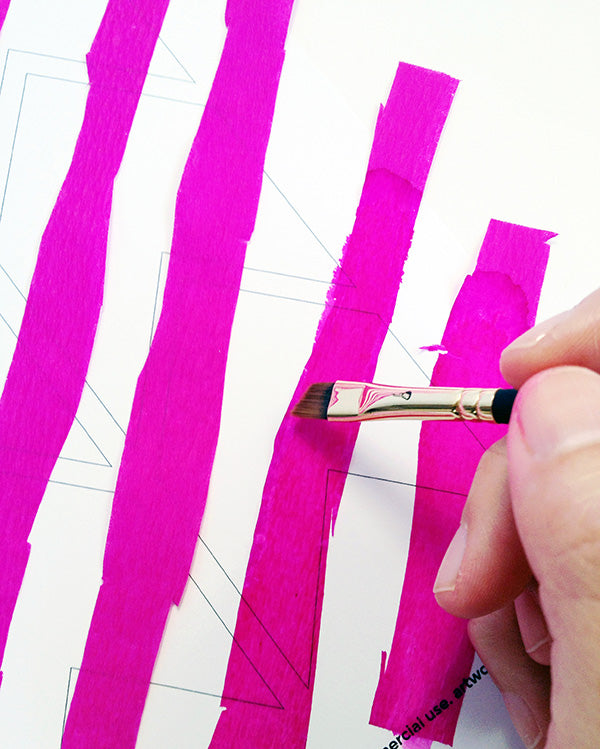
Get some water and use your paintbrush to apply it over the areas where your crepe paper is.
Step 3
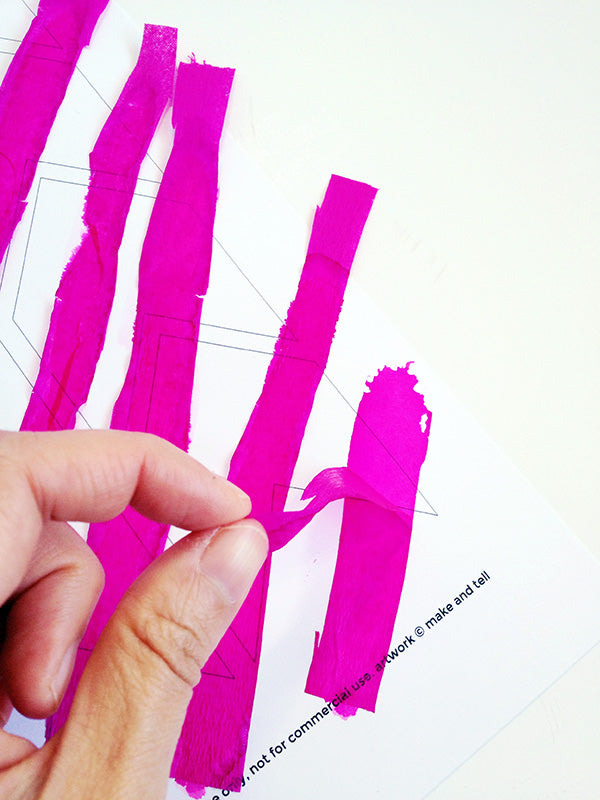
Slowly peel off the crepe paper to reveal the colour underneath. You can do this while the crepe paper is still wet. Or you can leave it to dry first. Just remember that the longer you leave the crepe paper on, the deeper the colour will be.
Step 4
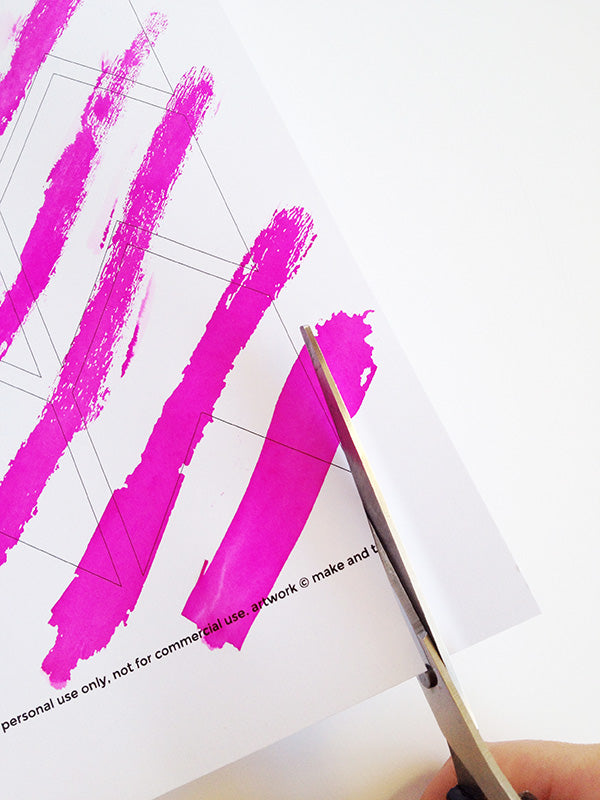
Using scissors or a metal ruler and craft knife, cut out your arrows.
Step 5
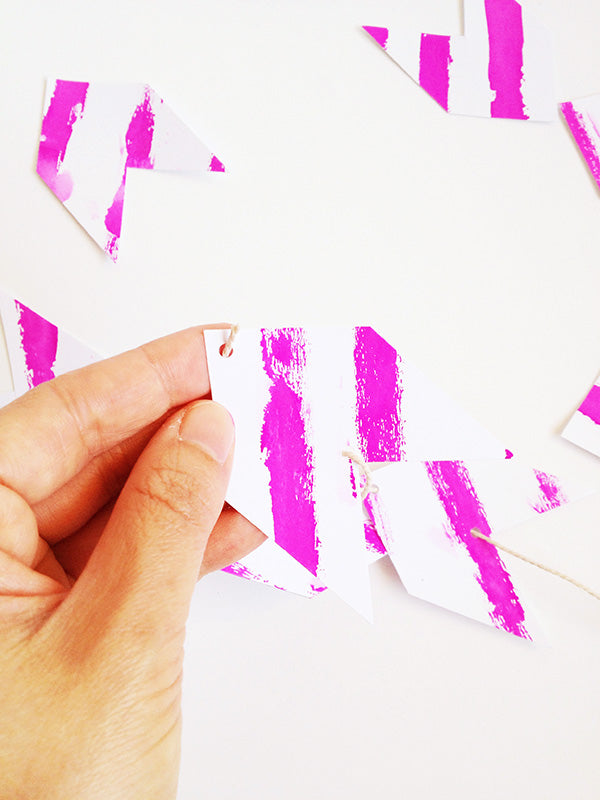
Once your arrows are all cut out, use a hole punch to punch a hole in the top and bottom of the arrows. Then thread some twine through the holes to join all your arrows together.
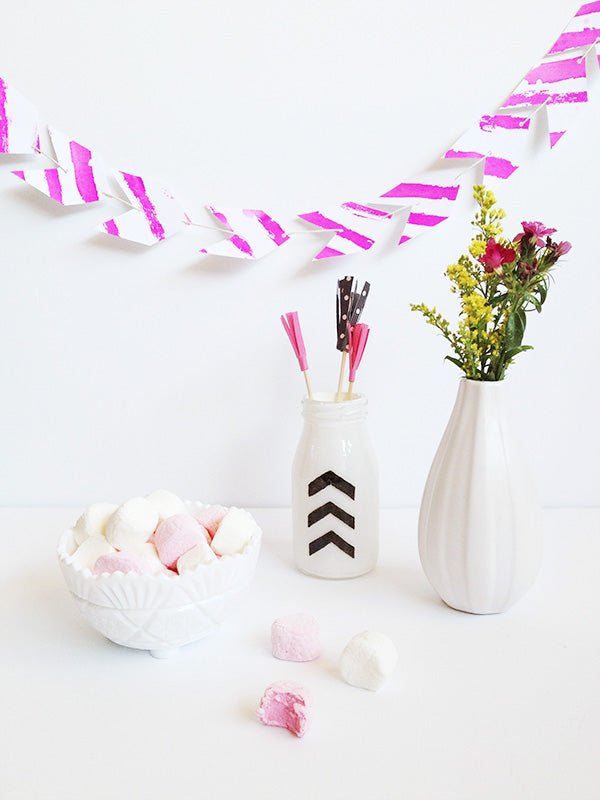
And there you go… a very colourful, painterly garland for your next shindig!
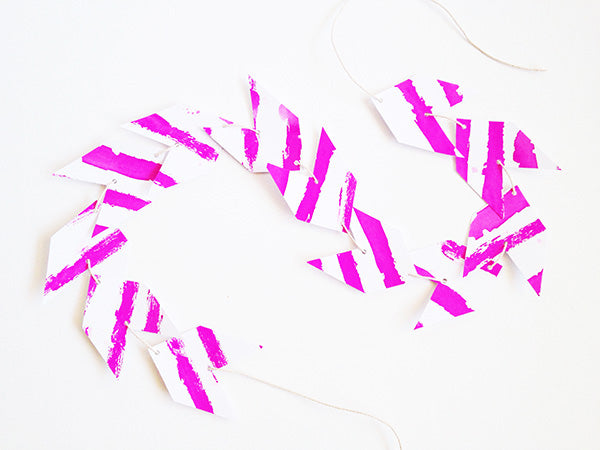

What I loved the most about this project was the way the crepe paper left such interesting marks on the card stock. And this is especially true if you’re inconsistent like me – on my garland there were streaks, splodges, faint pink water marks… you name it, it was there. This is one time in your life where it pays to embrace your inner child and be messy!
Oh, and a word to the not-so-wise (like me) – if crepe paper will leave marks on paper, yes it will also leave marks on your fingers. And these marks don’t easily come out with water and soap. So make sure you use gloves if you don’t want to look like you fought with a beetroot and lost!

xx Steph