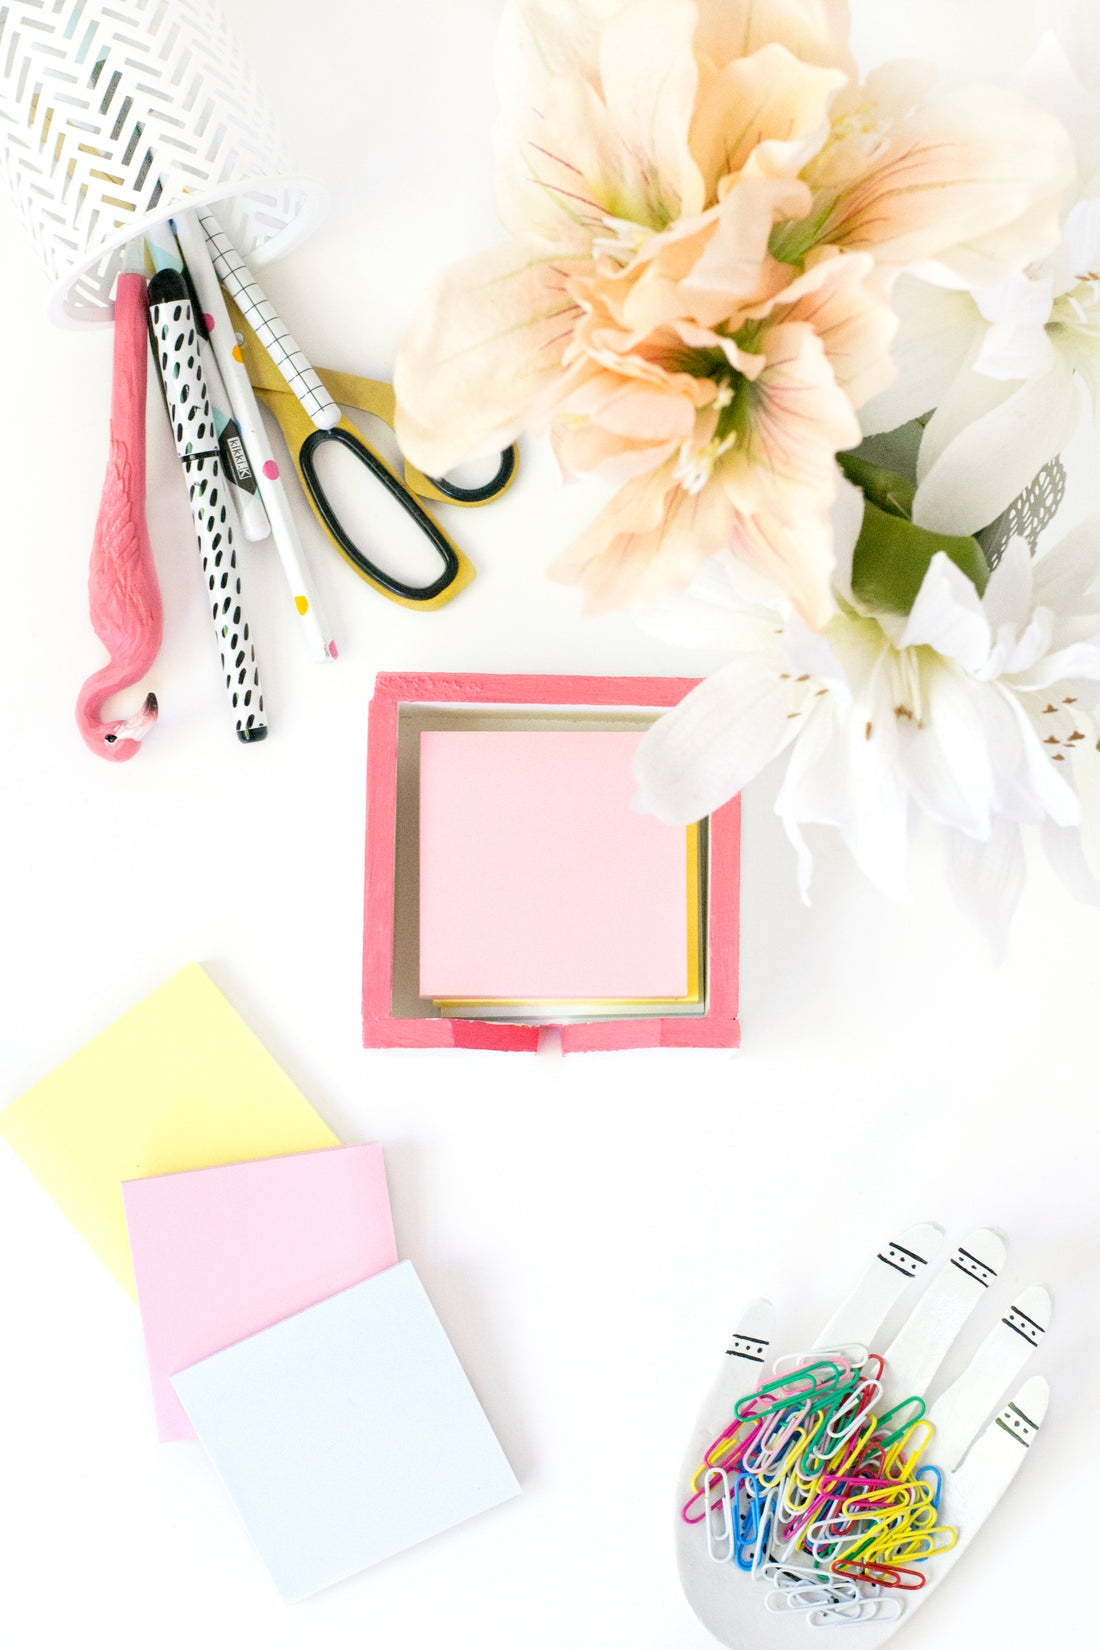
Confession time – I have an addiction to post-it notes. Yeah okay fine, as far as confessions go that’s not a very juicy one, but nevertheless it’s true and it means I hoard sticky notes like there’s no tomorrow. Especially if they come in rainbow colours!
These little suckers are easy to misplace though, so in the spirit of getting organised for the new year, I thought it high time I made myself a sticky note holder for easy access to those pretty paper squares!
If you’ve got a bit of a post-it obsession yourself or you just want to get your desk cleared of clutter for the new year, see below for this easy-peasy DIY.

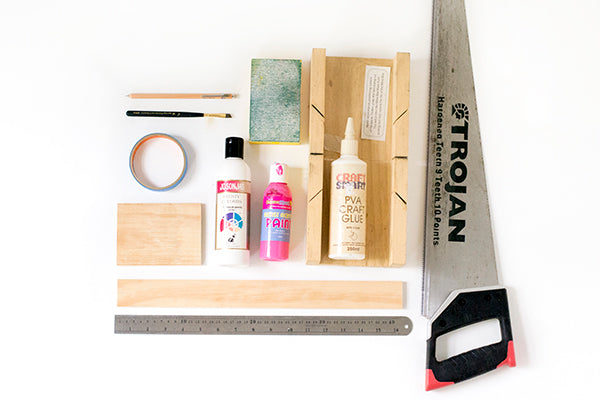
Materials
- Wood pieces (mine were pine)
- Ruler
- Pencil
- Hand saw
- Mitre box
- Sandpaper
- Wood glue
- Painter’s tape
- Primer
- Paint
- Paintbrush
Step 1
Measure a square piece of wood that’s slightly bigger than your post-it notes. This will be the base of your post-it note holder. The sides of my square measured 90mm (3.54 inches).
Measure 4 rectangular pieces of wood. These will be the sides of your sticky note holder.
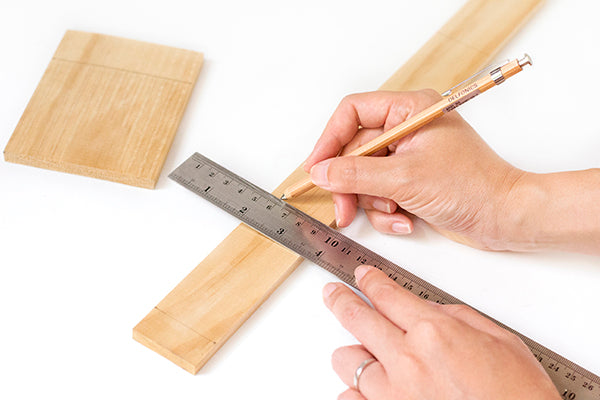
The rectangles can be any width (it just depends on how deep you’d like your holder to be).
But in order to ensure that the holder fits together nicely, you’ll need to do some calculations for the length of each rectangle. Try to make sure that:
- 2 of the rectangles are the same length as the sides of your wood square (so in my case, 90mm)
- 2 of the rectangles are the length of your wood square PLUS 2 x the thickness of your wood (my wood was 8mm thick, so these 2 rectangles ended up being 106mm in length
).
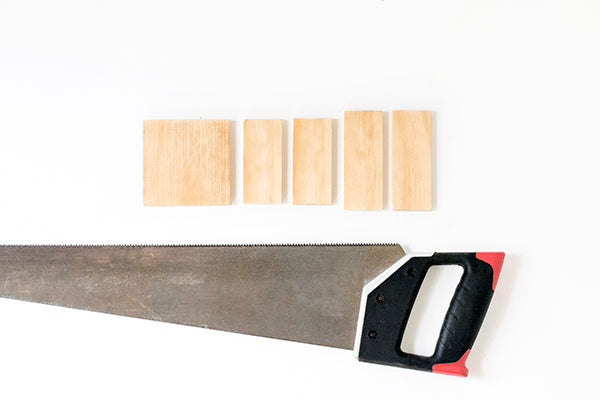
Step 2
Once you’ve measured all your pieces, cut each one out with a hand saw. Then neaten up any rough edges with sandpaper.
Step 3
Attach the 2 shorter rectangles to your square piece with wood glue so that they sit flush against the edges of the square on opposite sides.
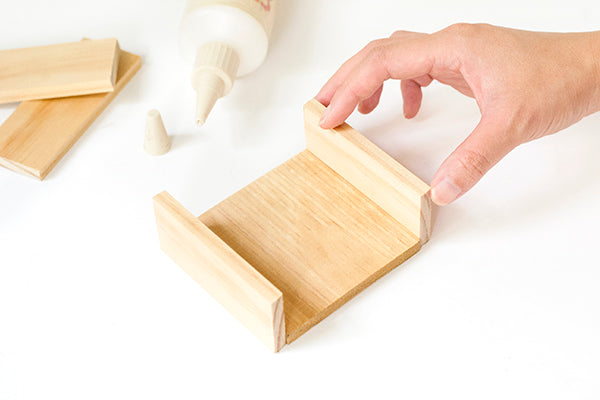
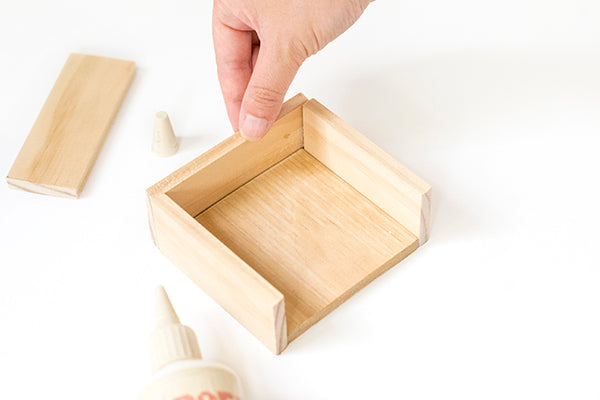
Step 4
Glue one of the longer rectangles so that it sits flush against the edge of your square and the two shorter rectangular pieces.
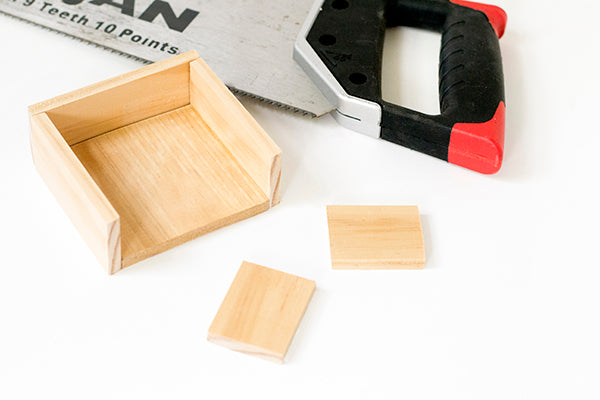
Step 5
Using a hand saw, cut your last wood rectangle in half.
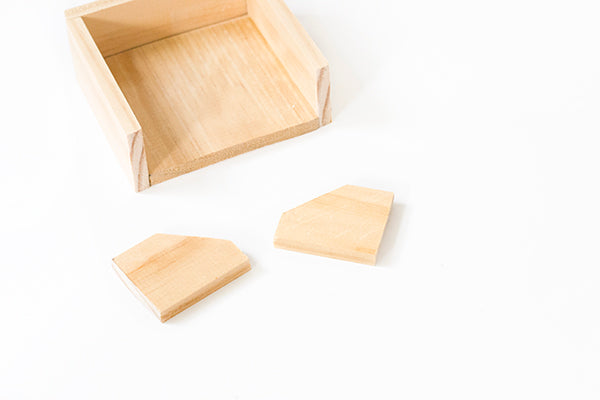
Then use a mitre box to cut off one corner of each piece at a 45 degree angle.
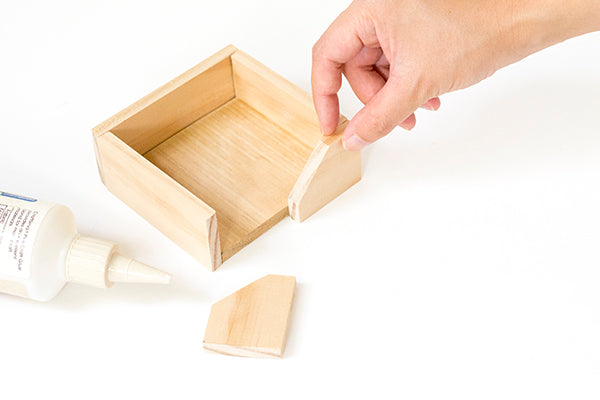
Step 6
Glue the two halves to the rest of your holder. Position them so that the smaller ends point towards the middle.
Step 7
Give your sticky note holder a coat of primer before covering it in white paint.
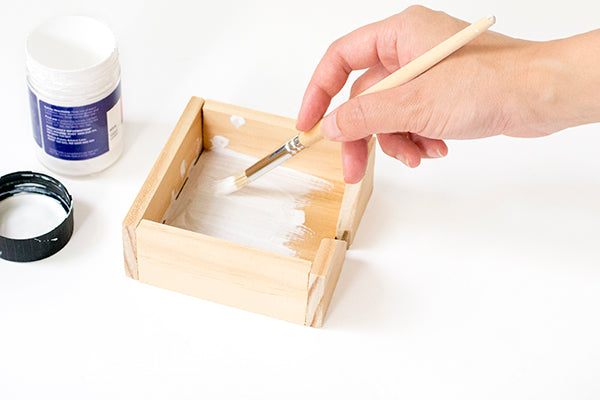
Step 8
Once the white paint has dried, apply painter’s tape around the upward facing edges.
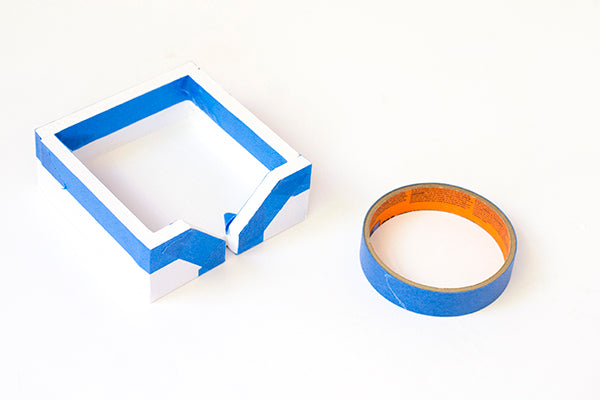
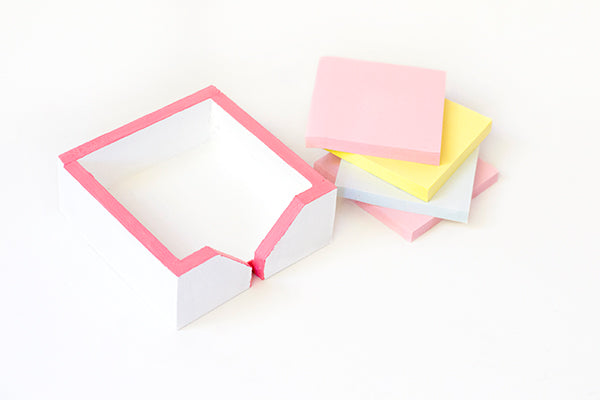
Step 9
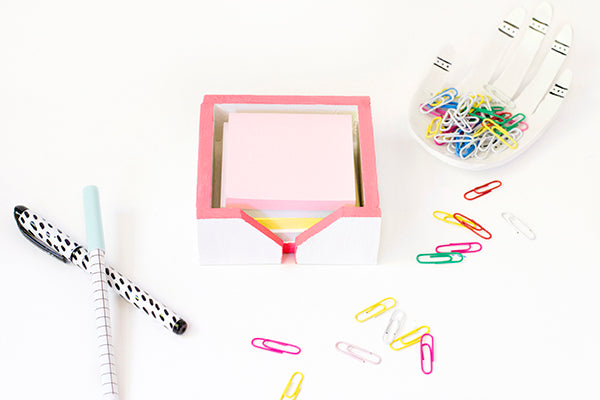
Paint the edges in a contrasting colour.

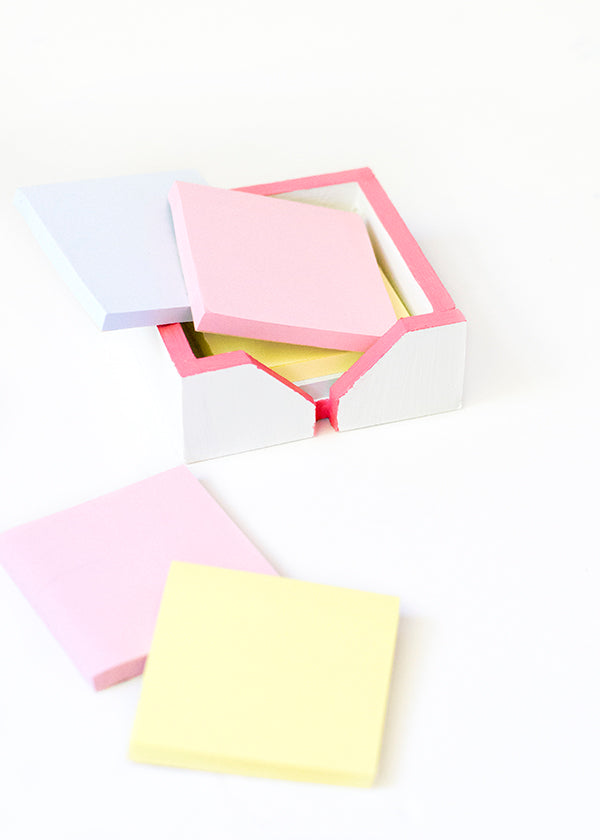
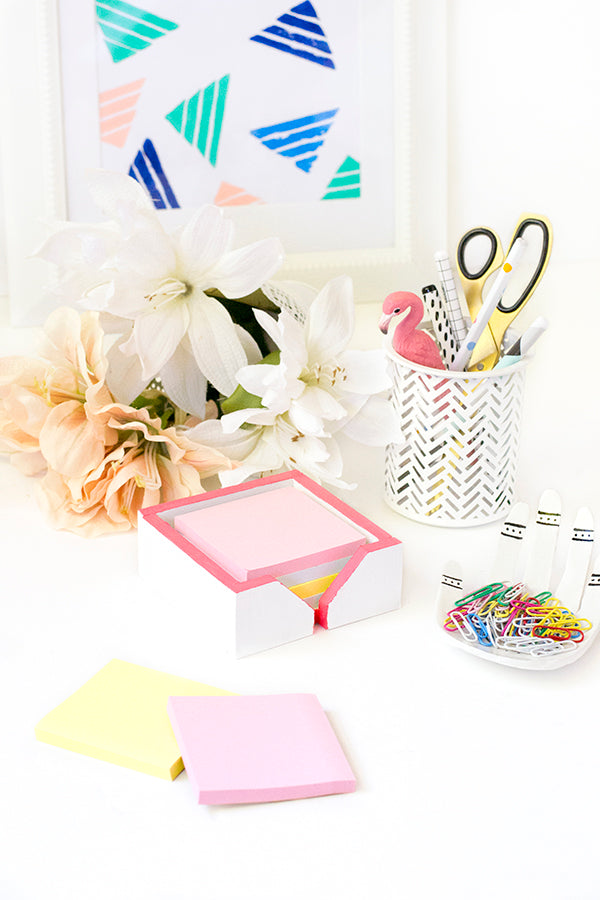
Once the paint is dry, pop your post it notes in, then sit back and admire your handiwork!
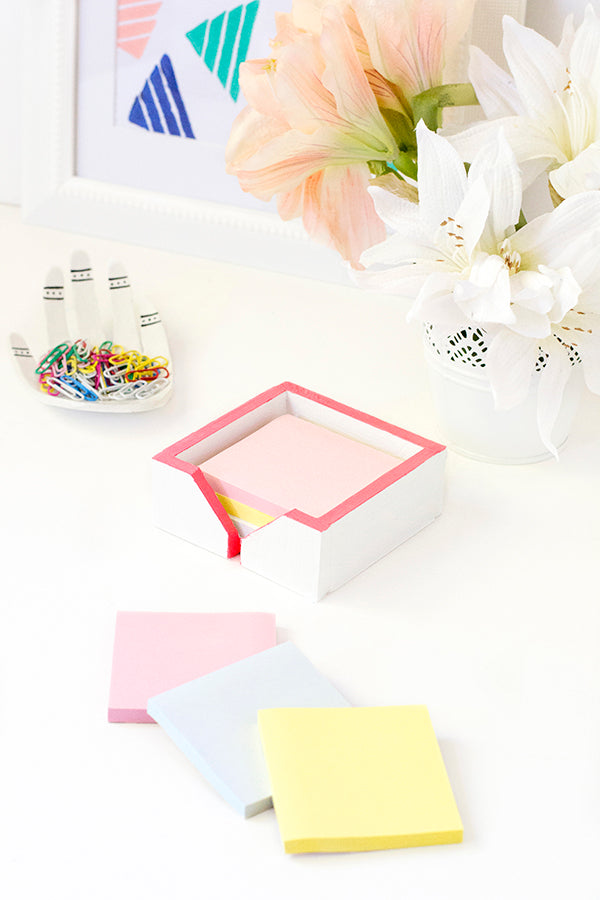
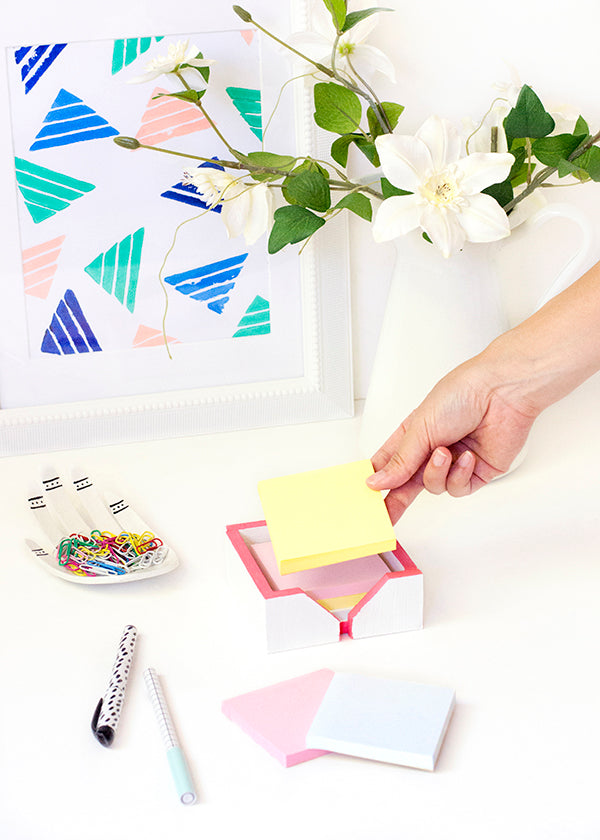
Don’t forget you can customise the colours of the sticky note holder to suit the rest of your desk accessories – try leaving the wood unpainted for a lovely natural look, or paint only the edges in white or black for a minimal Scandinavian feel.
xx Steph